You can trust VideoGamer. Our team of gaming experts spend hours testing and reviewing the latest games, to ensure you're reading the most comprehensive guide possible. Rest assured, all imagery and advice is unique and original. Check out how we test and review games here
This God of War Ragnarok guide will walk you through the location of everything needed to get 100% in the realm of Alfheim – legendary chests, lore, Nornir chests, artifacts, ravens, Hel tears, Remnants of Asgard, Favors, Draugr Holes, buried treasure, and everything else.
A word of warning before we jump in: we’re venturing into spoiler territory, so we suggest completing the God of War Ragnarok story in full before attempting to tick off everything in Alfheim. Getting access to all the areas in the realm requires you get through some major story beats, so there might be minor spoilers to follow. You’ve been warned.
The Strond, Alfheim – God of War Ragnarok
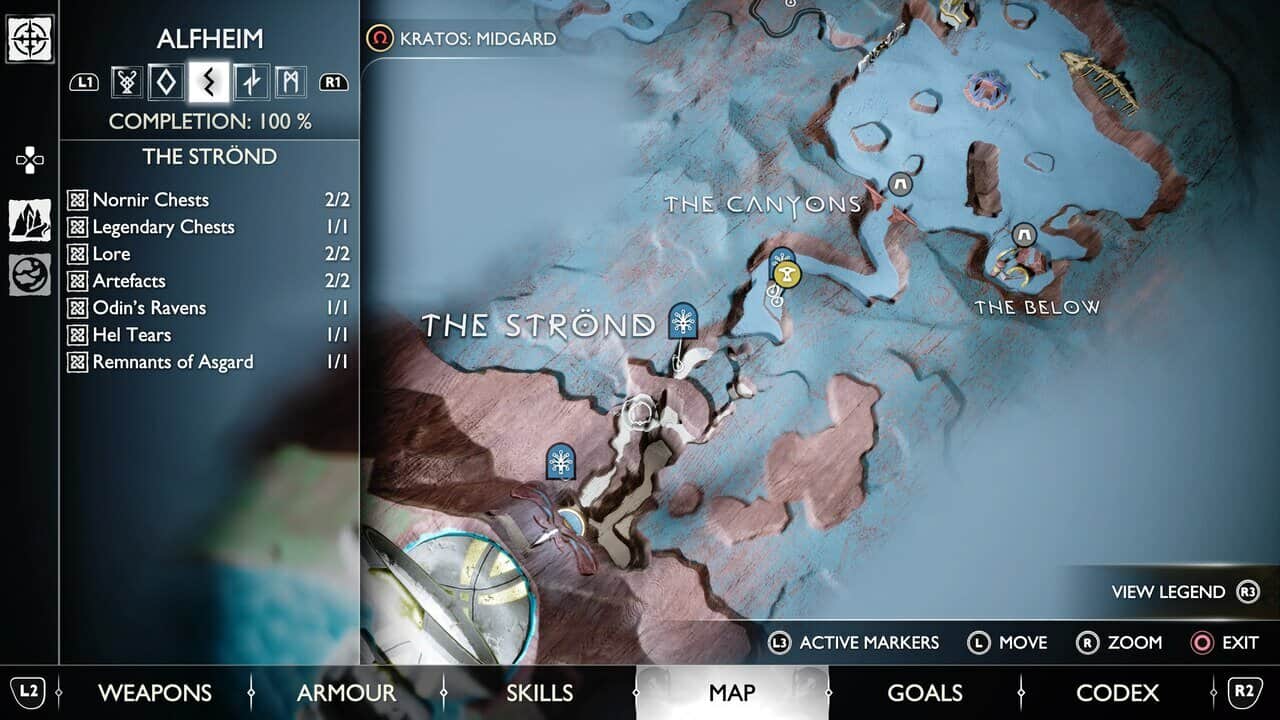
- Nornir Chests 2/2
- Legendary Chests 1/1
- Lore 2/2
- Artifacts 2/2
- Odin’s Ravens 1/1
- Hel Tears 1/1
- Remnants of Asgard 1/1
Lore 1/2
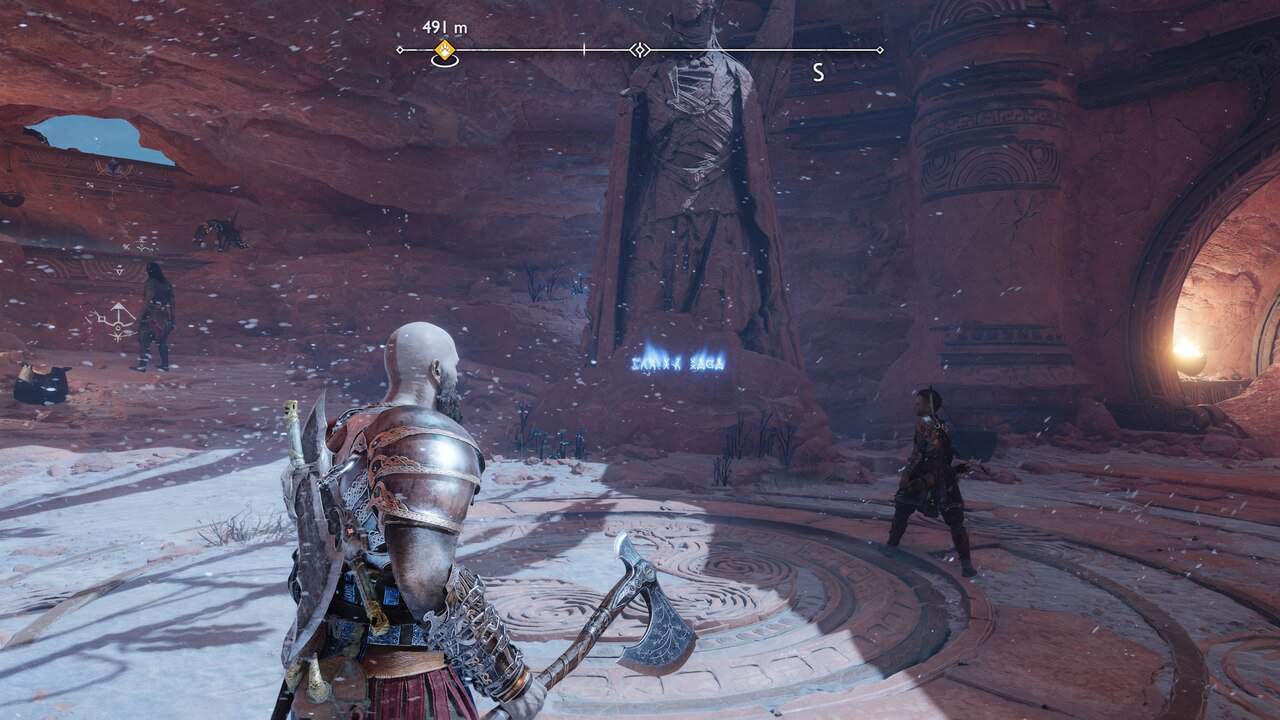
Directly opposite The Strond mystic gateway is the Broken History Rune Read.
Lore 2/2
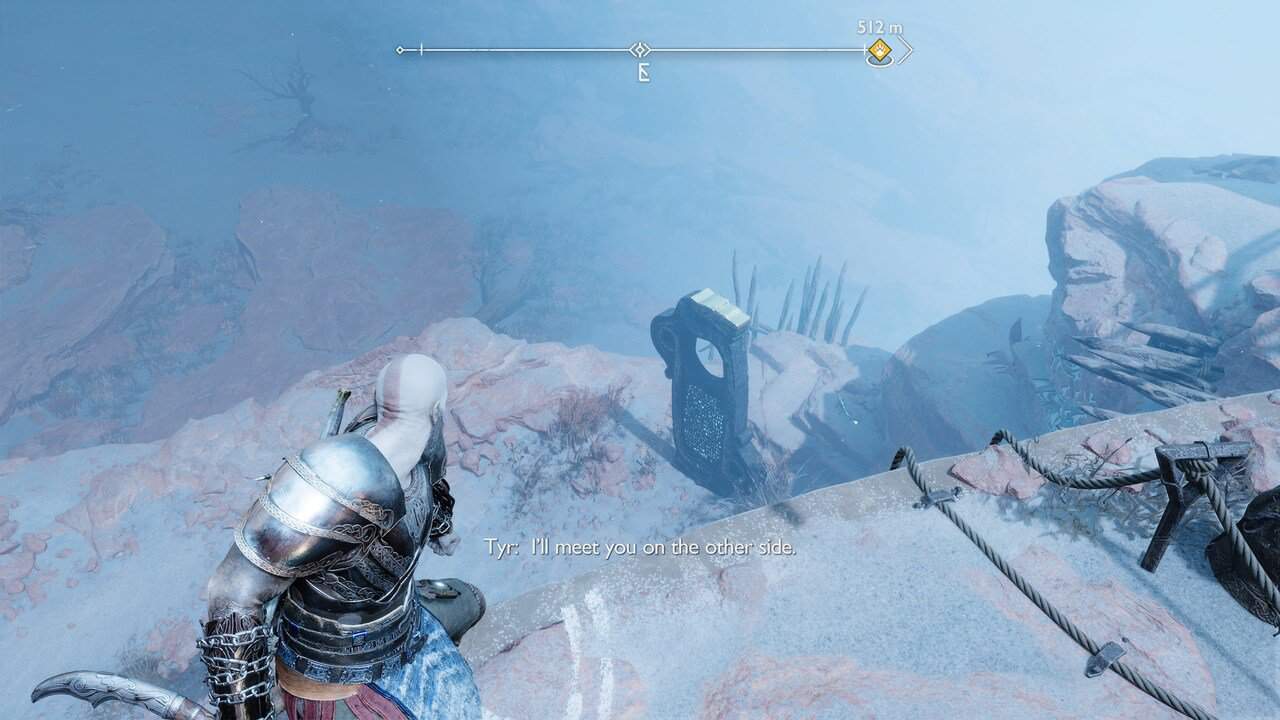
Climb up the ledges opposite The Strond mystic gateway and drop down on the left for The Living Desert Lore Marker.
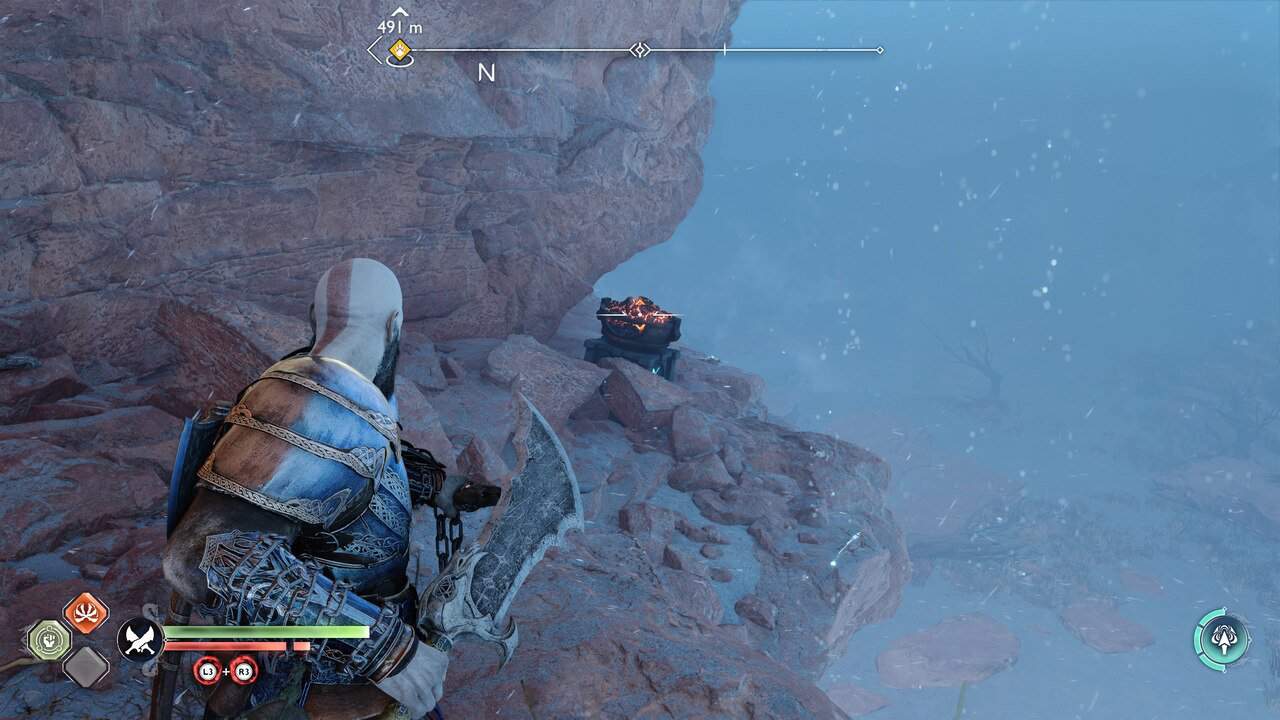
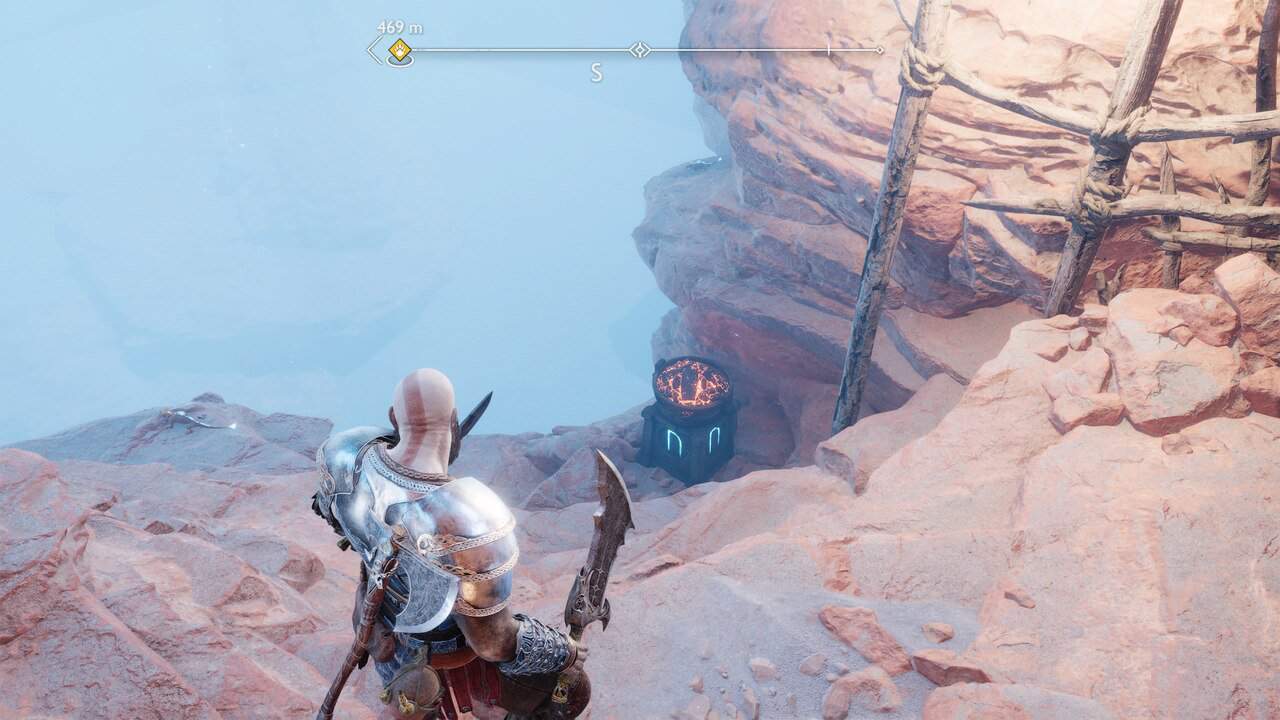
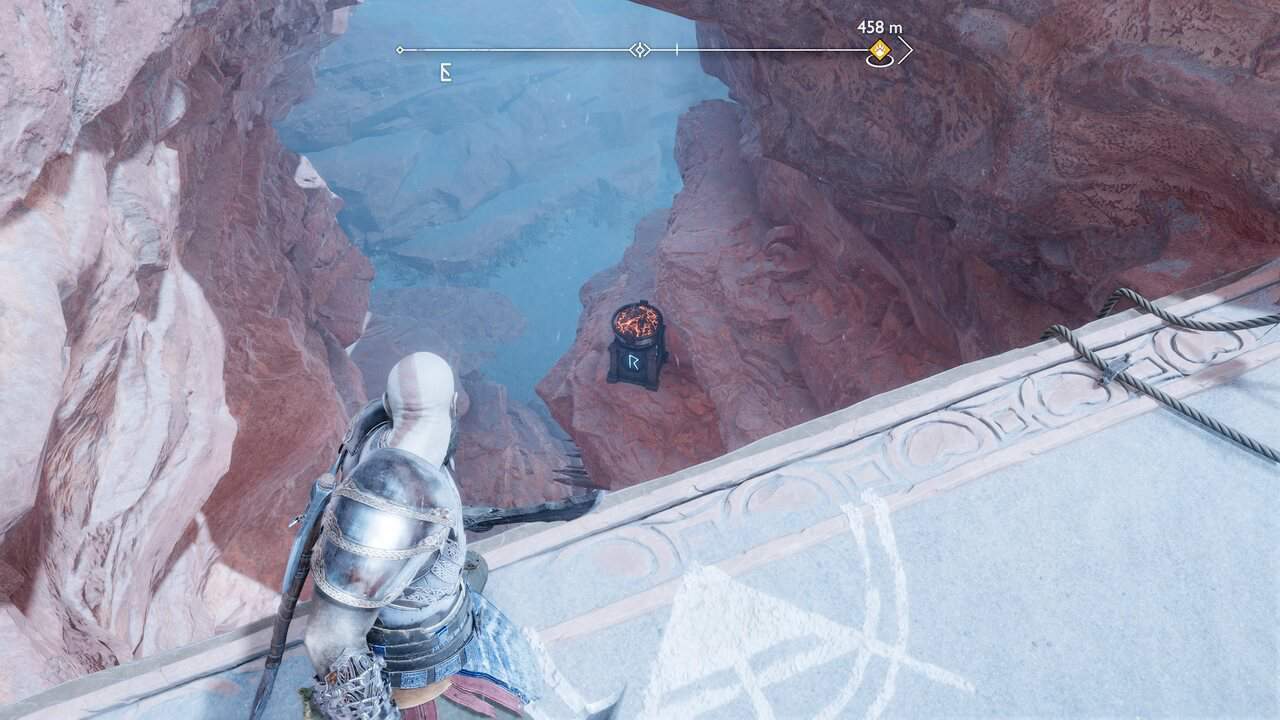
Nornir Chests 1/2
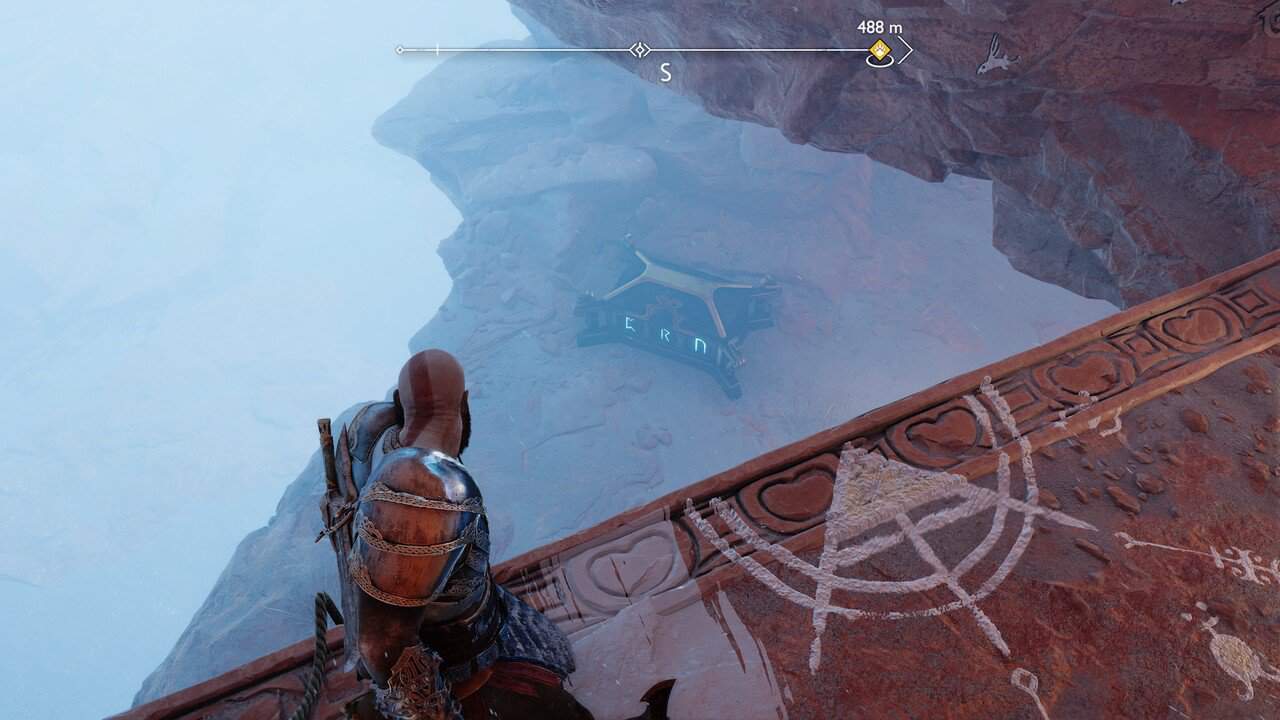
Head into The Strond from the mystic gateway and squeeze through the gap. Drop down left to find a Nornir chest. With the chest in front of you, turn around to find the first brazier you need to hit.
For the second one, go straight past the chest and look left and down the cliff.
For the third one, you’ll need to climb back up the ledge, take a left, then up two ledges and look down the cliff.
Odin’s Ravens 1/1
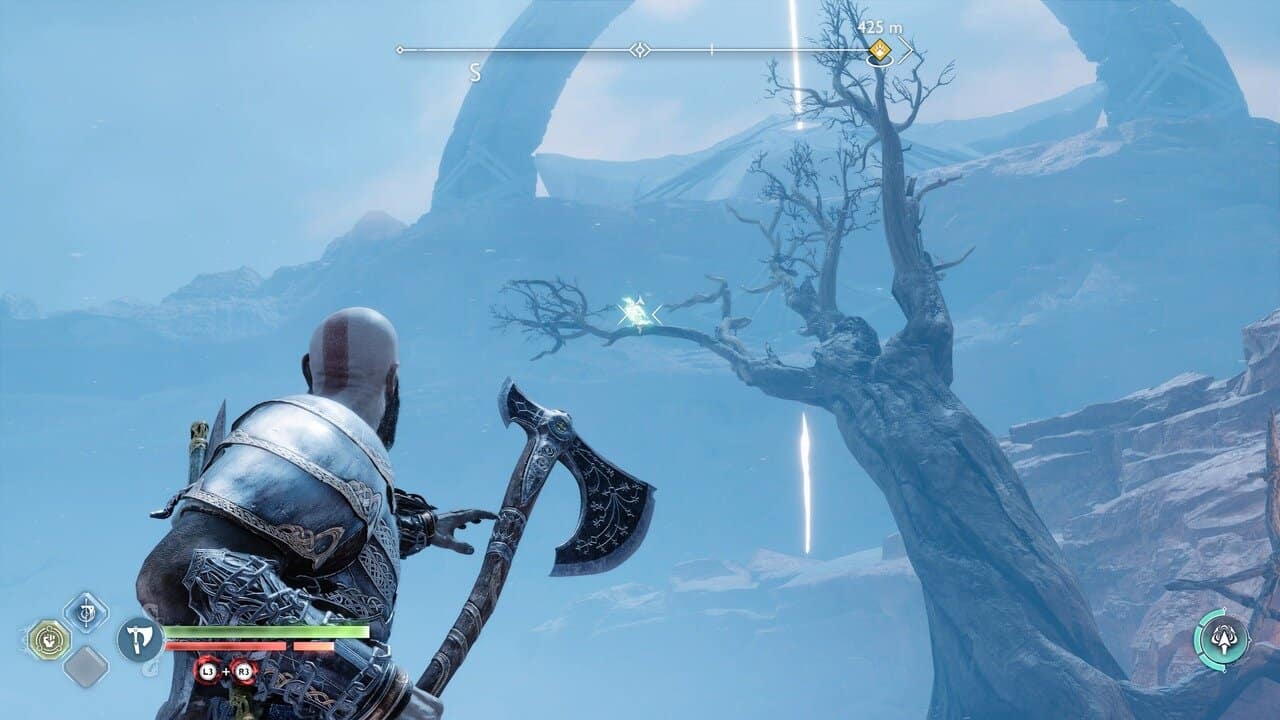
Push forward from the Nornir chest and across a gap. One of Odin’s Ravens is perched in a tree on the left.
Legendary Chests 1/1
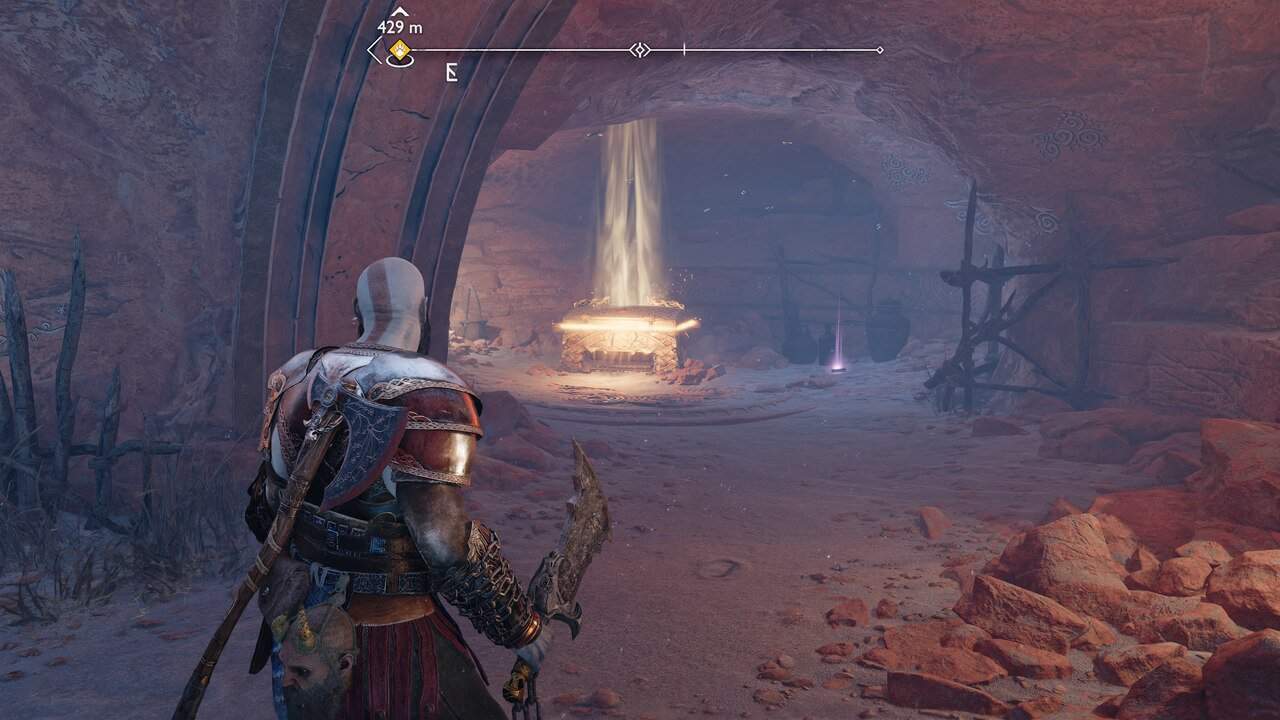
Break through the barricade ahead of the raven and drop down the ledge on the left for a Legendary chests containing Skadi’s Edge light attack rune.
Artifacts 1/2
There’s also Kvasir’s poem – Afterlife Abandonment artifact next to the chest.
Artifacts 2/2
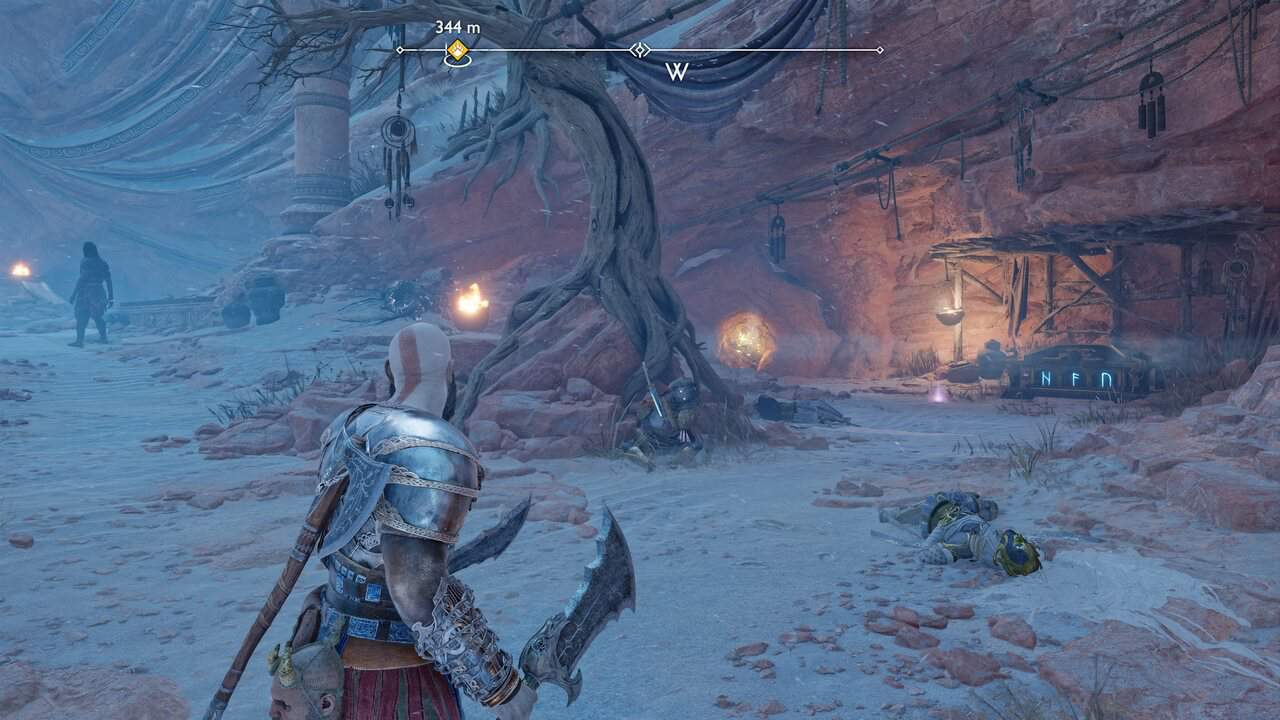
Just before the gap that leads to the entrance of the Temple of Light, you’ll find the Dream Charm, part of the Tributes to Freyr collection.
Nornir Chests 2/2
Next to the Dream Charm is a Nornir chest. You’ll need to throw the spear at all three runes then detonate them all simultaneously (if you don’t have the spear yet, return when you do). The first rune is to the right of the chest.
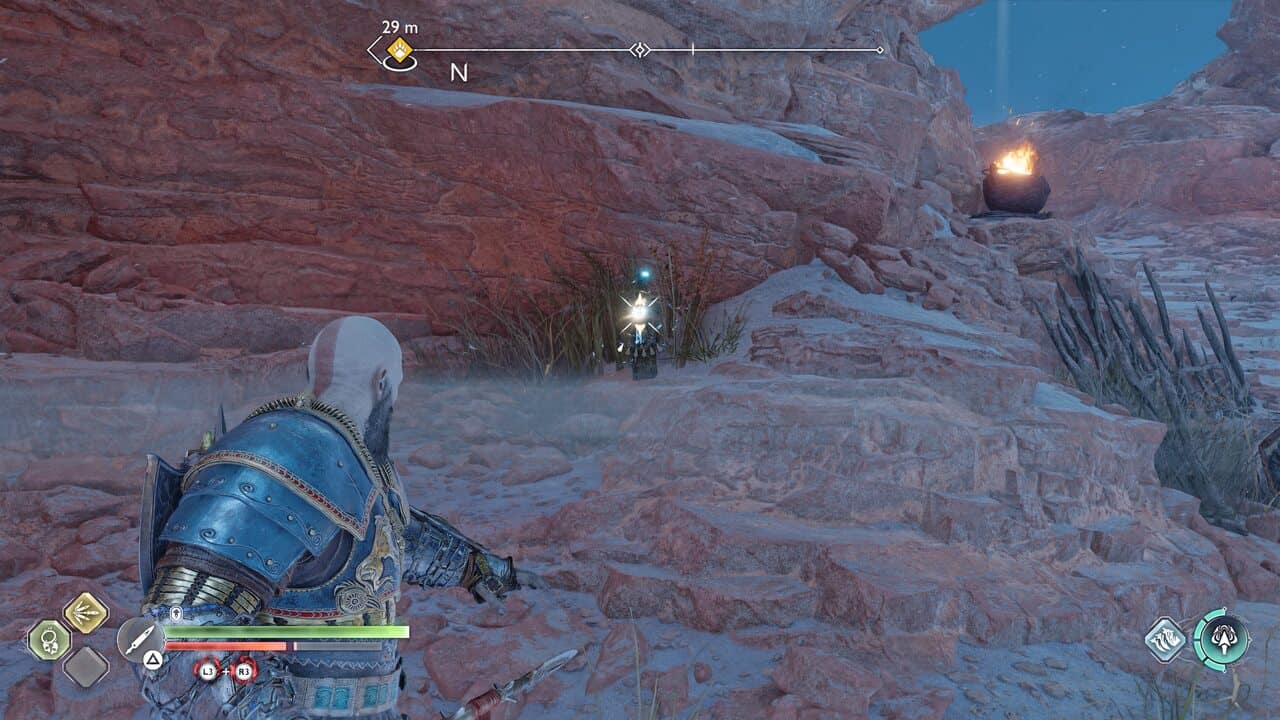
The second is opposite the chest next to a tree rooted on the rocks.
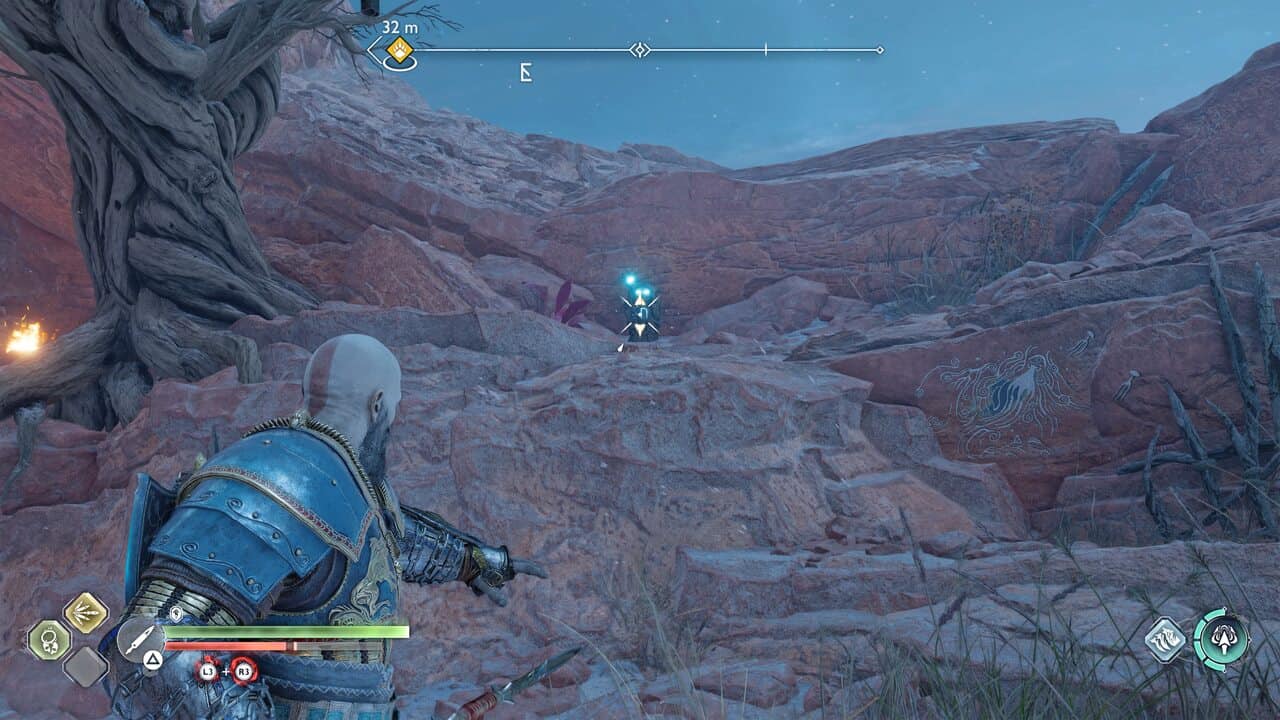
The last is to the right of the bridge just ahead. Loot the chest to get an Idunn Apple.
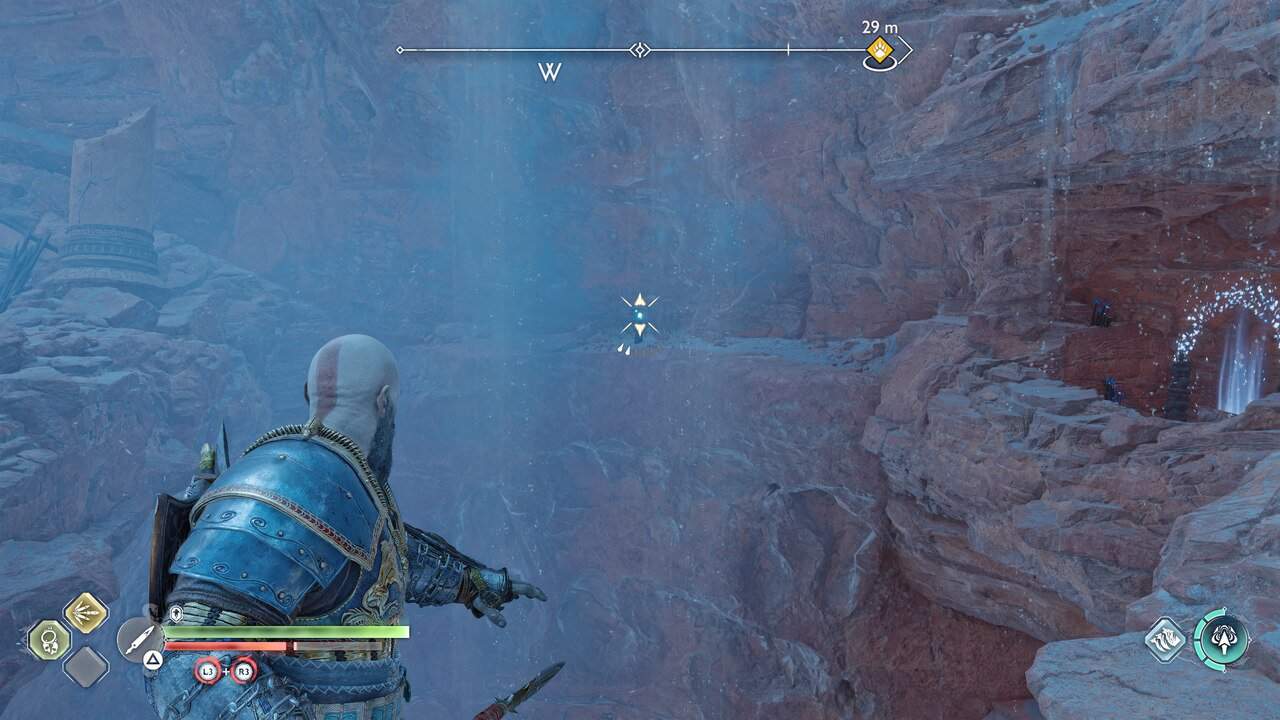
Hel Tears 1/1
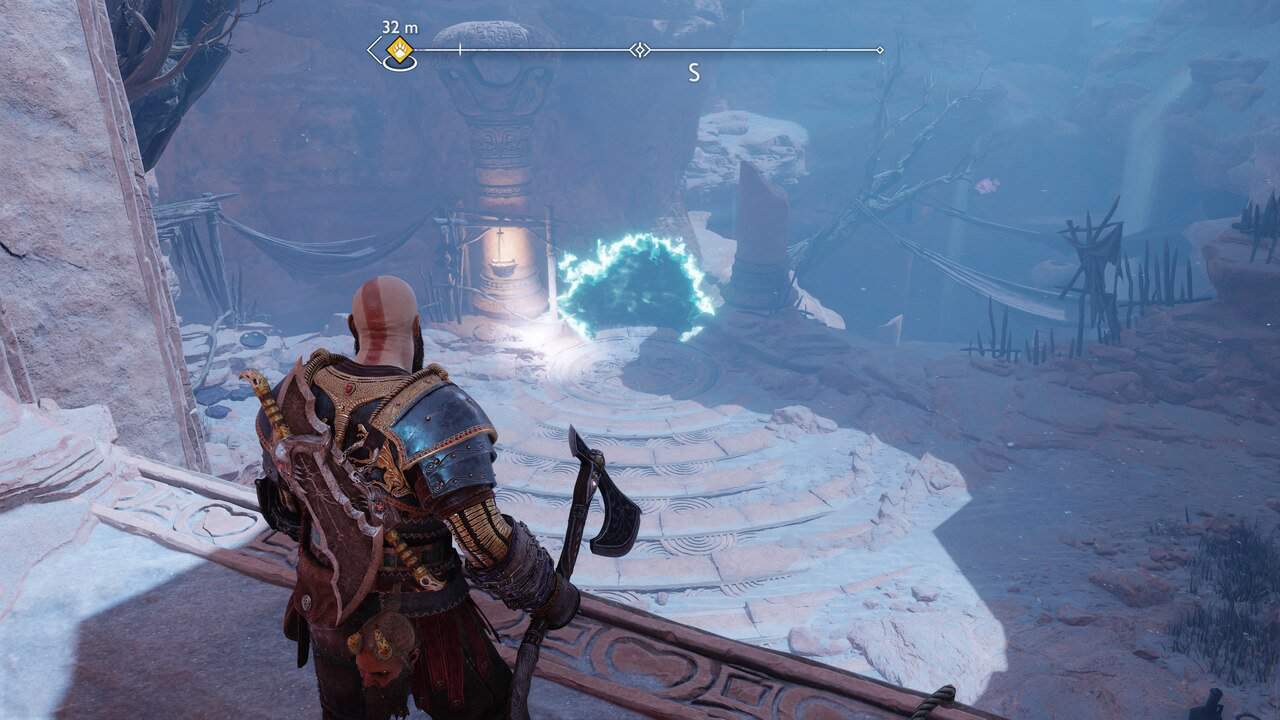
After releasing Garm in Helheim, head to The Strond mystic gateway, take the right path, drop down the ledge to find a realm tear.
Remnants of Asgard 1/1
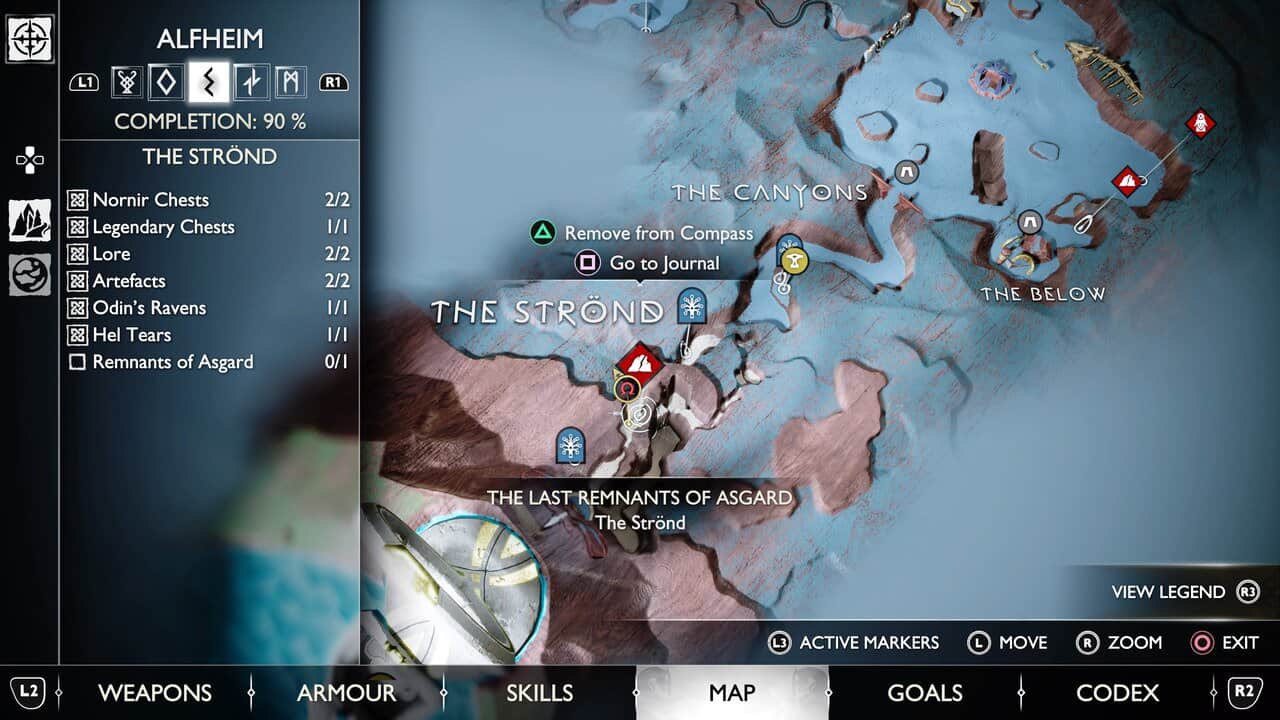
After beating the story, travel to the Temple of Light mystic gateway. Walk forward following the path and pass under the rock ahead to find Remnants of Asgard.
The Temple of Light, Alfheim – God of War Ragnarok
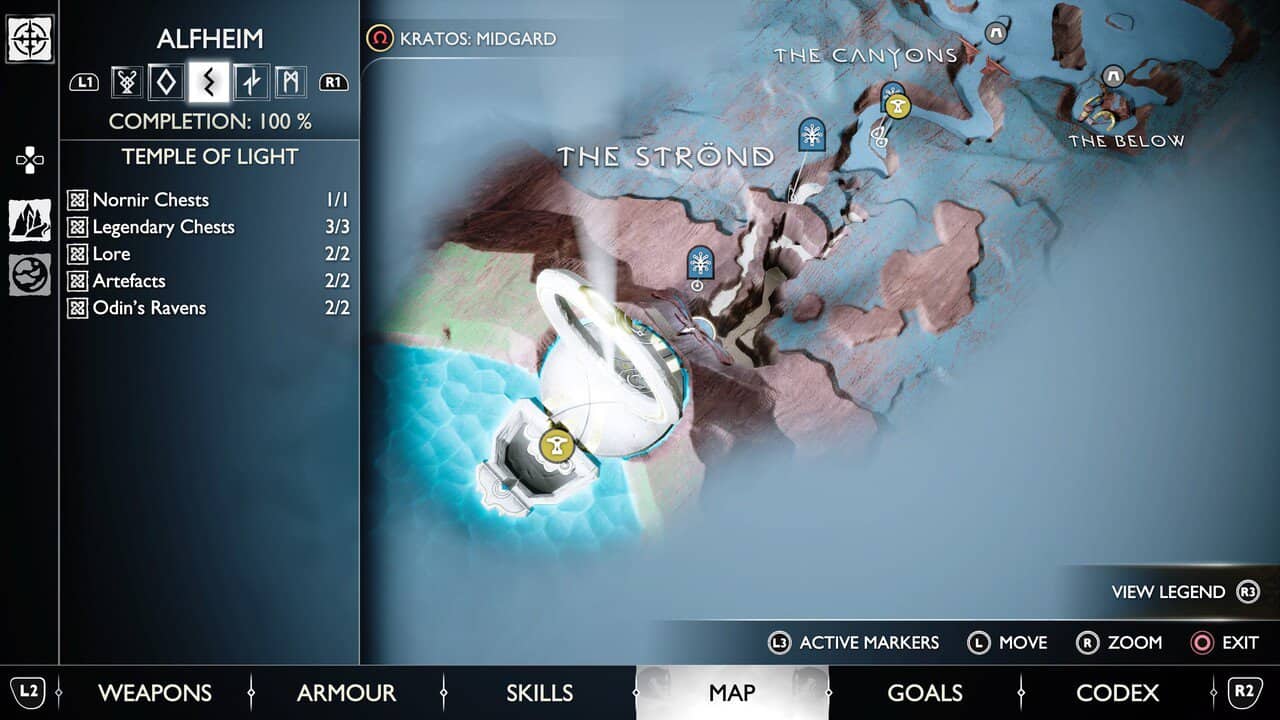
- Nornir Chests 1/1
- Legendary Chests 3/3
- Lore 2/2
- Artifacts 2/2
- Odin’s Ravens 2/2
Odin’s Ravens 1/1
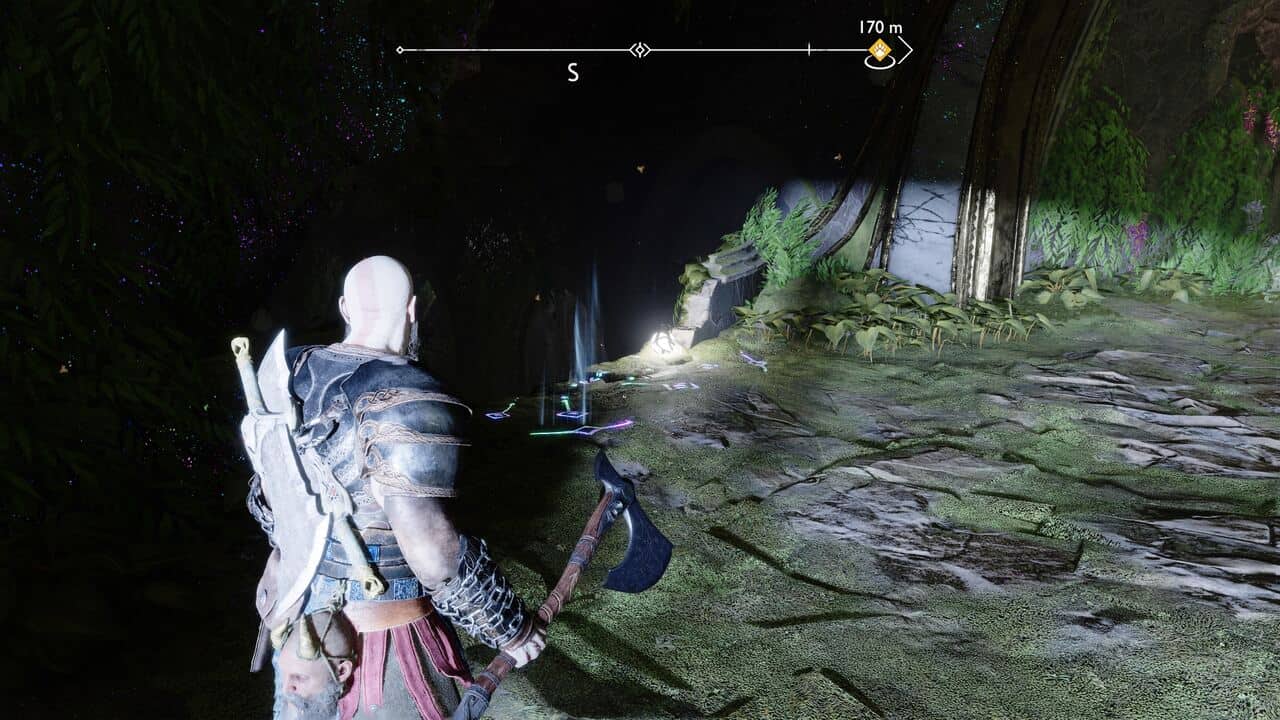
As you make your way up to the temple, look for a path that drops down on the left. Drop down then climb up to the level ahead. Take a right.
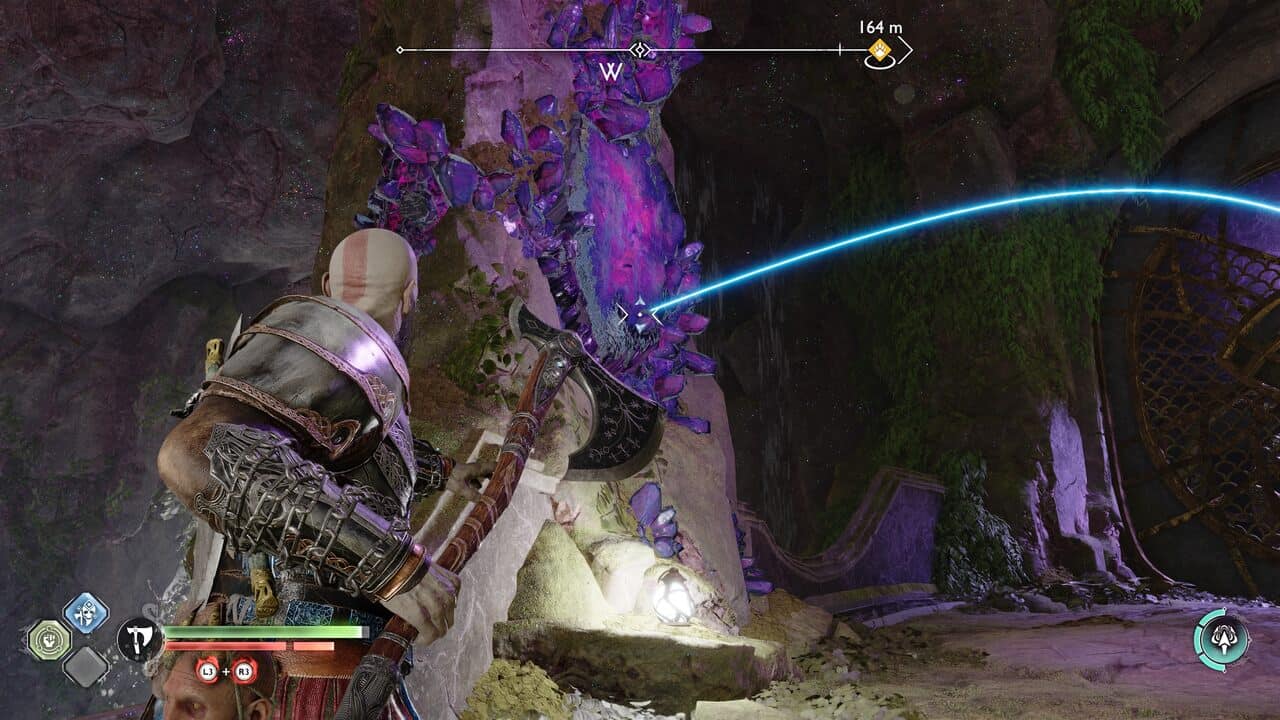
Throw the axe at the Twilight Stone to take out one of Odin’s Ravens behind the grating on the right.
Lore 1/2
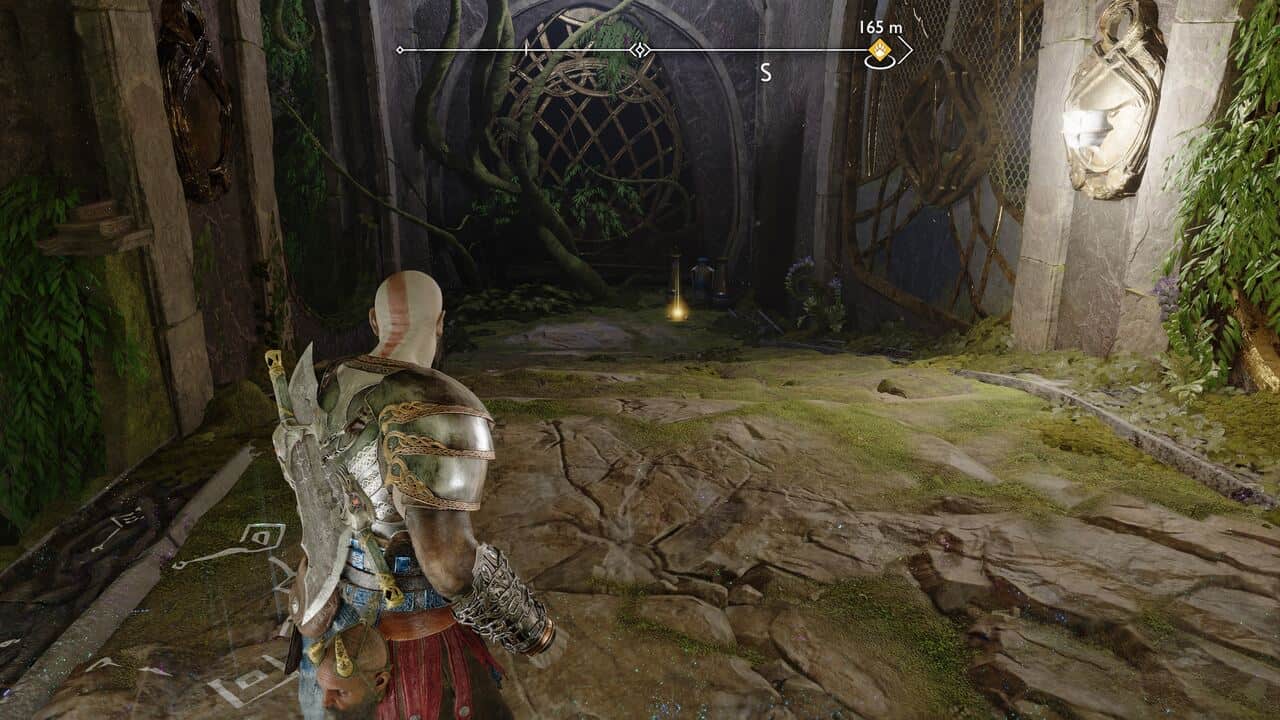
Back track, but go left this time to find The Bifrost Bridge lore scroll on the floor.
Legendary Chests 1/3
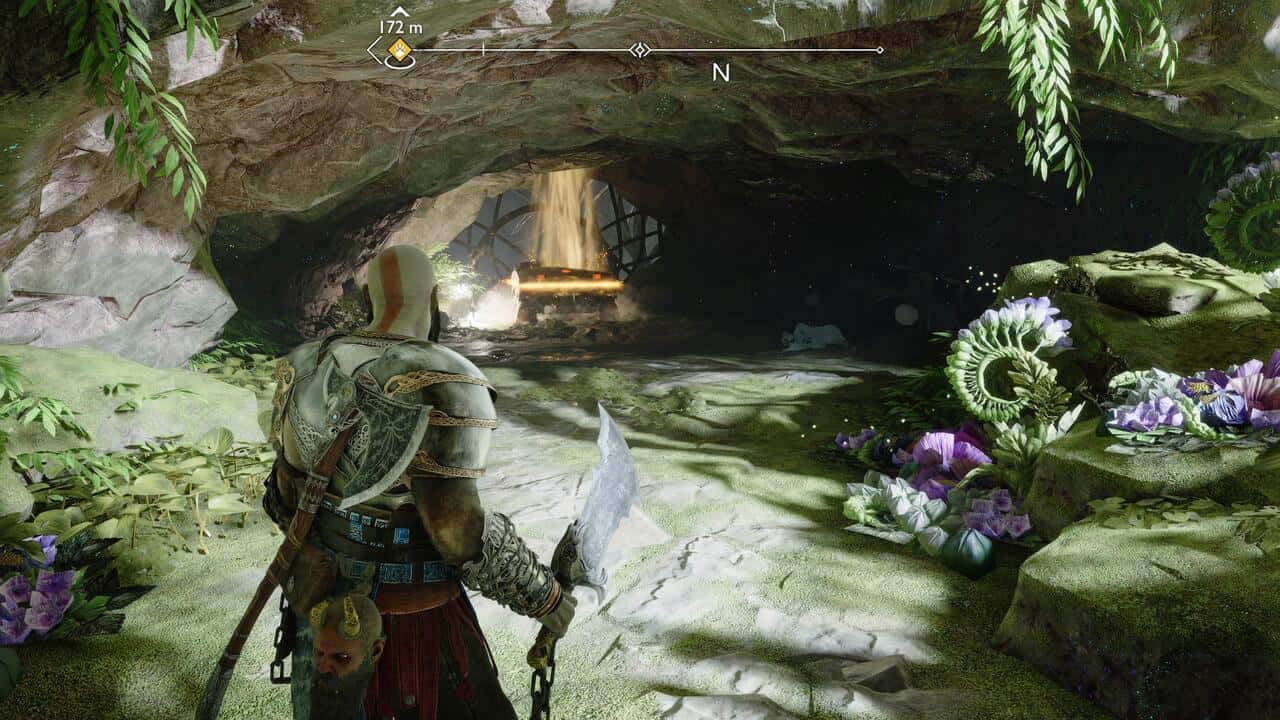
Next to the scroll is a edge leading to a Legendary chest with the Hades Retribution light runic attack for the Blades inside.
Artifacts 1/2
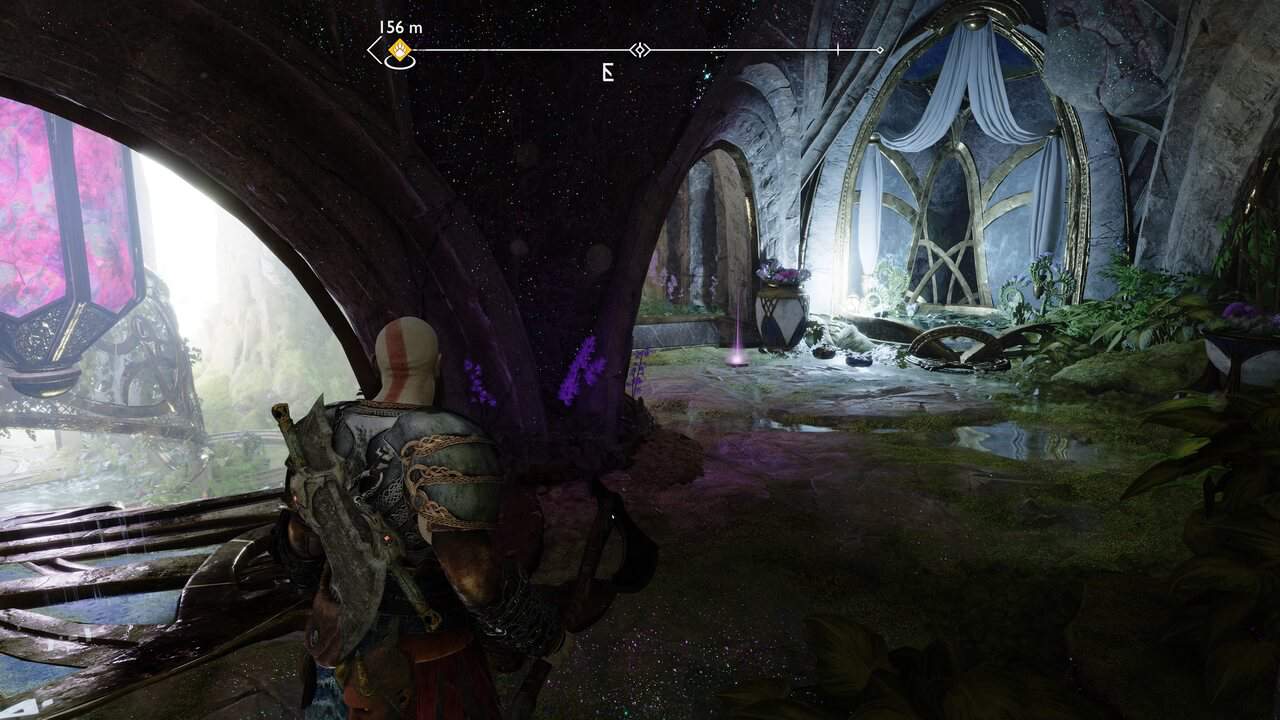
Continue through the next light door and take a right up a ledge. Follow the path to find the Kvasir’s Poems – Visions After Rest artifact.
Legendary Chests 2/3
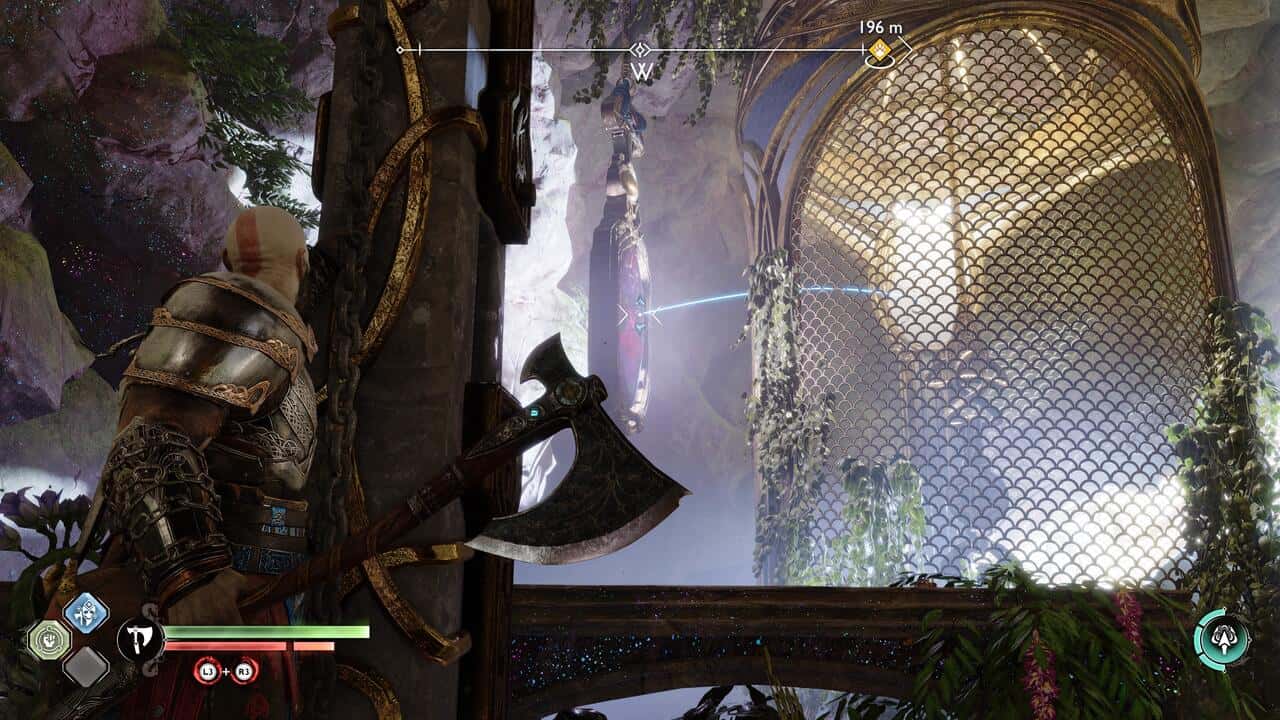
At the next light door, drop down on the left. Head through the door on your right. Pull the chain and throw the axe at the Twilight Stone above, then recall to raise the gate leading to a Legendary chest with the Hilt of Gram Relix inside.
Artifacts 2/2
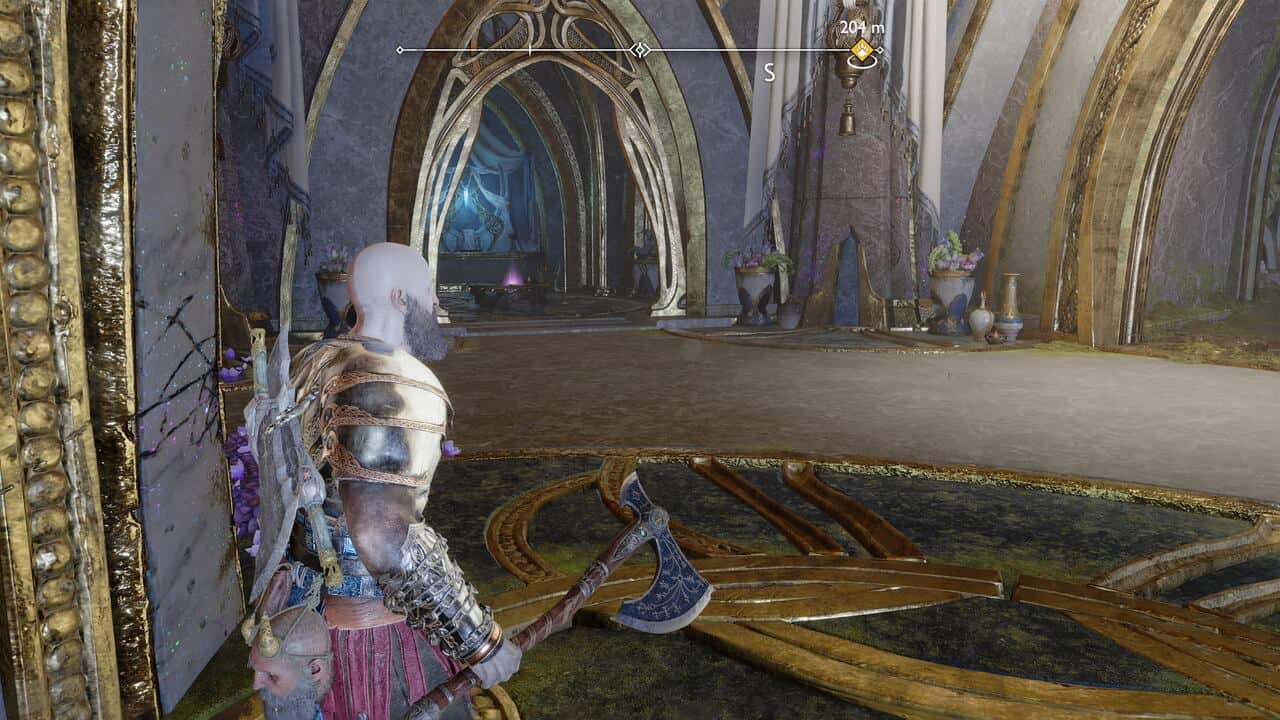
Open the light door and grab the Kvasir’s Poems – Spirits Within Walls artifact on the left.
Legendary Chests 3/3
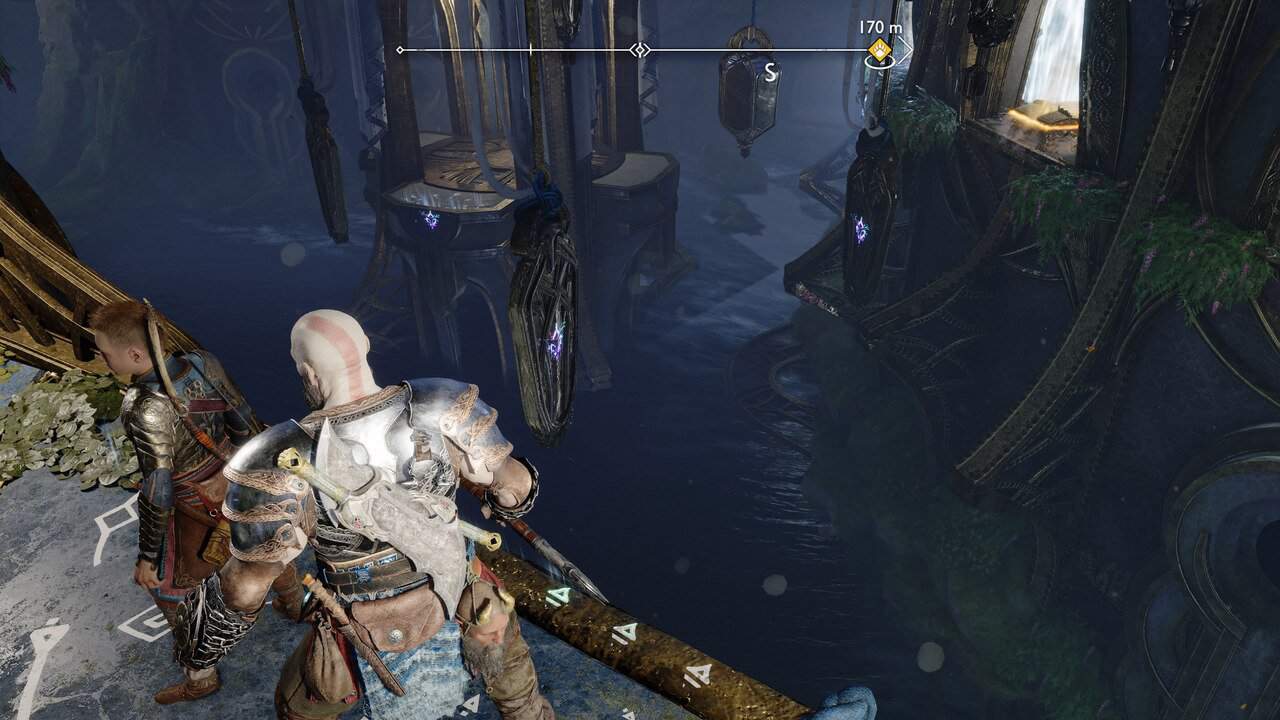
When you get to the large gap peppered with grapple points, head left and grapple the danging Twilight Stone to get it swinging. Axe it as it swings, then grapple across to loot a Legendary chest containing the Rune-Engraved Release accessory.
Nornir Chests 1/1
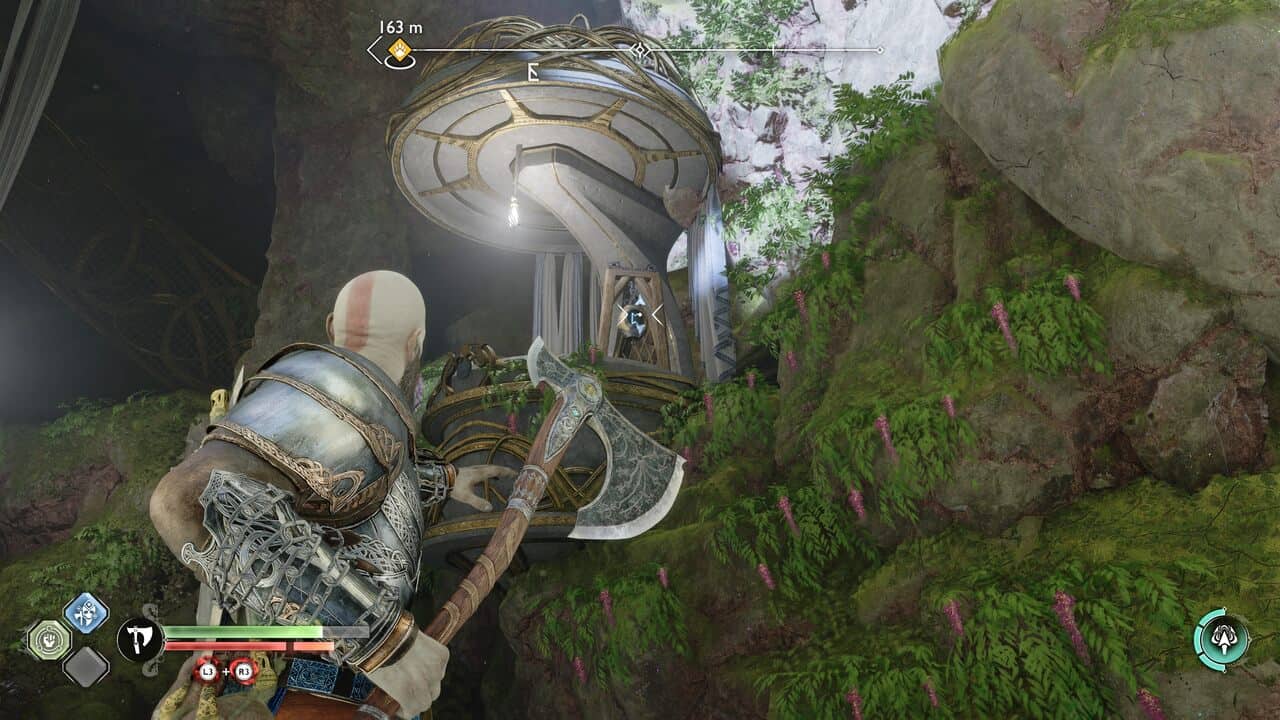
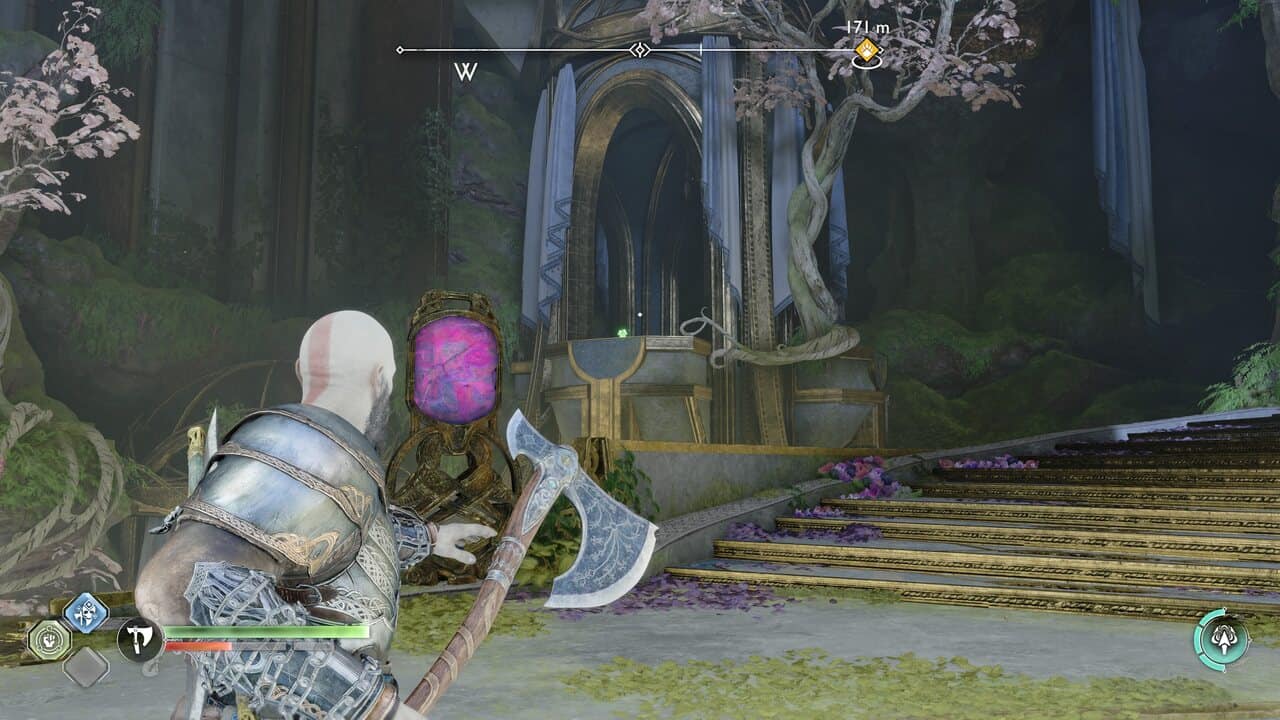
Press forward and up. Fight the elves, then push the statue over. Cross the light bridge to find a Nornir chest. The first rune is just above the chest. Go down the right hand corridor, then instruct Atreus to shoot the seal, then axe the Twilight Stone to get the second rune.
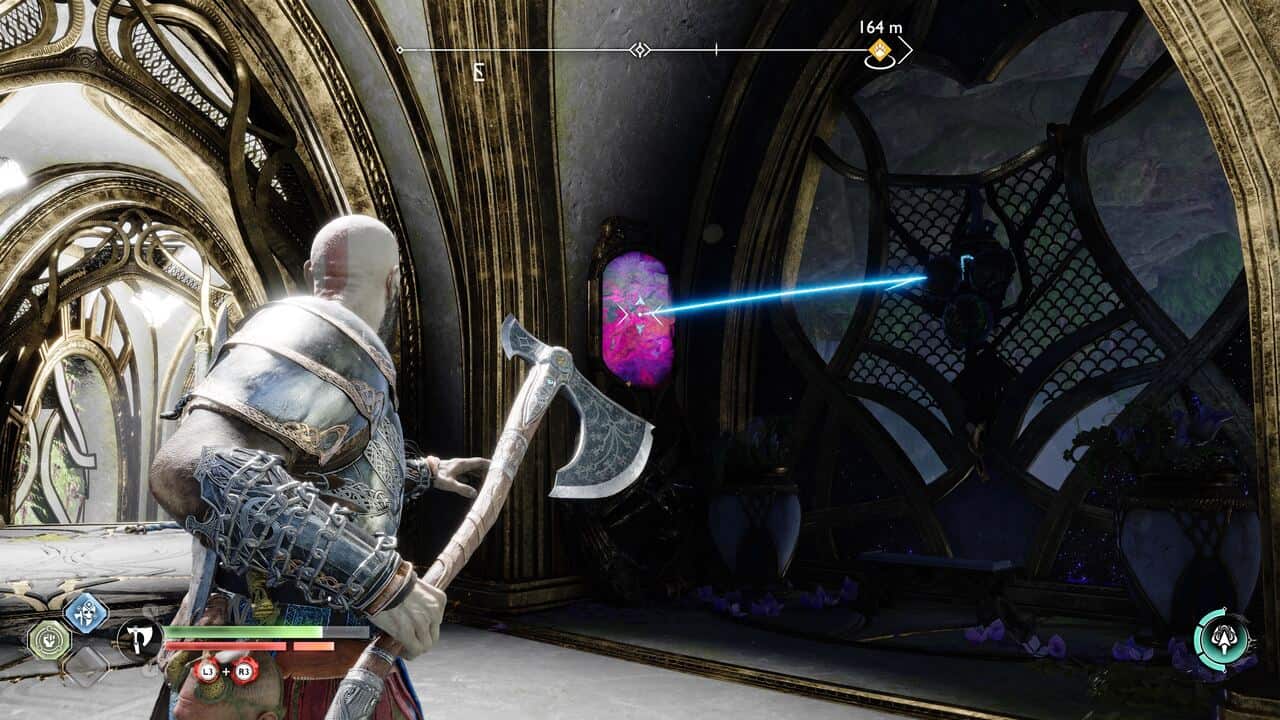
The third is above on a ledge just left of the chest.
Odin’s Ravens 2/2
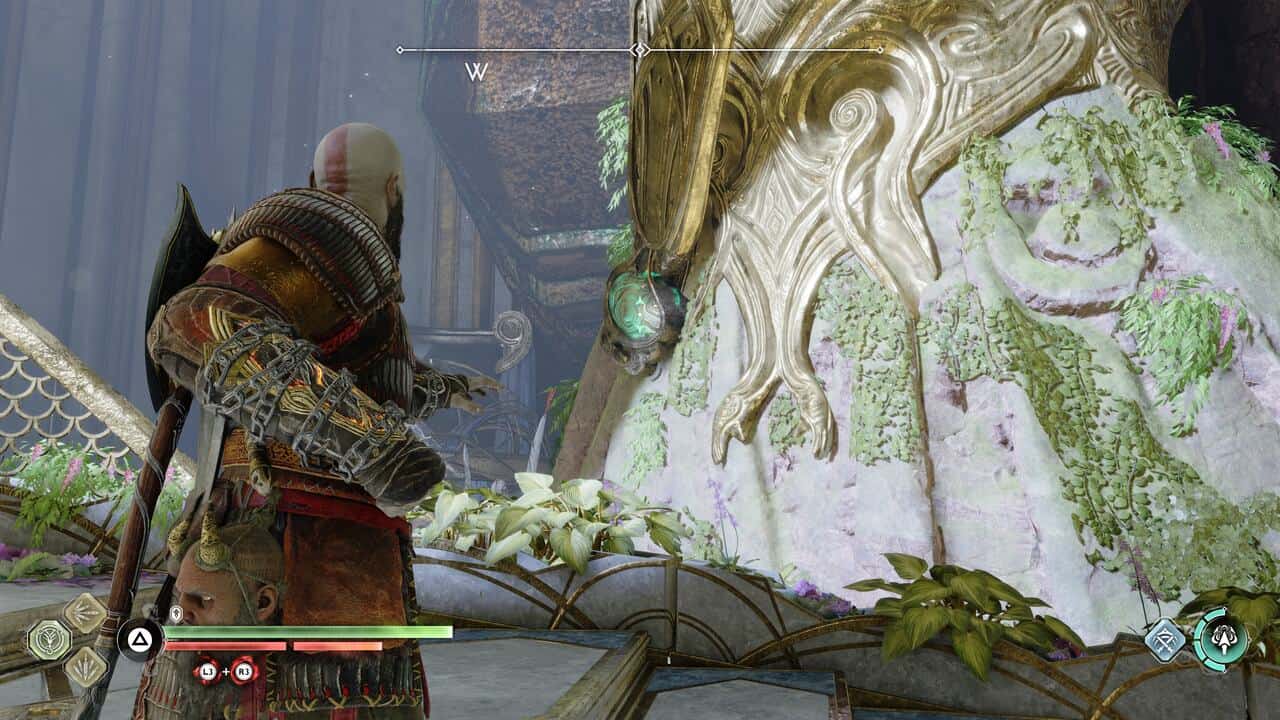
Up from the Nornir chest is one of Odin’s Ravens on your left as you climb the second set of stairs.
Lore 2/2
When you reach the lift at the top of the temple, look right to find a seal you can get Atreus to shoot with a sonic arrow. This releases a grapple point leading to the Limitless Rune Read.
The Canyons, Alfheim – God of War Ragnarok
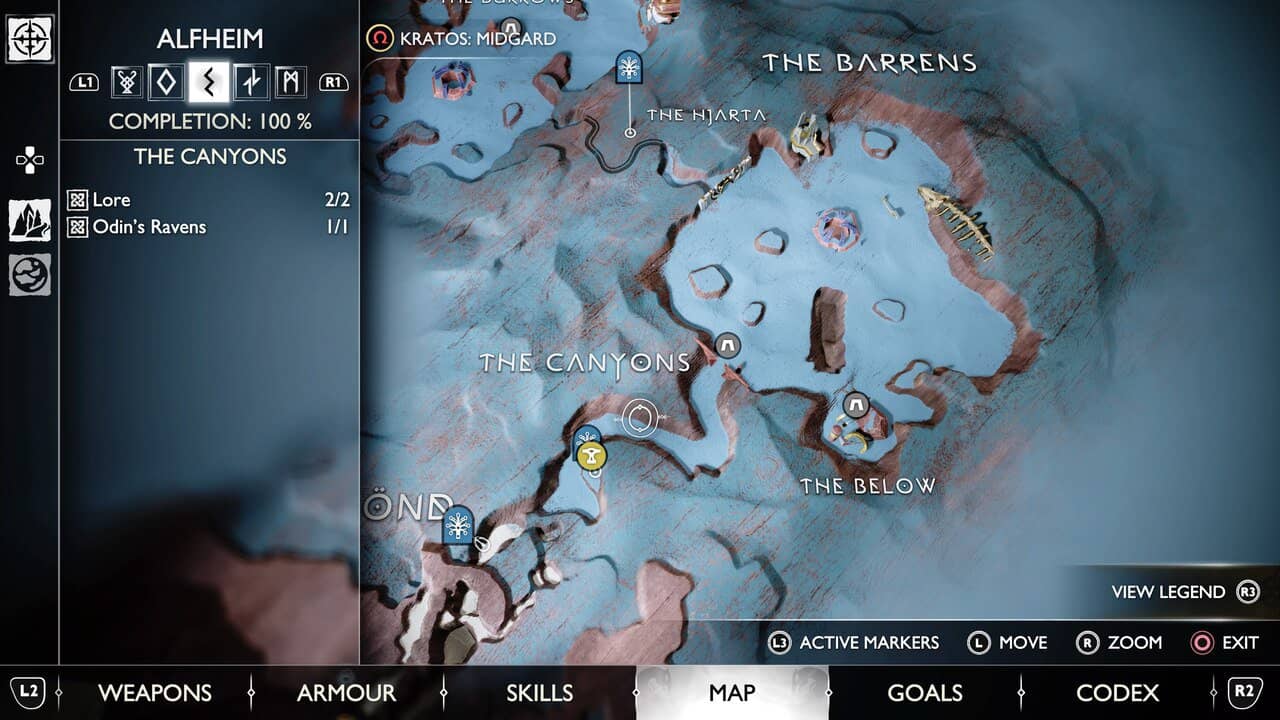
- Lore 2/2
- Odin’s Ravens 1/1
Odin’s Ravens 1/1
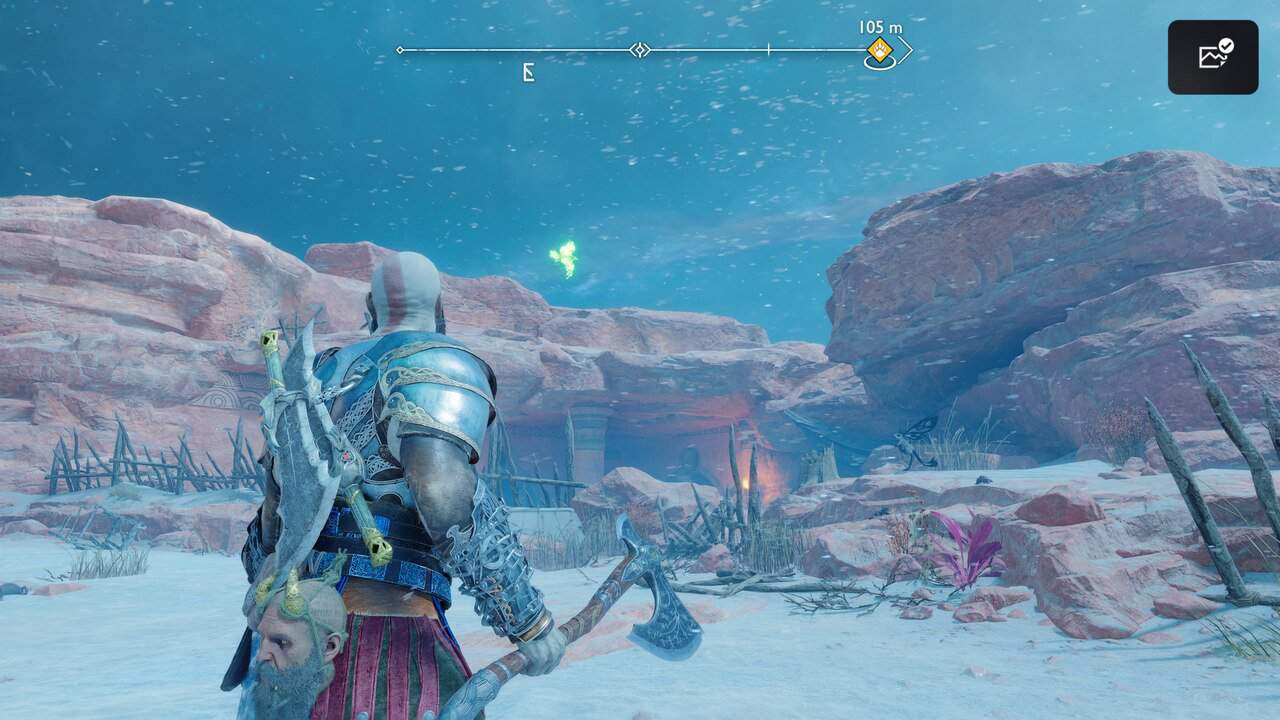
Head left from The Strond mystic gateway. Line up the two red blobs and destroy them with an axe throw. Climb to the ledge just above, look right and shoot the Odin’s Raven circling above.
Lore 1/2
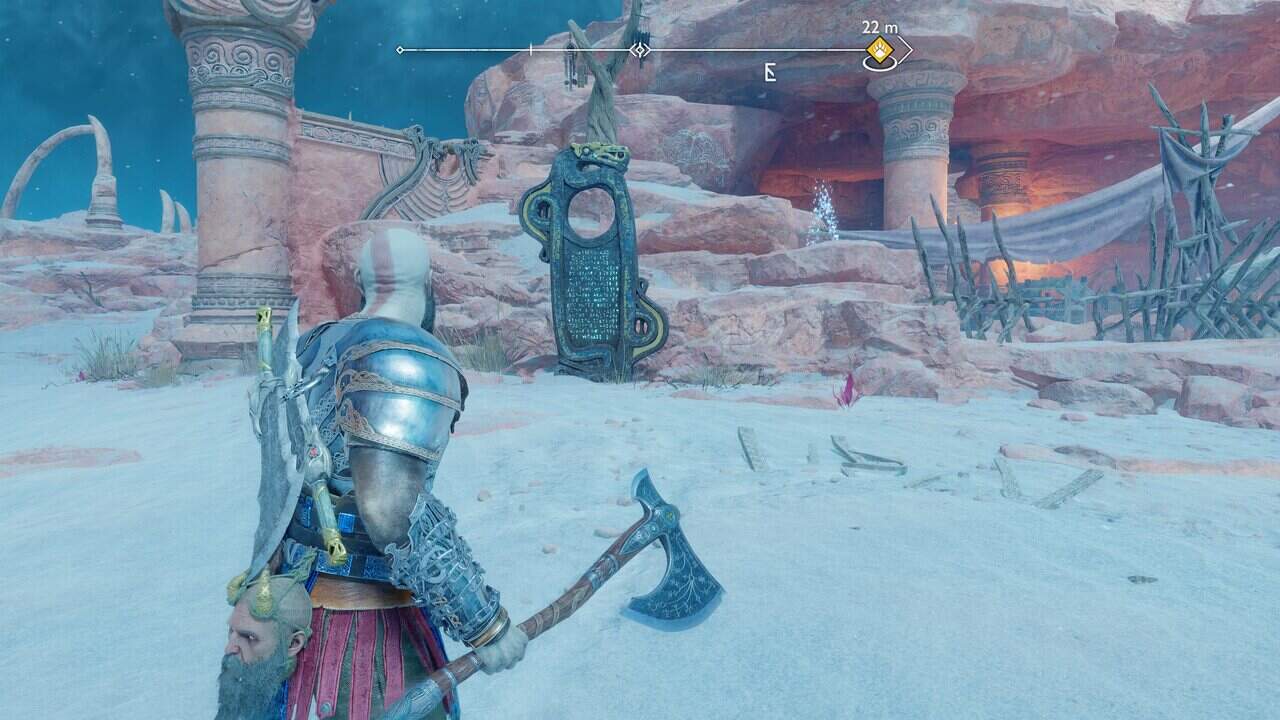
Speak to Sindri as his shop in the clearing to start the Secret of the Sands Favour – you’ll need to investigate the cries of a pained creature. To the left of the shop is the U-natur-liker Lore Marker.
Lore 2/2
The second lore item is the Vulture’s Gold treasure map. From The Strond’s mystic gateway, walk towards The Canyons – it’s on the ground on your left.
The Barrens, Alfheim – God of War Ragnarok
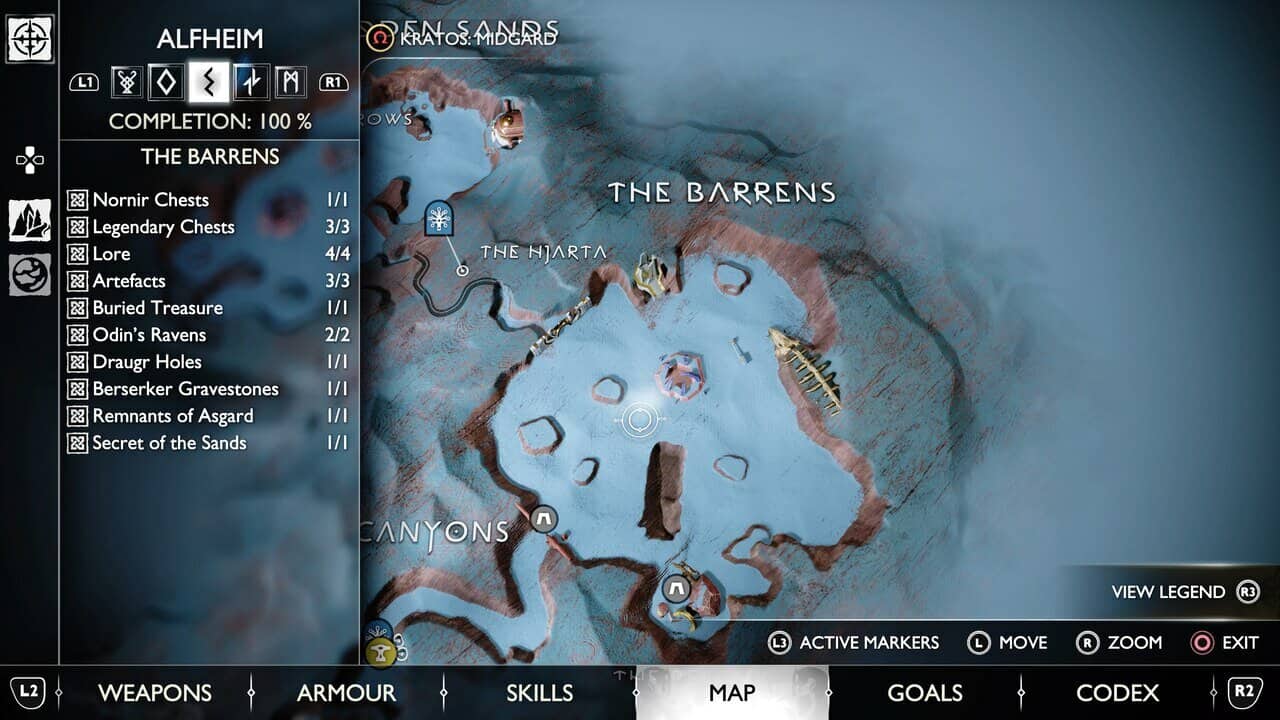
- Nornir Chests 1/1
- Legendary Chests 3/3
- Lore 4/4
- Aritfacts 3/3
- Buried Treasure 1/1
- Odin’s Ravens 2/2
- Draugr Holes 1/1
- Berserker Gravestones 1/1
- Remnants of Asgard
- Secret of the Sands 1/1
Buried Treasure 1/1
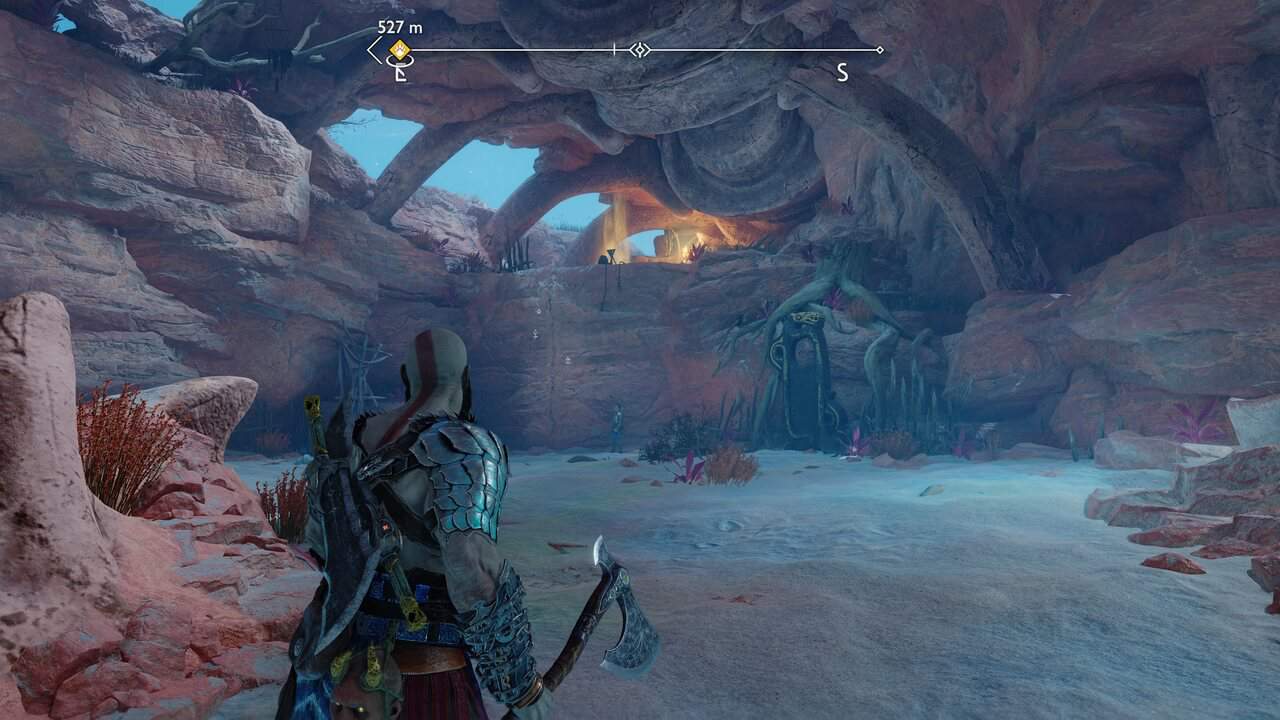
Get to the head of the large carcass in the north-east of The Barrens. Climb the short ledge to find the buried treasure for the Vulture’s Gold Treasure Map.
Lore 1/4
Go right, climb up the ledge and fight the enemies there. Further into the carcass, you’ll find The Desert of Our Ignorance Lore Marker.
Artifacts 1/3
Alongside, the Lore Marker is Kvarsir’s Poems – Celestial Construct.
Legendary Chests 1/3
In the carcass, you’ll also find Legendary chest with the Belt of Radiance inside.
Odin’s Ravens 1/2
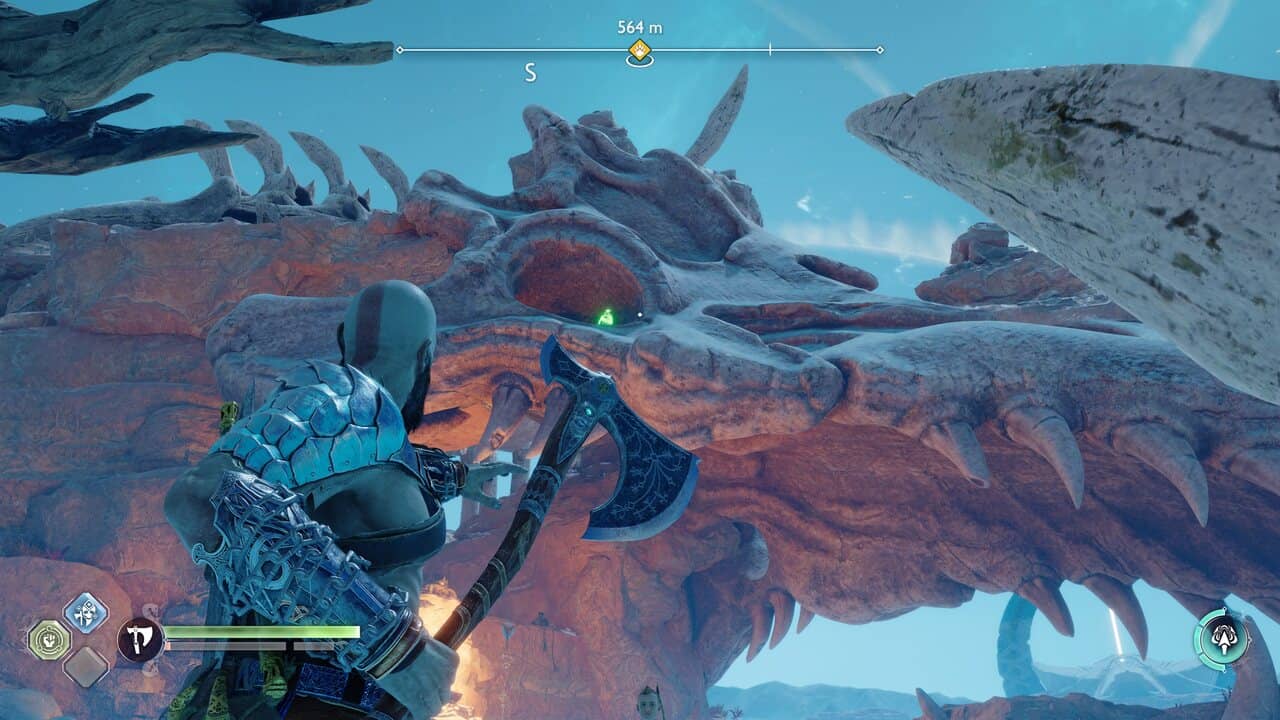
In the carcasses left-hand eye socket there’s one of Odin’s Ravens.
Nornir Chests 1/1
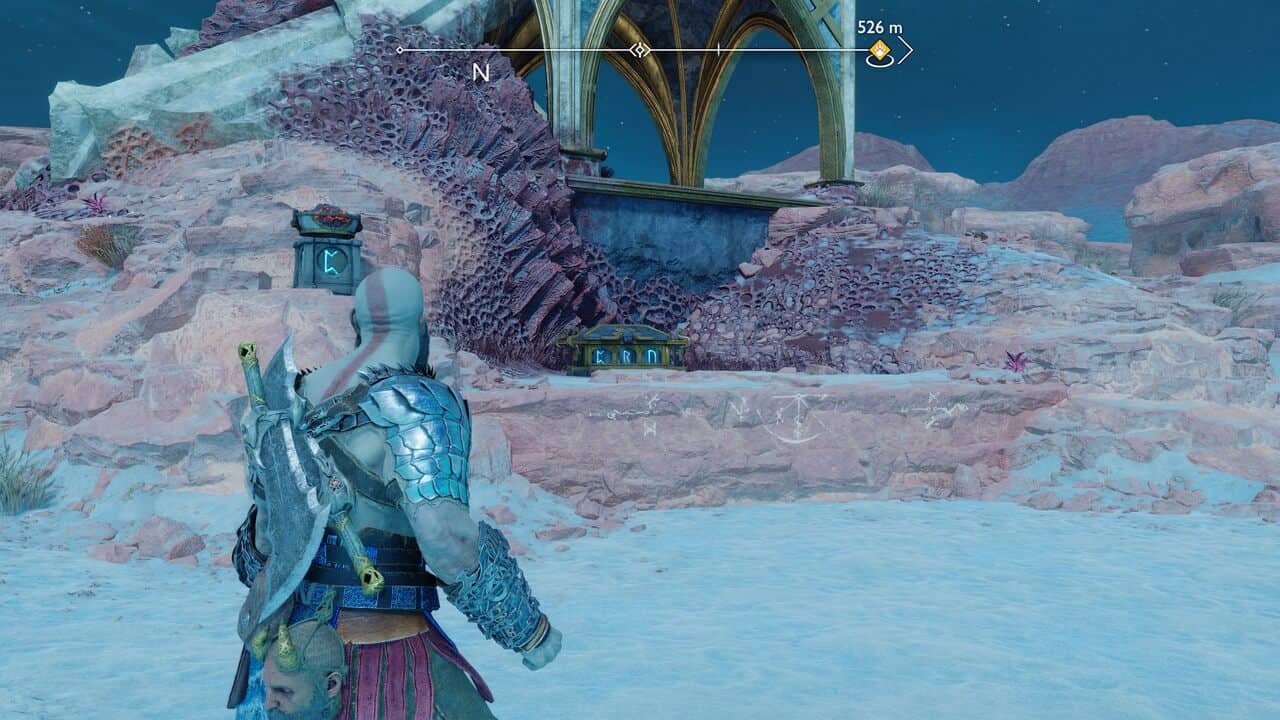
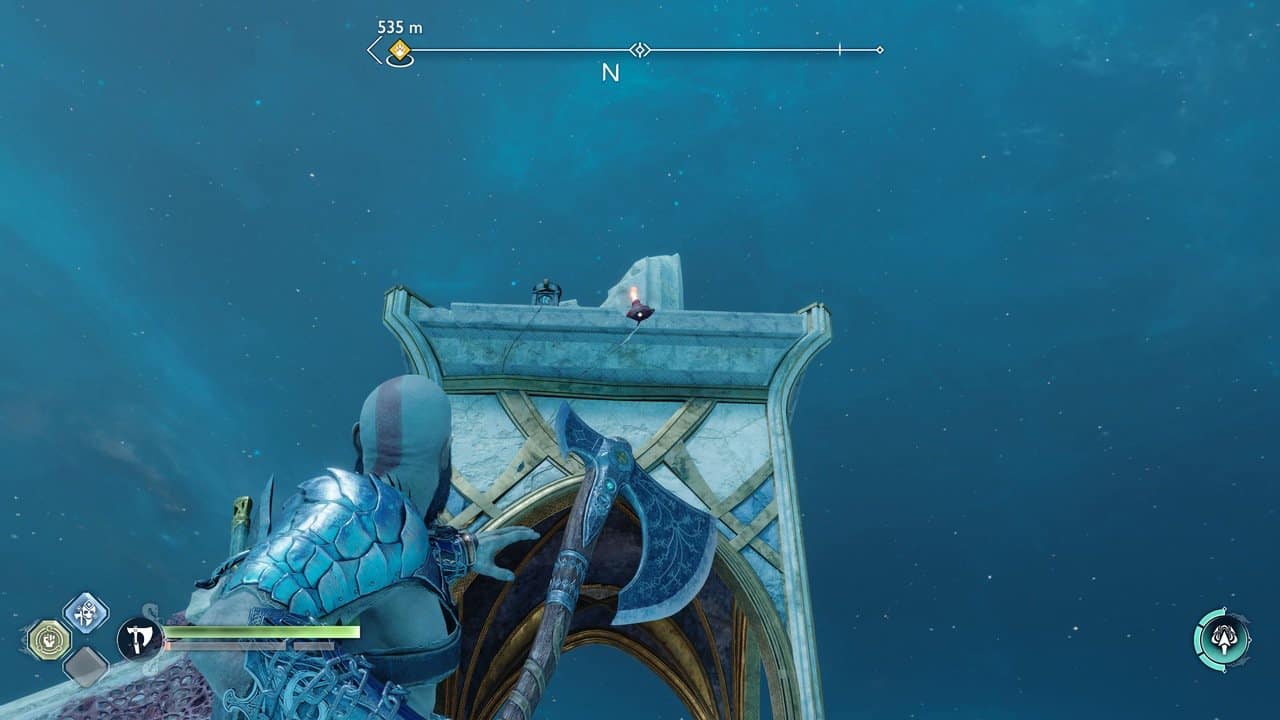
Go to the northeastern part of The Barrens area to find a Nornir chest next to a building with bindings. It’s just north of the carcass. Go around the back and shoot the red blobs. The first rune is just to the left of where you shot the blobs at the back. Return to the front.
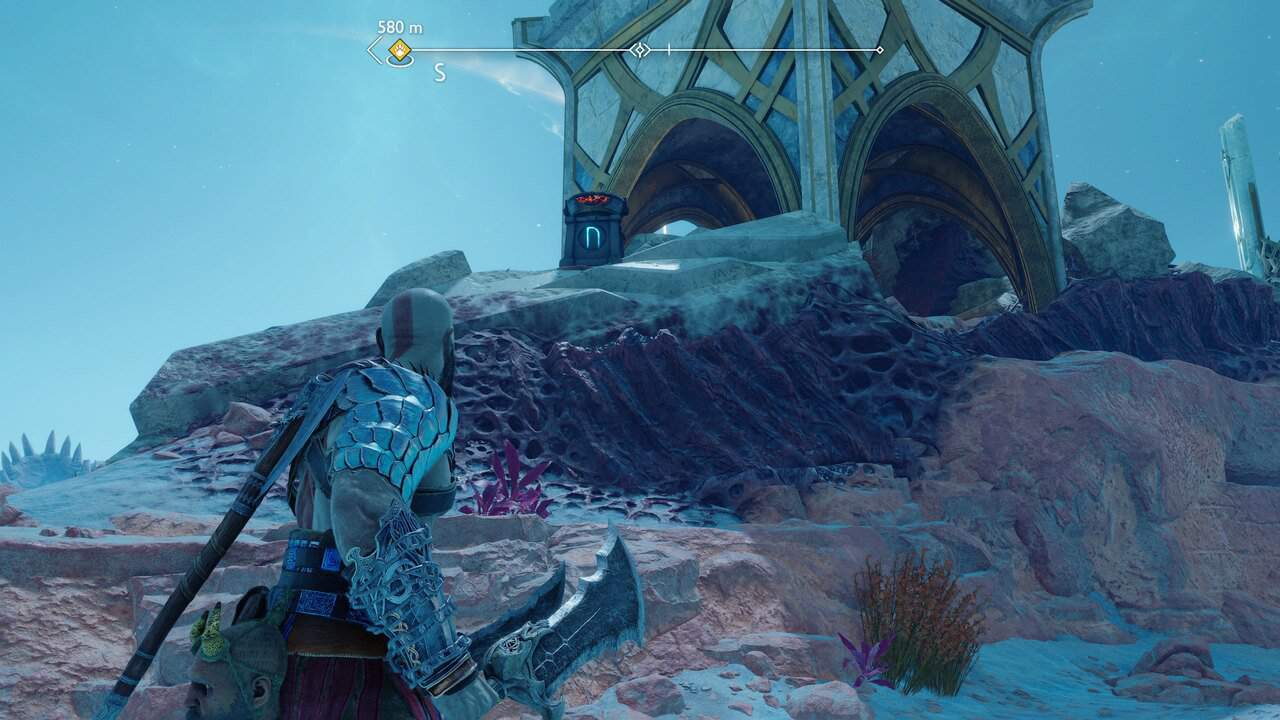
The second rune is to the left of the chest. The third is on the roof – instruct Atreus to shoot the red pot. The chest contains an Idunn Apple.
Legendary Chests 2/3
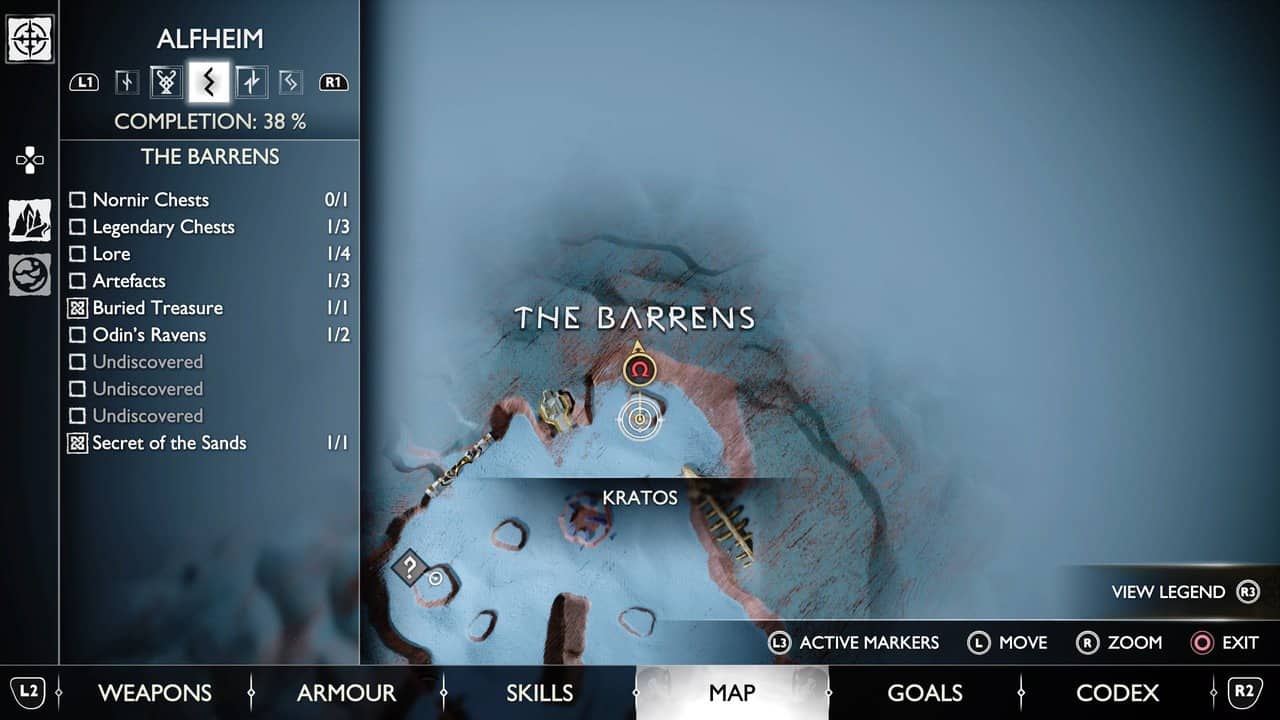
From the Nornir chest, go left to the next building along. Inside are a few dark elves to fight off and a Legendary chest with the Gauntlets of Radiance inside.
Lore 2/4
Inside the structure is also the first of The Lost Pages Favour collection.
Artifacts 2/3
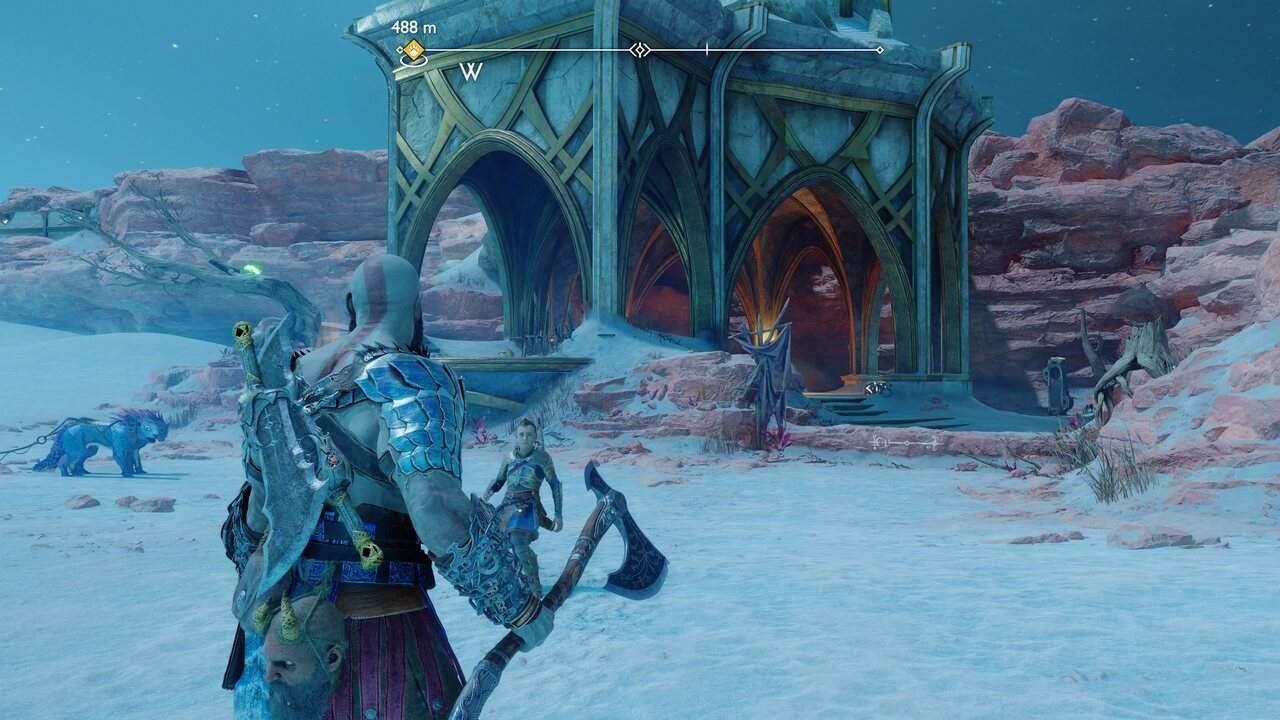
The Horn artifact, part of the Tributes to Freyr Collection is in there as well.
Lore 3/4
Grab the Tower’s Purpose Lore Marker while you there as well.
Odin’s Ravens 2/2
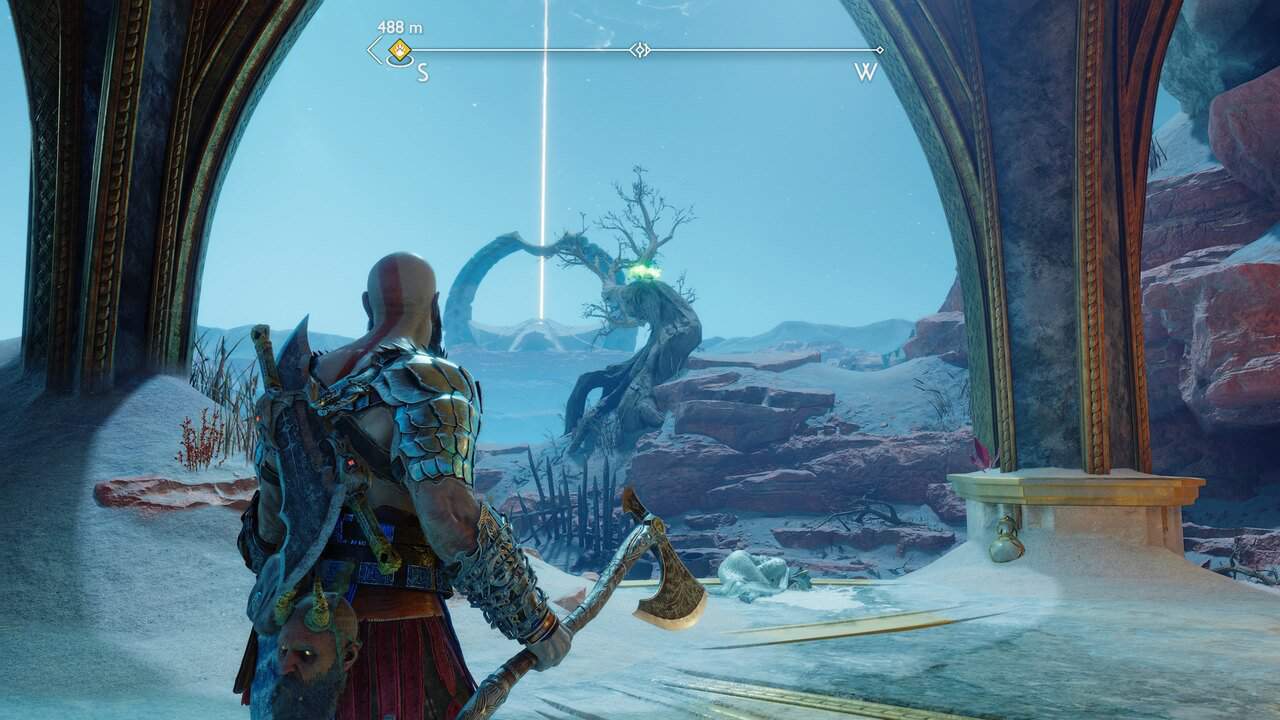
Lastly, shoot the Odin’s Raven perched on the tree next to the building.
Draugr Holes 1/1
Reach the question mark in the west of The Barrens. There’s a Draugr Hole there. Fight off the Draugrs and loot the hole.
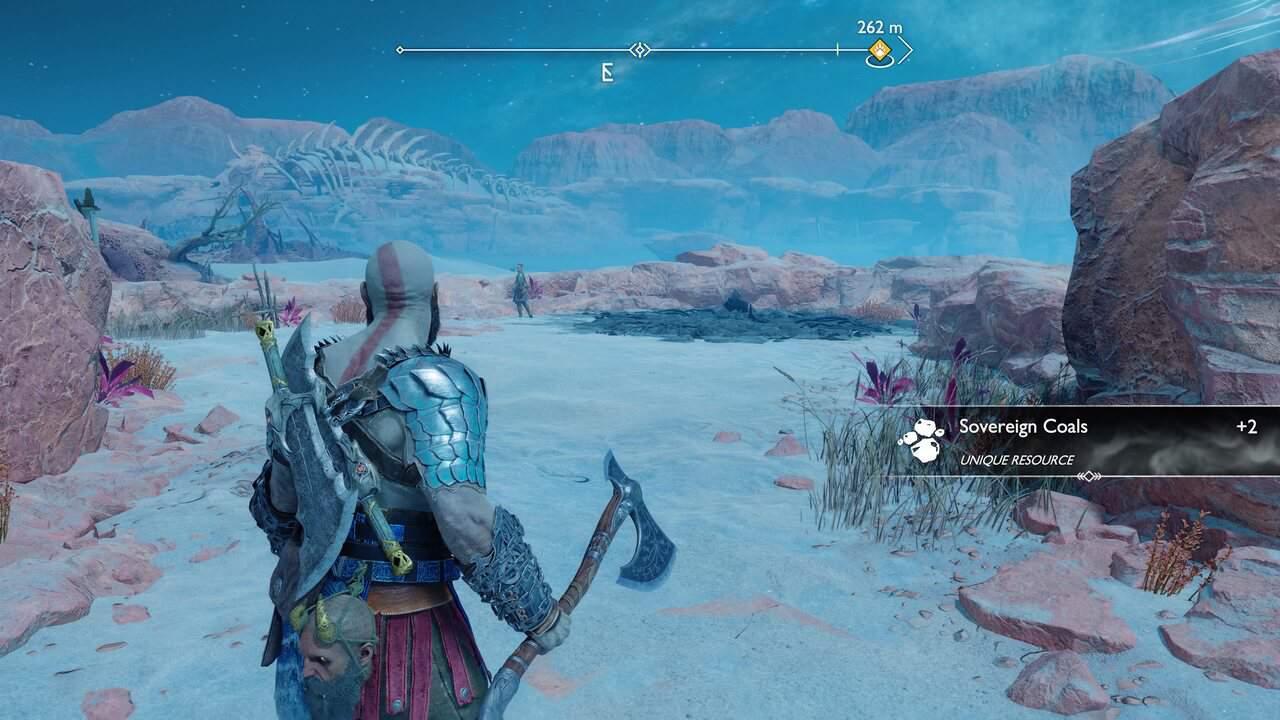
Artifact 3/3
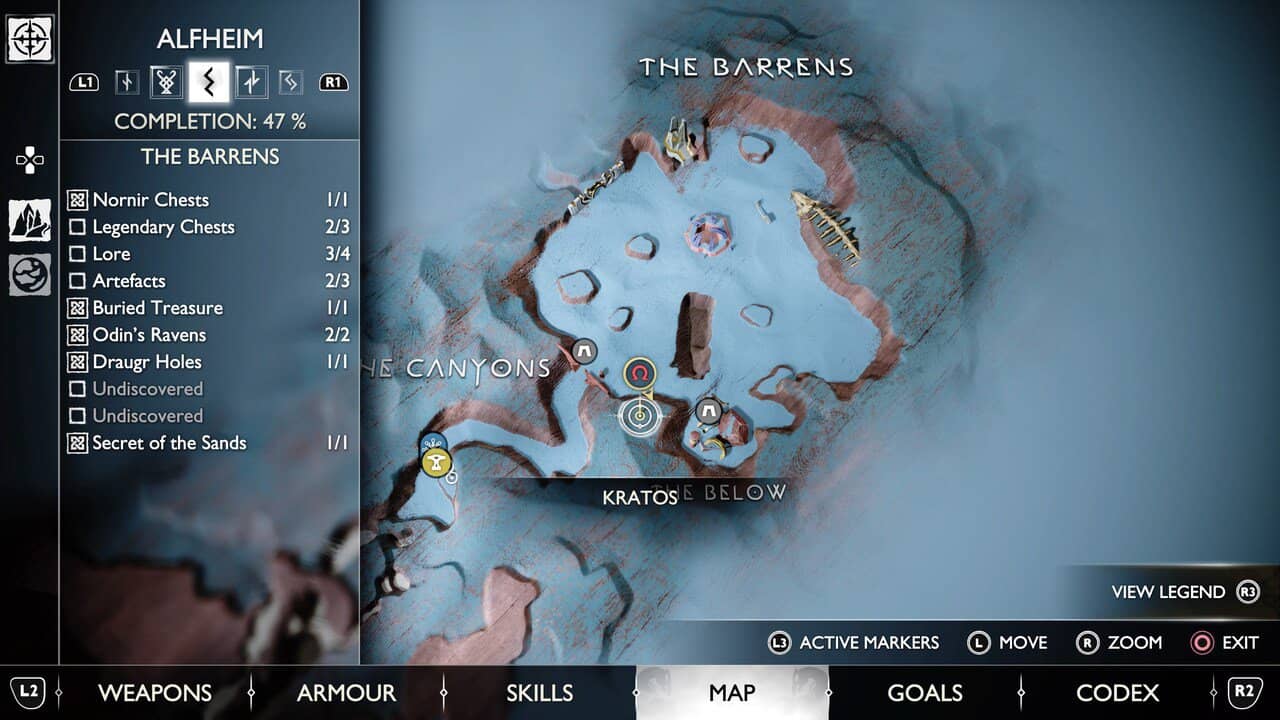
Go right from the entrance to The Barrens to find a door you can squeeze through. Inside, you’ll find the Harp artifact from the Tributes to Freyr collection.
Legendary Chests 3/3
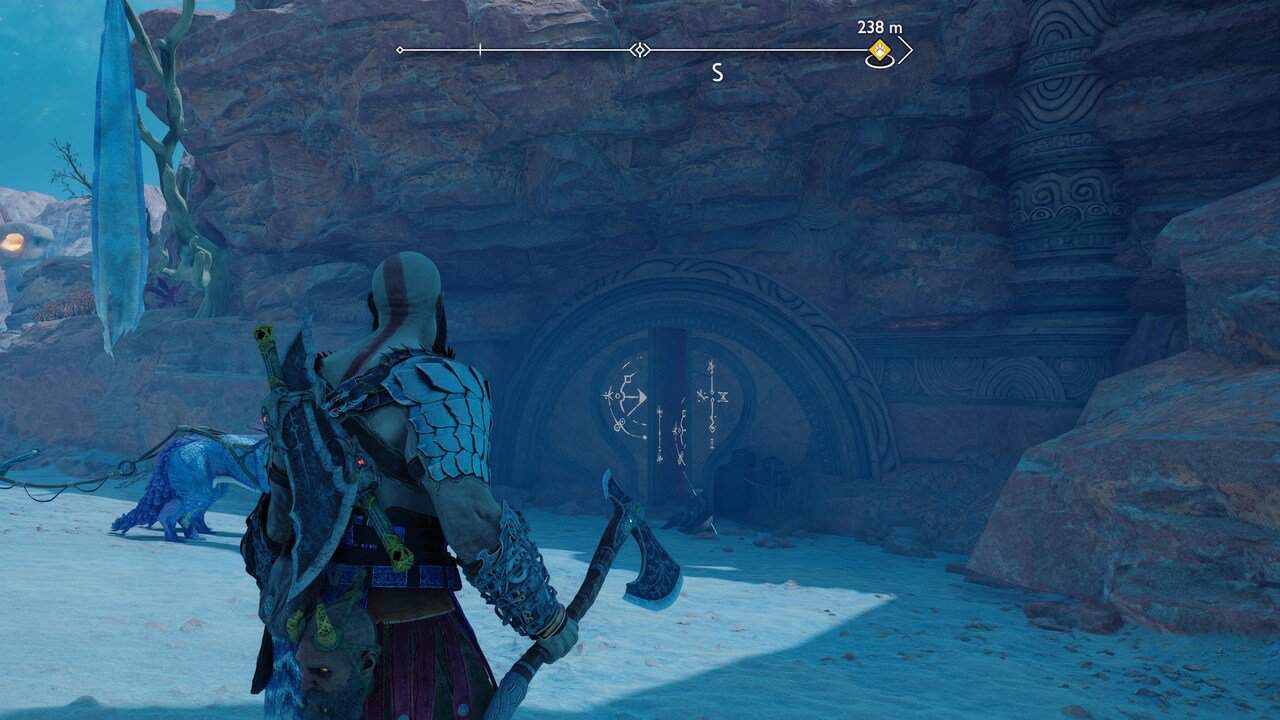
Alongside, is a Legendary chest with the Rond of Affliction shield attachment inside. To reach the chest, throw your axe so that its recall path passes through the red blob closest to the chest. Aim at the Twilight Stone, recall, and then throw the axe as quickly as possible to destroy the other two blobs.
Lore 4/4
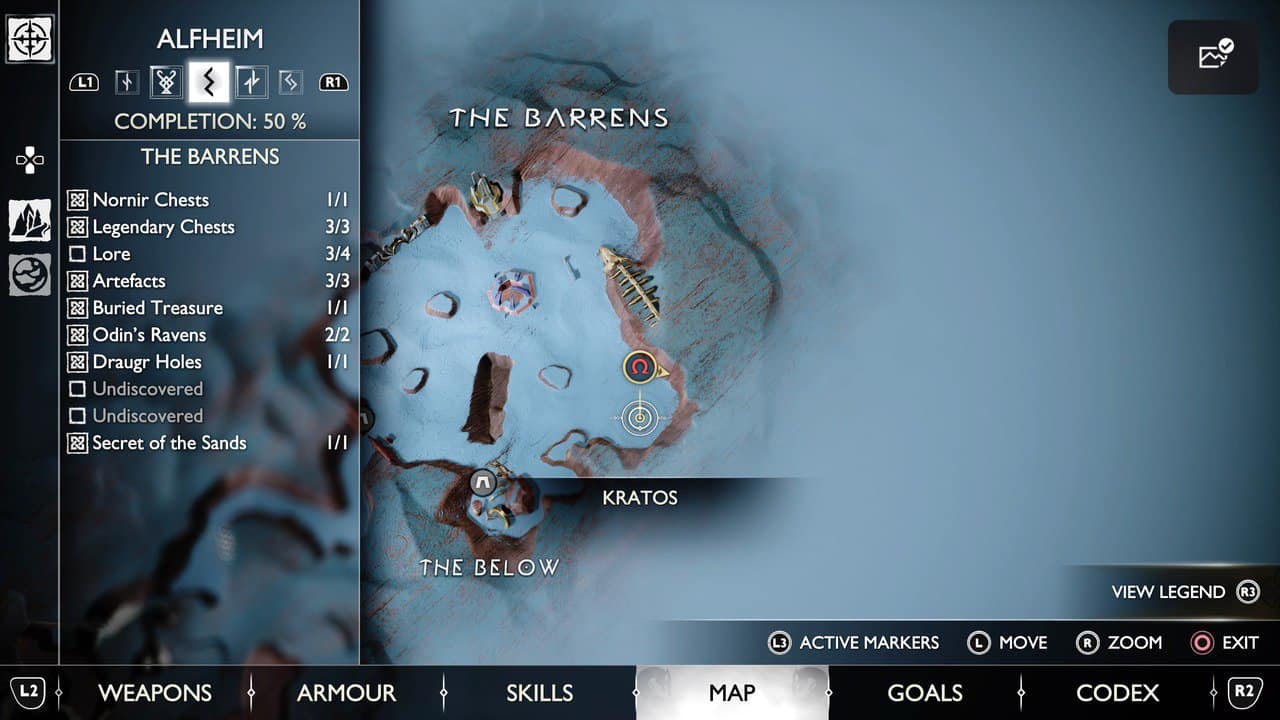
Head to the easternmost part of The Barrens, just south of the carcass, to where a set of elven statues form a circle. Here you’ll find the Gulon Cull Lore Marker.
Berserker Gravestone 1/1
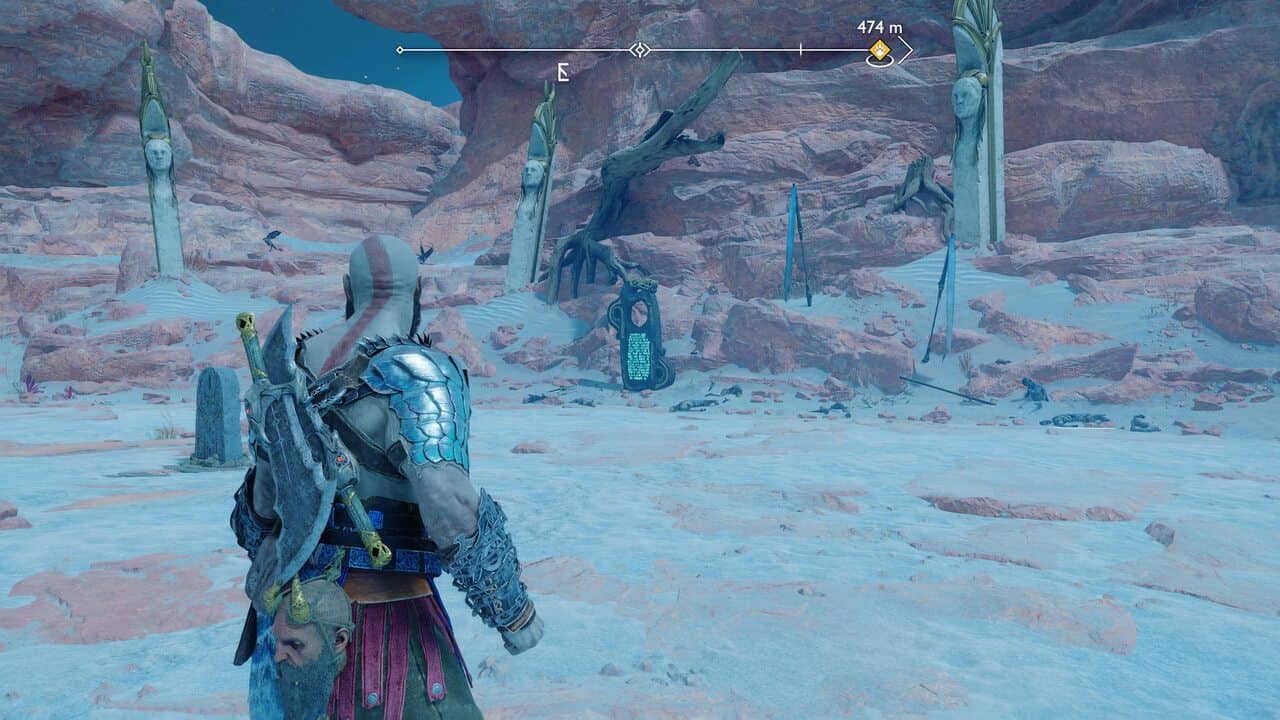
There’s also a Berserker Gravestone here and a fight against the Sisters of Illska and Svipdagr the Cold. Defeating them grants the Berserker Cuirass and the Asgard’s Security amulet enchantment.
Remnants of Asgard 1/1
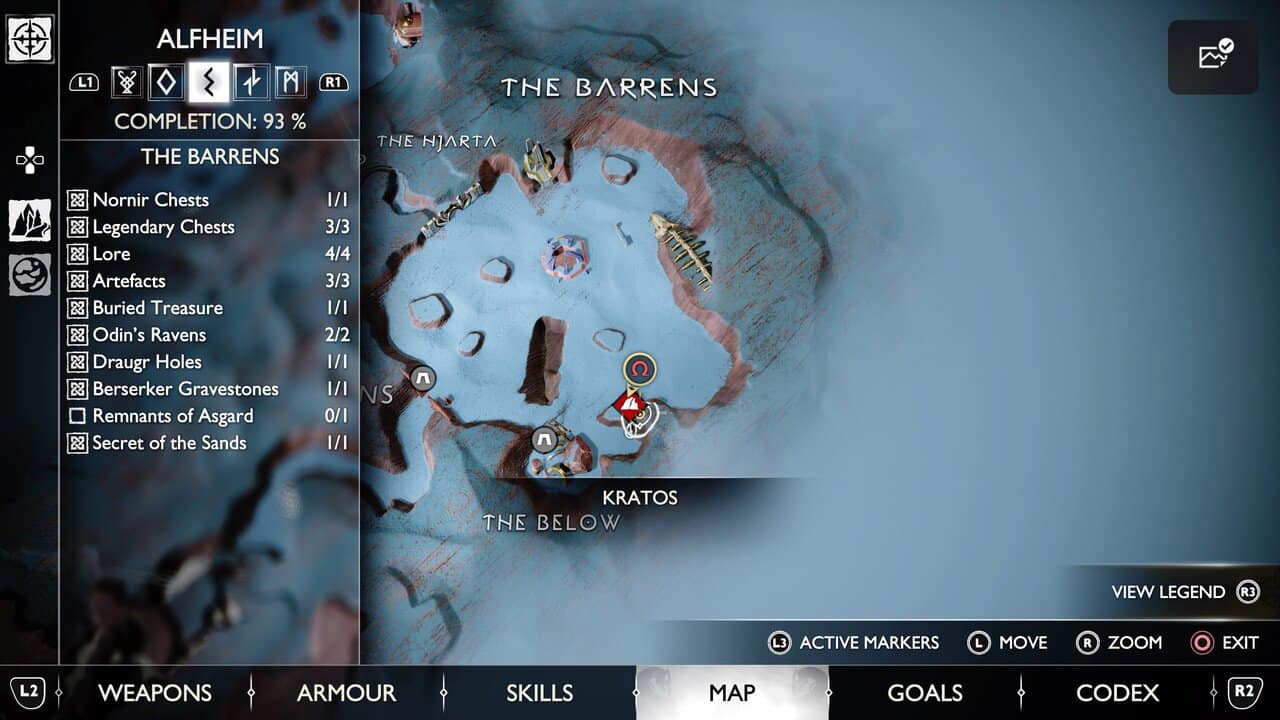
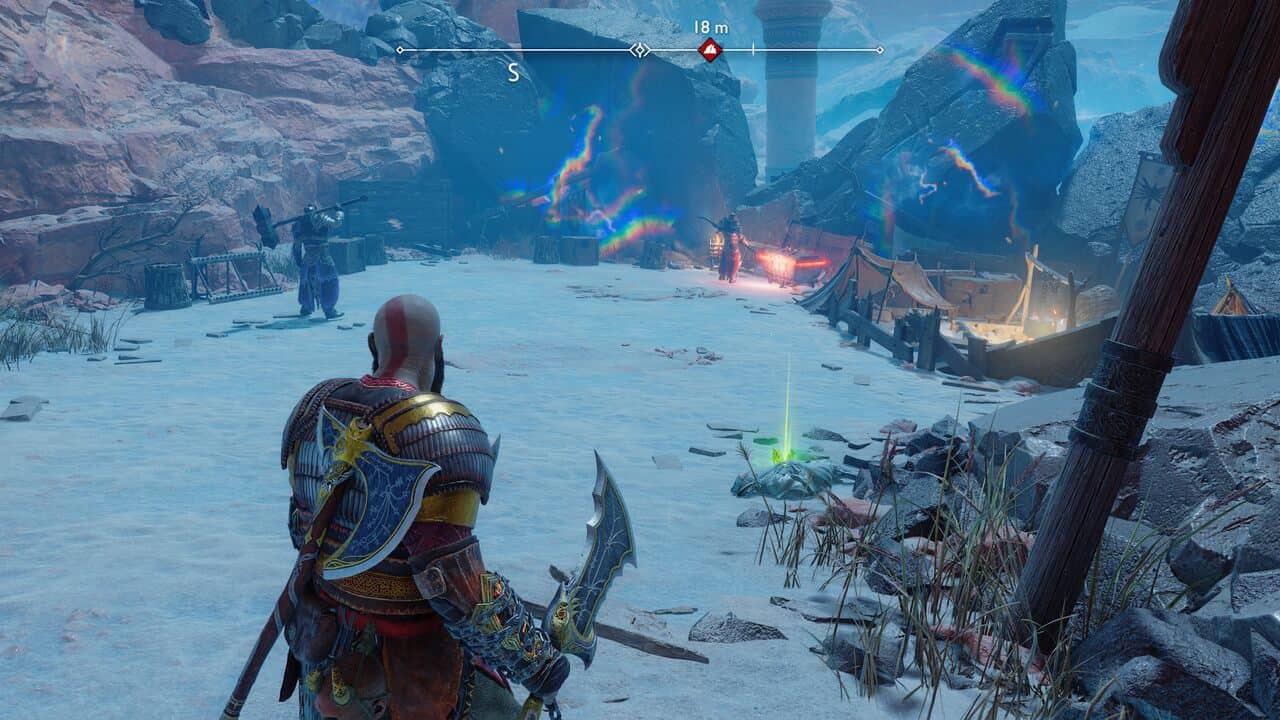
East of The Below Entrance is a small clearing with a camp. To reach it follow the cliffs north and round to find a ledge you can climb up. Inside is a Remnants of Asgard spot with a fight against Stinnr and Sterkr.
Secret of the Sands 1/1
To complete Secret of the Sands, enter The Burrows entrance – more details below.
The Below, Alfheim – God of War Ragnarok
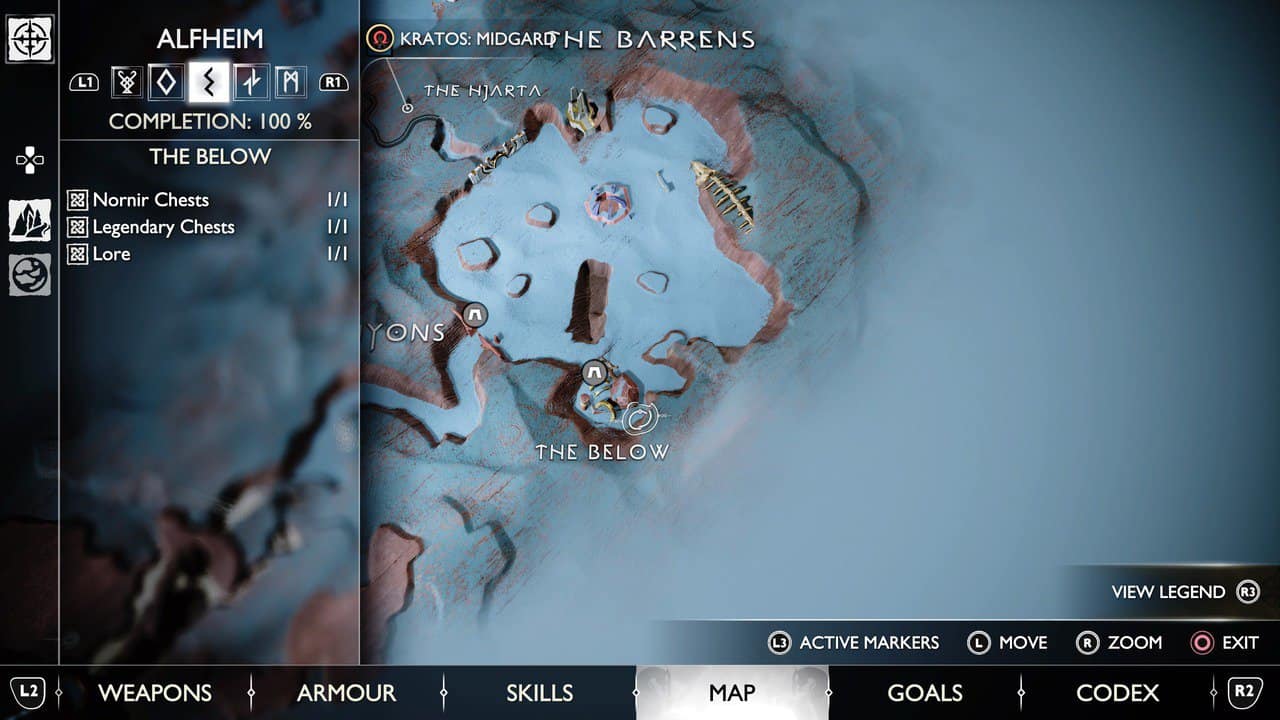
- Nornir Chests 1/1
- Legendary Chests 1/1
- Lore 1/1
Lore 1/1
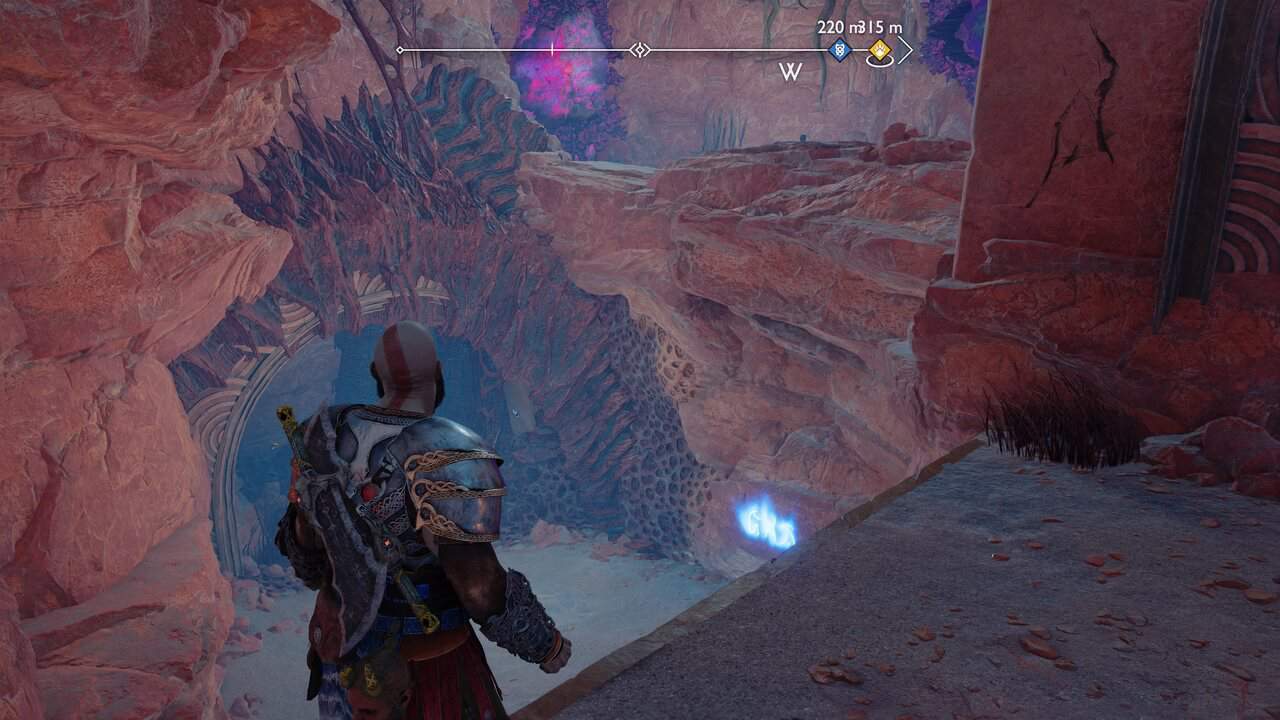
Head to the Secret of the Sands marker and enter the cave to The Below. Push forward, taking out elves as you go, then throw the axe at the Twilight Stone to clear the path. Continue forward until you reach a cave with lots of Twilight Stones. Clear out the elves, then climb up to the level above. Turn right and throw the axe at the red blobs to clear out the roots. Climb down to find a chest and the Patience Rune Read.
Nornir Chests 1/1
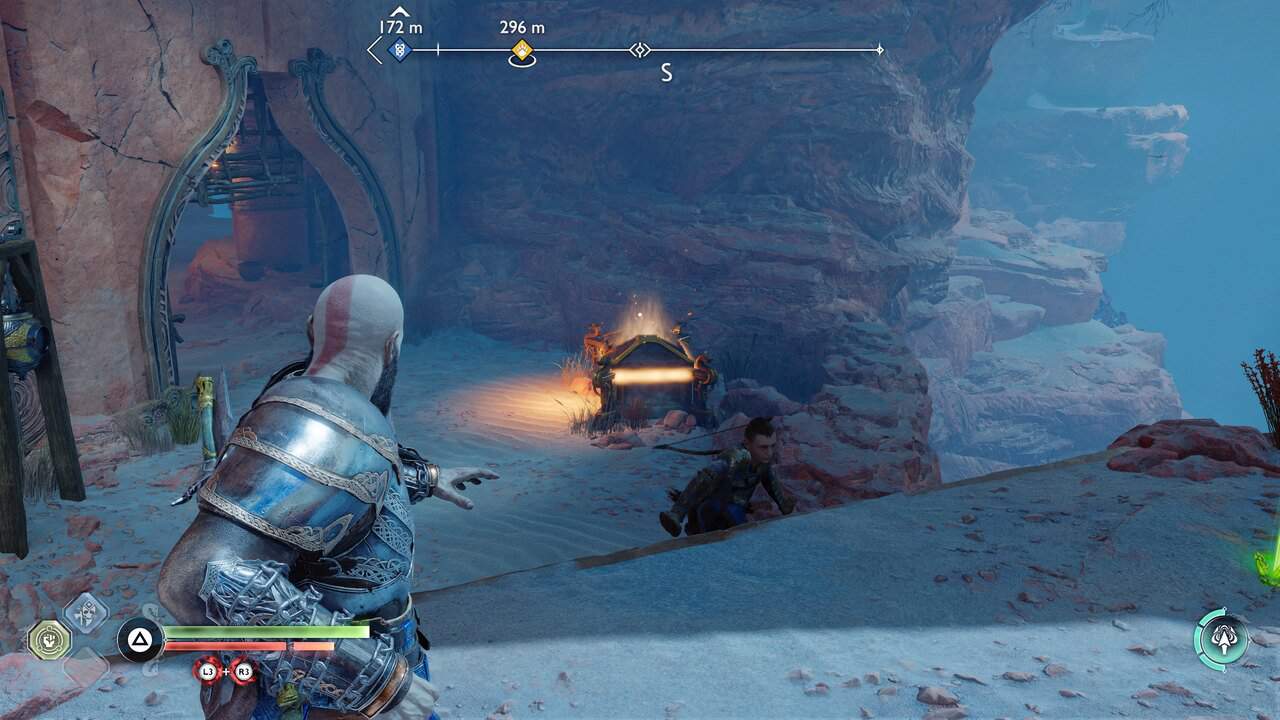
Climb back up to the level above, then higher and across the rope. Wrap around to the right and grapple to the other side. Drop down, turn around, and shoot the Twilight Stones to clear the red blobs. Ahead on the right is a Nornir chest with a Horn of Blood Mead Inside. The first rune is to the left of the cave entrance. The second is just inside the cave on the left. To reach the third, jump across the grappling points you just cleared and drop down. The rune is in the window just above. Open the door, then hit all three runes in quick succession to unlock the chest. Start with the highest, then work your way down to the one in the cave.
Legendary Chests 1/1
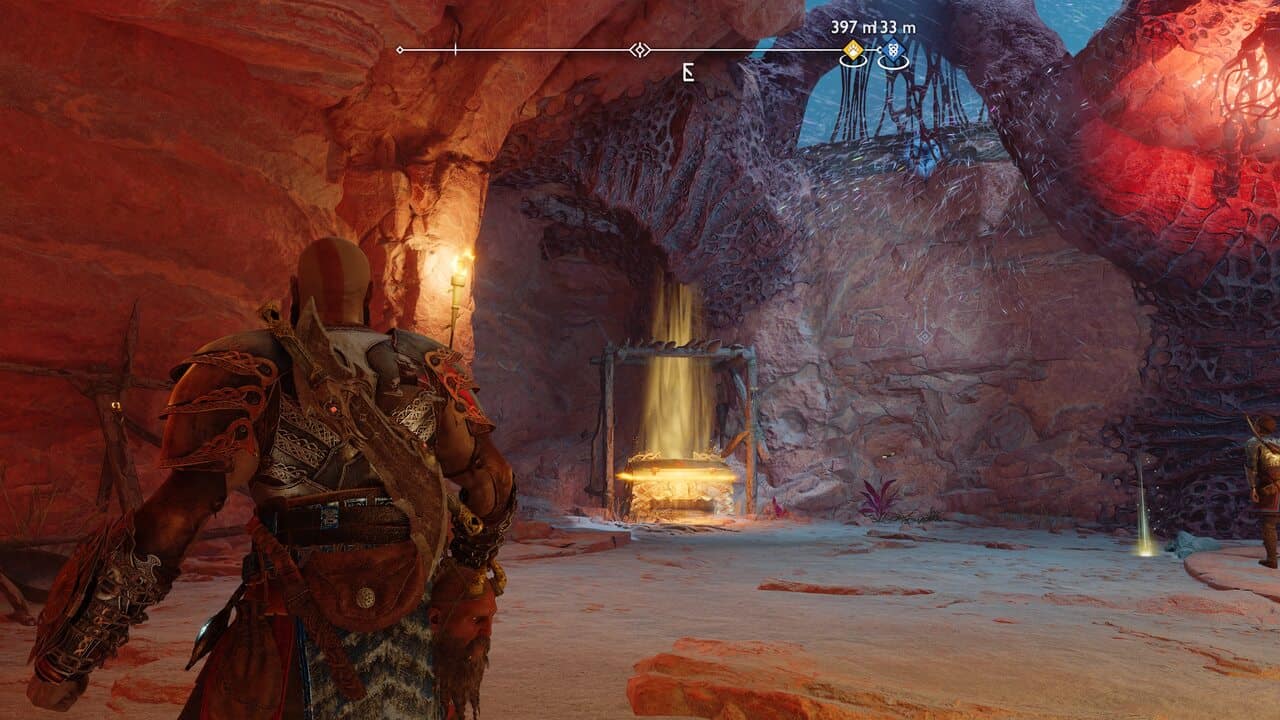
Head back up and drop down the chain. Fight off the elves, then crawl through the gap. Shoot the red pots behind the pile of rubble in front of you and the one on the right. Throw the axe at the Twilight Stone to clear the path to a chest.
Push forward. Throw the axe at the lower right stone to move the spinner in the distance, then shoot the top left Stone, but line it up so you’re going through the red blob first. Hop across the gap and look left, then shoot the red pot. Jump back to where you were and throw the axe at the Twilight Stone on your left. Climb up the ledge ahead and loot the chest there. Throw the axe at the Stone of the spinner then move forward.
Reach the Hafgufa. To free it from the bindings, first shoot the red pot behind the rubble. Jump to the now-accessible platform, turn around and throw the axe at the Twilight Stone below. Jump back across the gap, and axe the Twilight Stone closest to you on the left.
Continue forward and up a room containing a Legendary chest with the Shoulder Straps of Radiance inside.
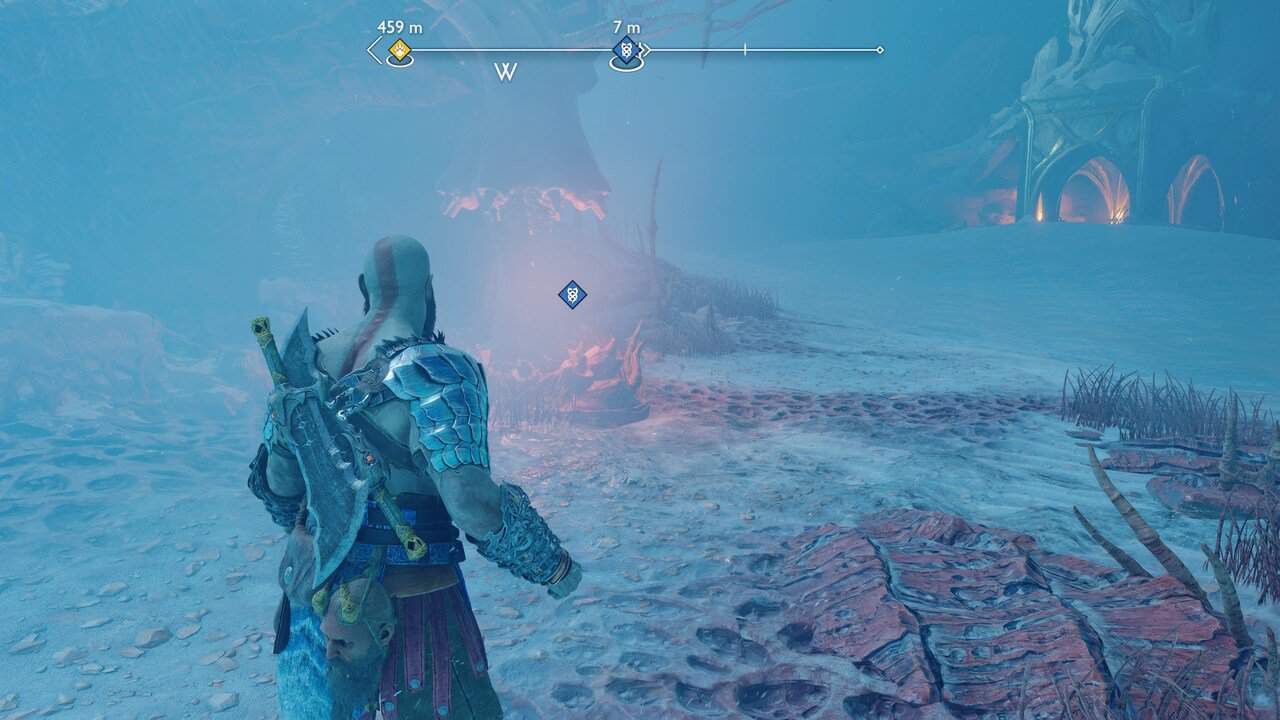
Destroy the red blob, head up, then ride the sled to the way point to complete Secret of the Sands.
The Forbidden Sands, Alfheim – God of War Ragnarok
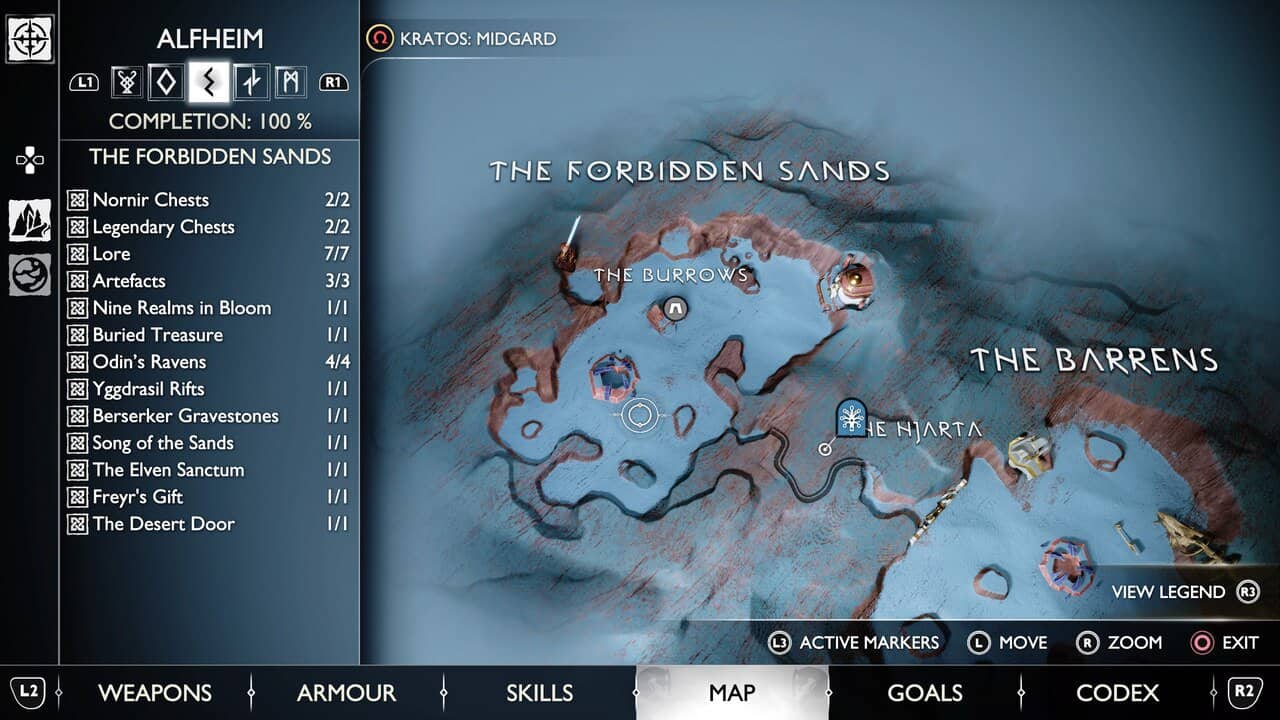
- Nornir Chests 2/2
- Legendary Chests 2/2
- Lore 7/7
- Artifacts 3/3
- Nine Realms in Bloom 1/1
- Buried Treasure 1/1
- Odin’s Ravens 4/4
- Yggdrasil Rifts 1/1
- Berserker Gravestones 1/1
- Song of the Sands 1/1
- The Elven Sanctum 1/1
- Freyr’s Gift 1/1
- The Desert Door 1/1
Odin’s Raven 1/4
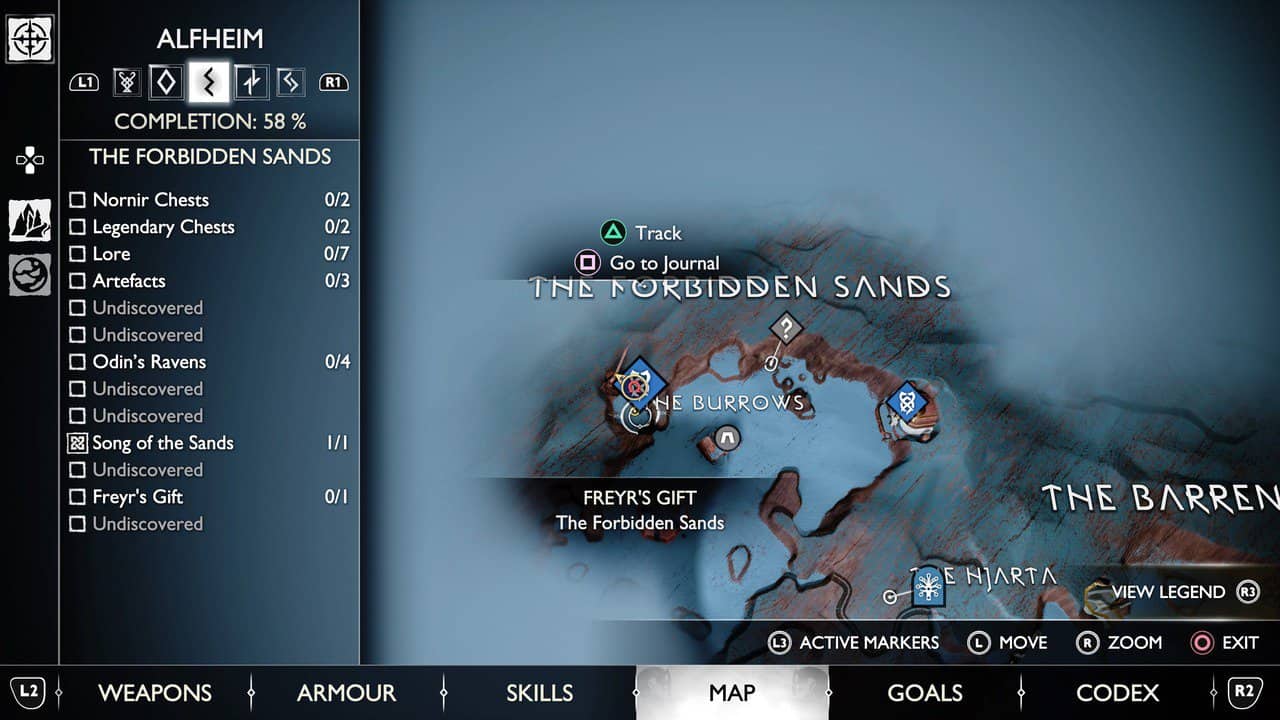
Go to the large statue of Freyr in the northwest of The Barrens. Axe the Odin’s Raven circling at the entrance.
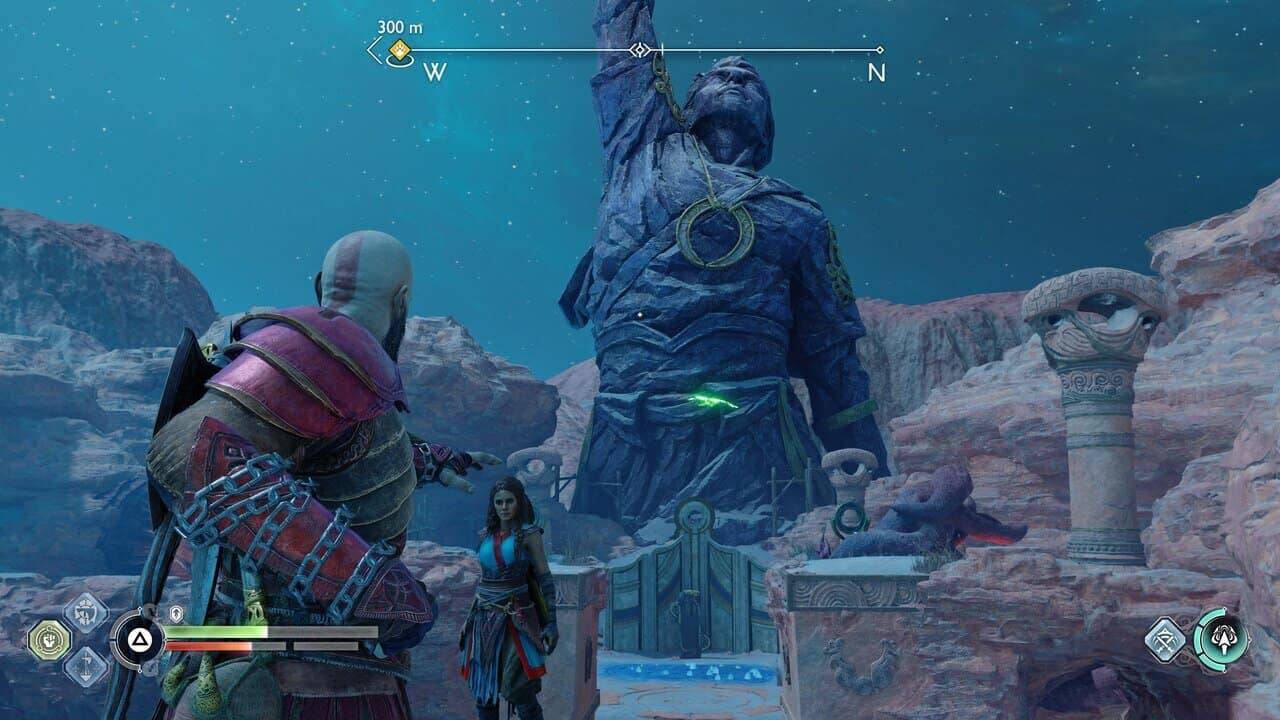
Freyr’s Gift 1/1
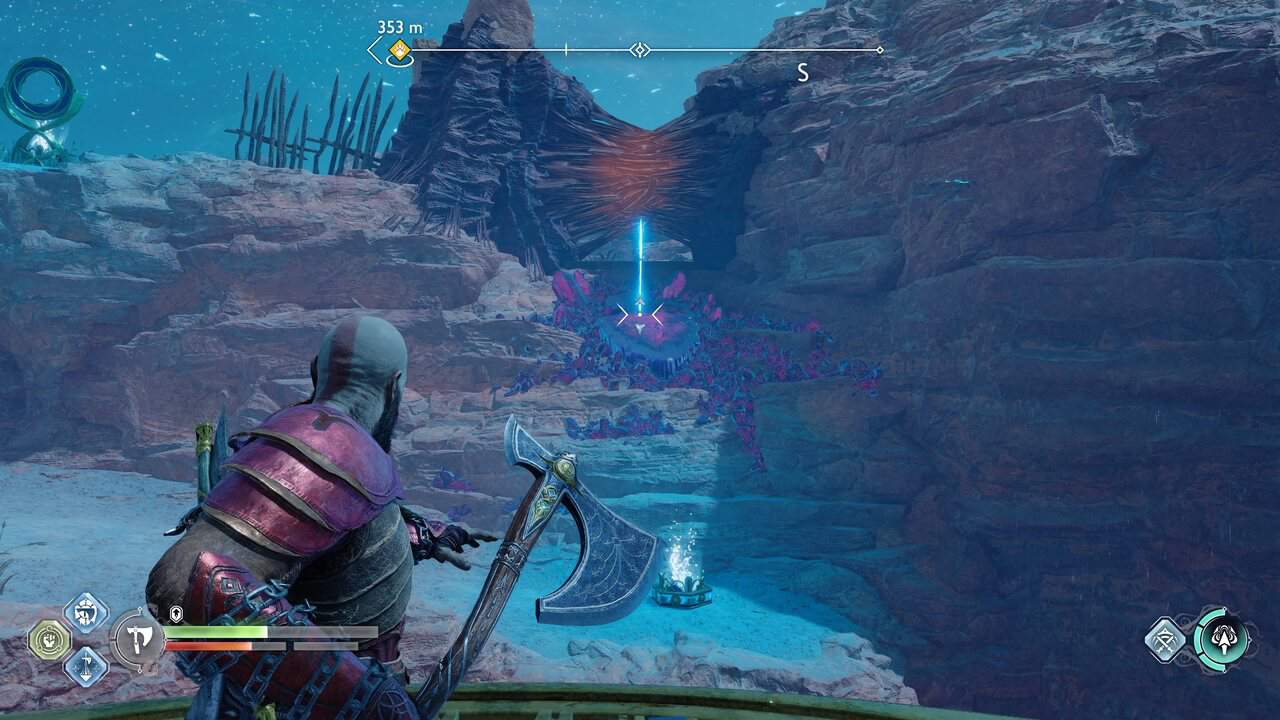
Approach the statue to start the Freyr’s Gift Favor. Cross the light bridge then turn right, remove the stone from its base to turn off the light bridge ahead. Below is a Twilight Stone. Shoot it to clear the hive roots above.
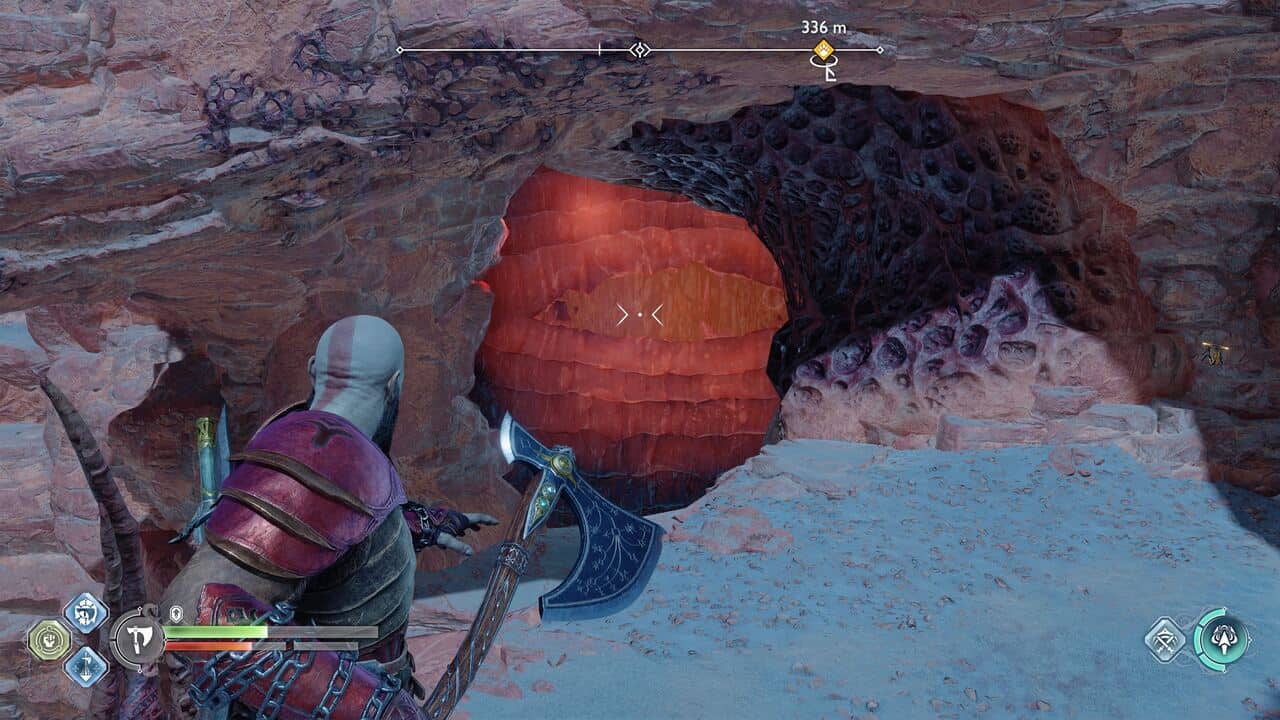
Replace the light crystal in its base, then grab the receptacle hidden under the main light bridge leading to the statue. Walk it up the light bridge you just fired and place it in the receptacle at the top.
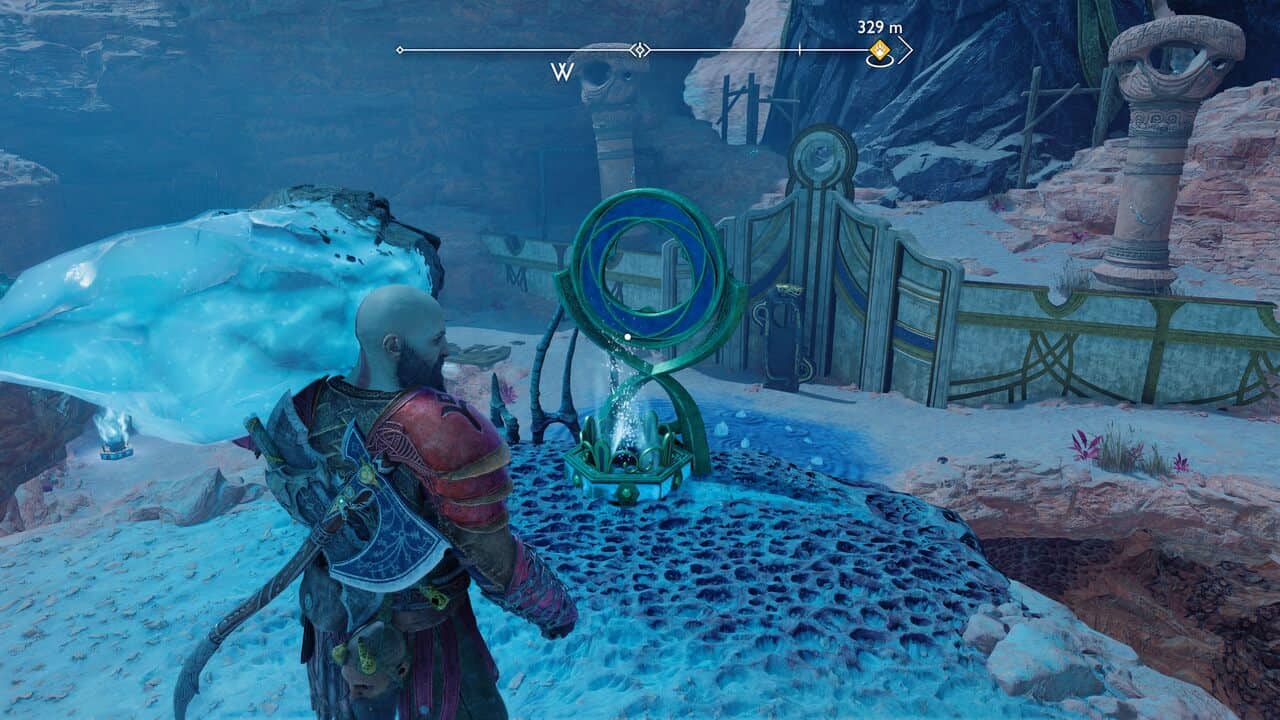
Facing the statue just after the main light bridge, look right, and shoot a sonic arrow at the hive eye, then immediately chuck an axe to hit the red blobs. This drops a light crystal, you can grab by going right, then left and destroying some pots and rocks. Pick it up and place it in the receptacle at the top of the right hand ramp. Interact with the light shard to pick supplies and the Invoke the Storm runic summons for Freya. This completes the Freyr’s Gift Favor.
Lore 1/7
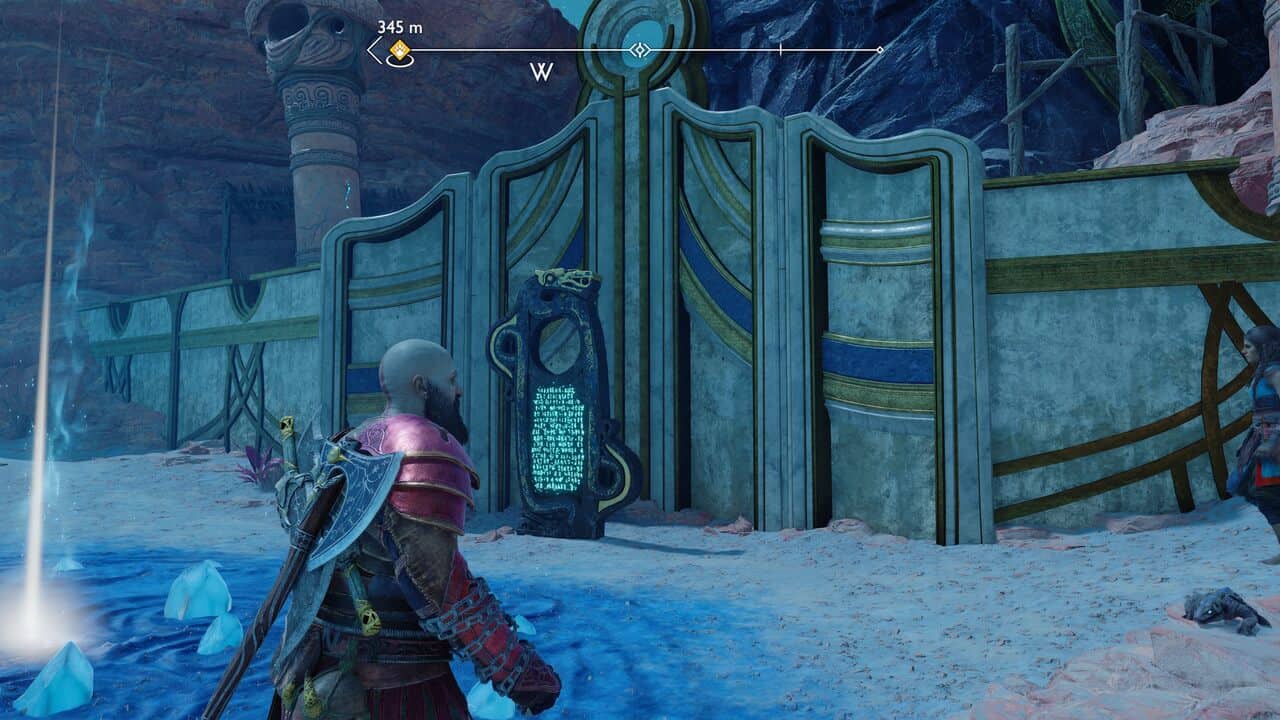
Read The Enlightened One Lore Marker below the statue of Freyr.
The Desert Door 1/1 Part 1
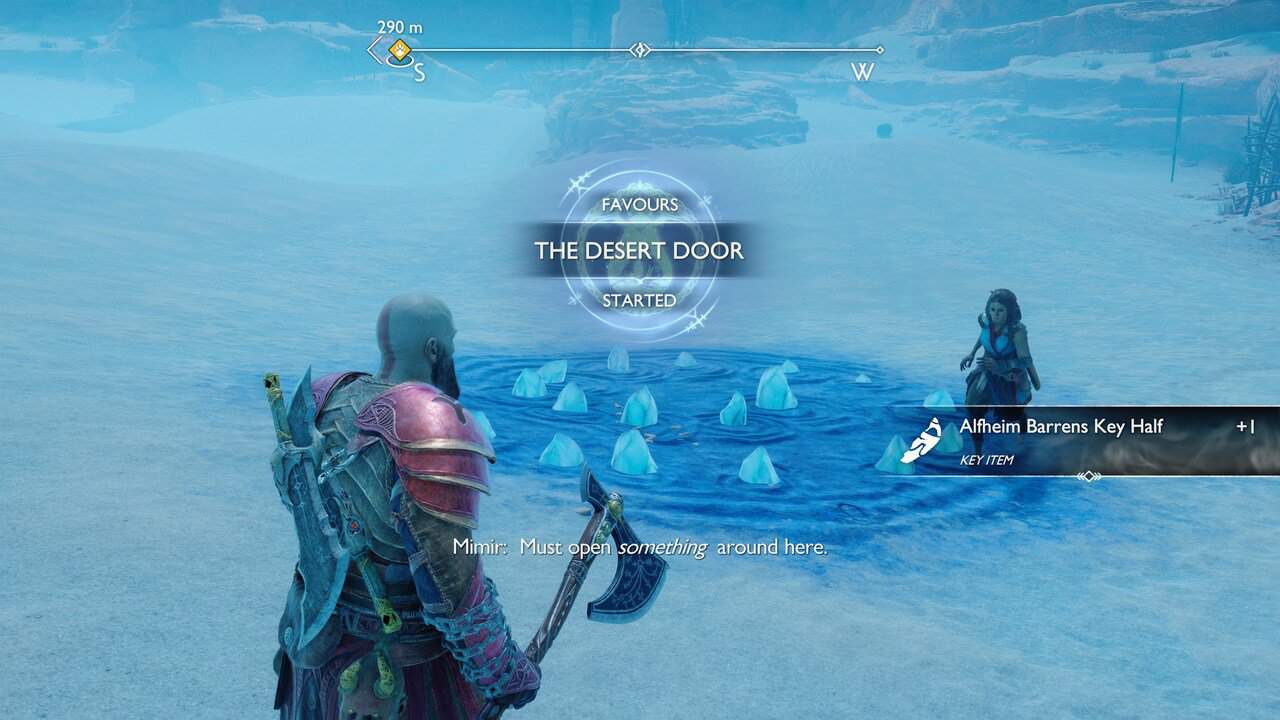
Take the sled and head right from Freyr’s statue a short way and you’ll come across a blue pattern in the sand with crystals poking out. Interact with the light shard at the center to start The Desert Door favor – you have to collect two key halves.
Odin’s Ravens 2/4
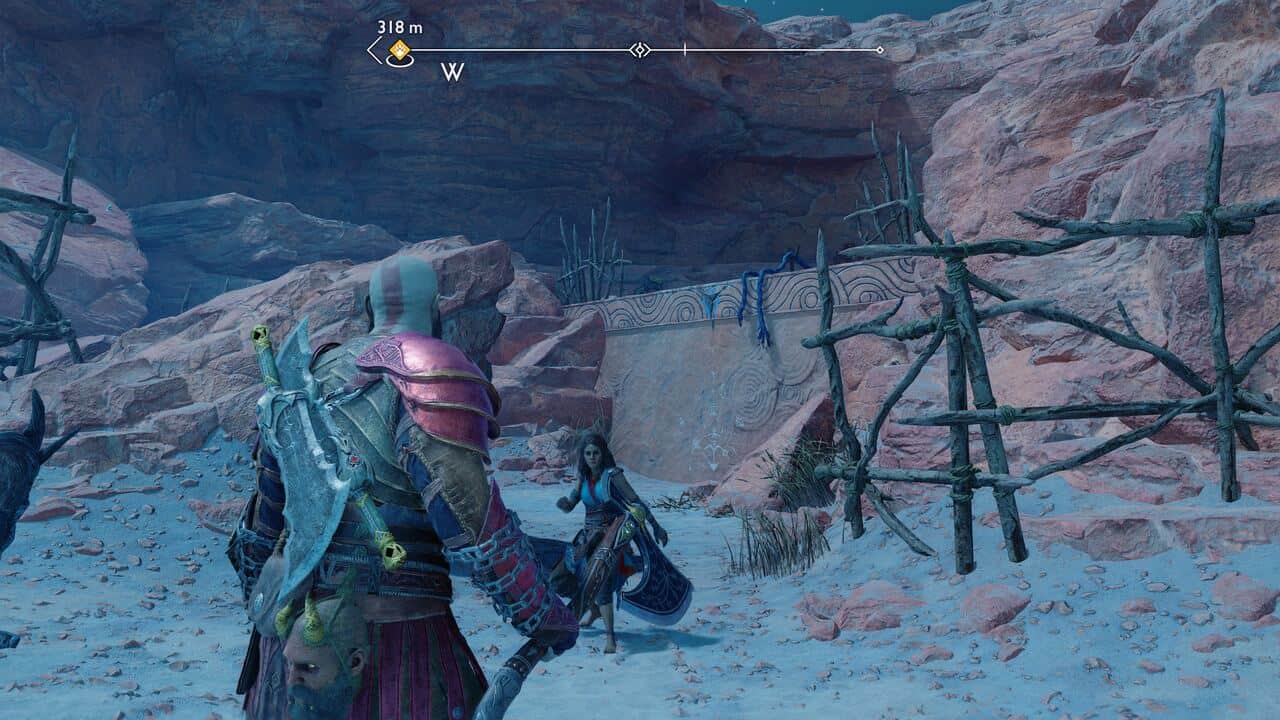
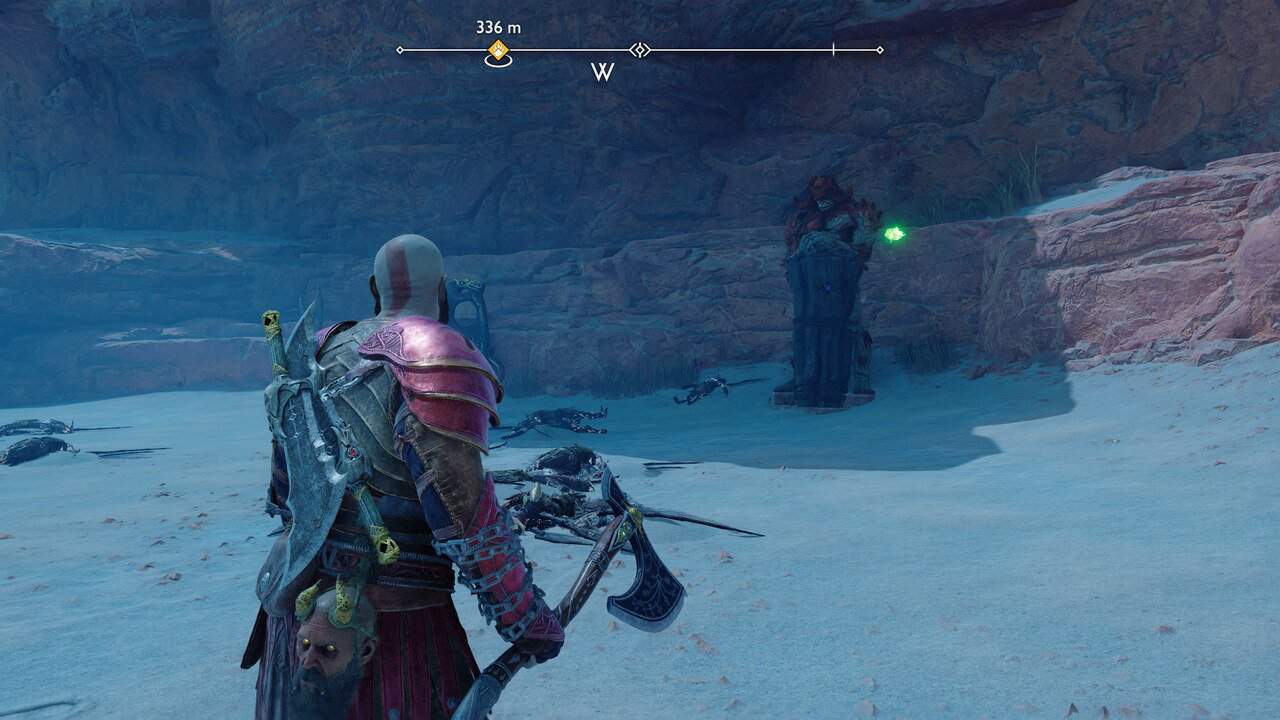
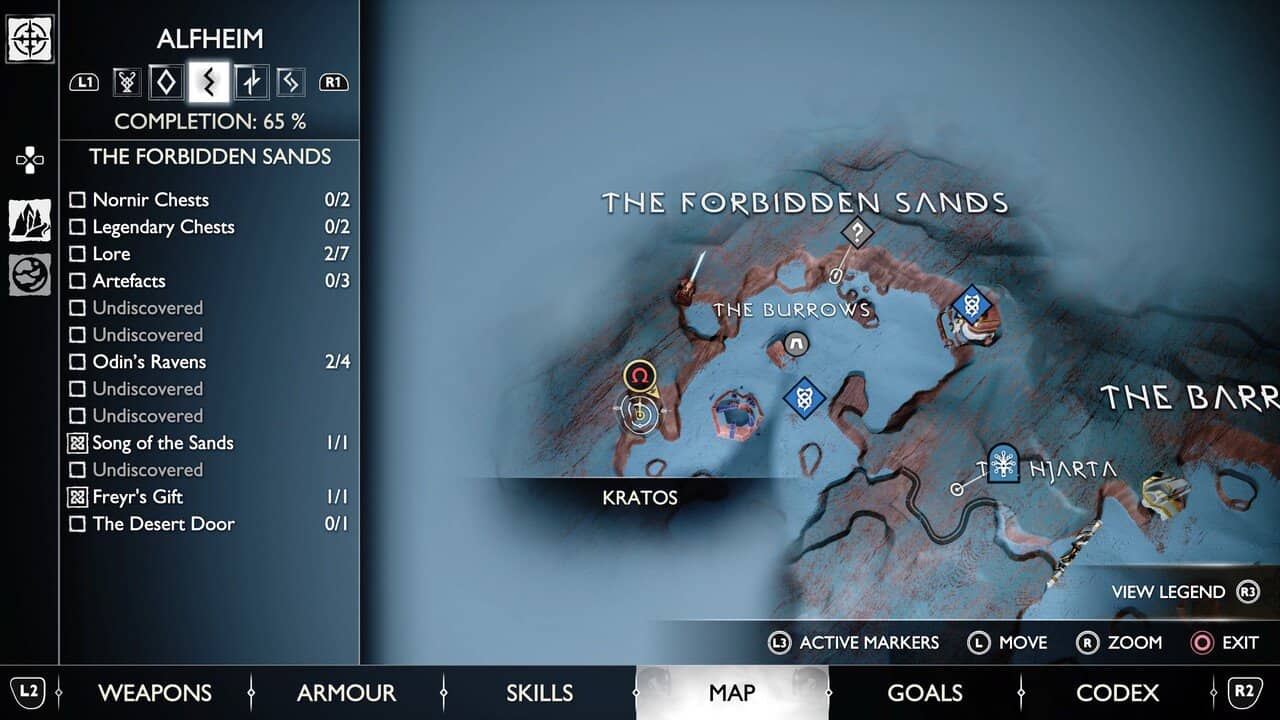
Climb up the ledge on the right (on the map – it’s just north of the easternmost part of The Forbidden Sands) to find an Odin’s Raven hidden behind one of the statues.
Lore 2/7
The Bjarg Stormir Lore Marker is also here on the right.
Nine Realms in Bloom 1/1
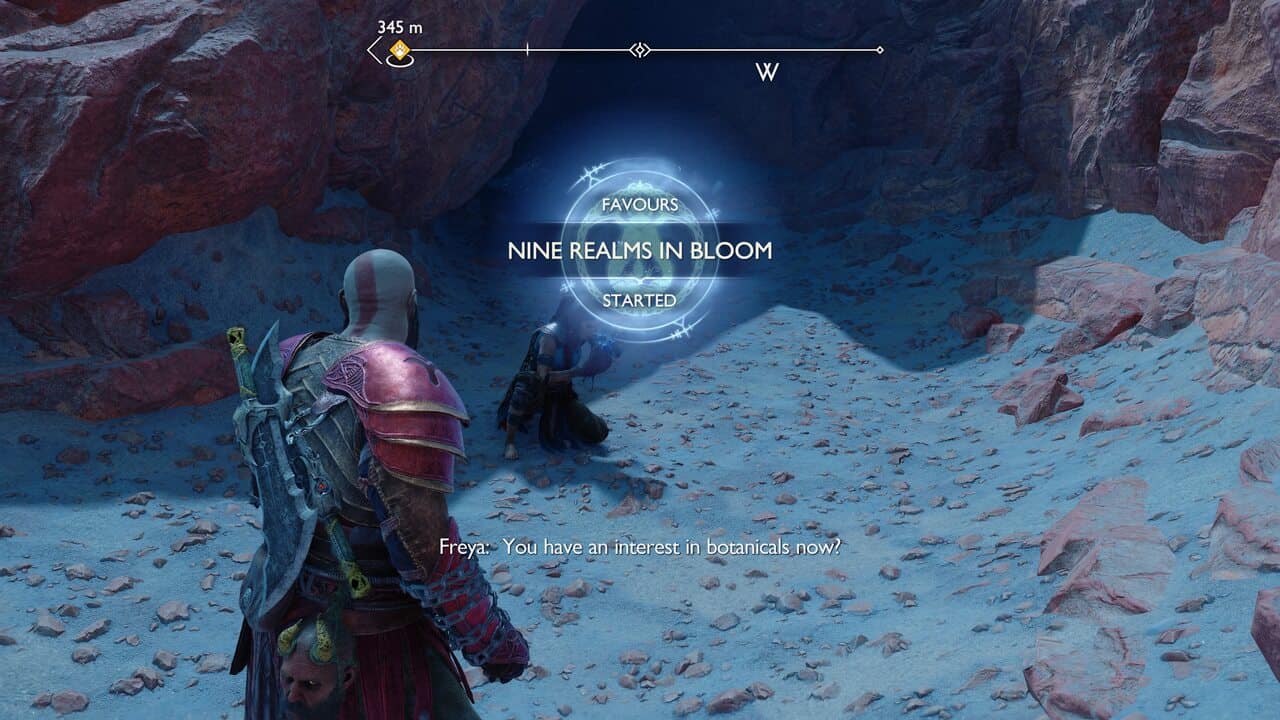
Jump down the ledge and take a right immediately after landing to find a Dawnbloom flower and start the Nine Realms in Bloom Favor.
Nornir Chests 1/2
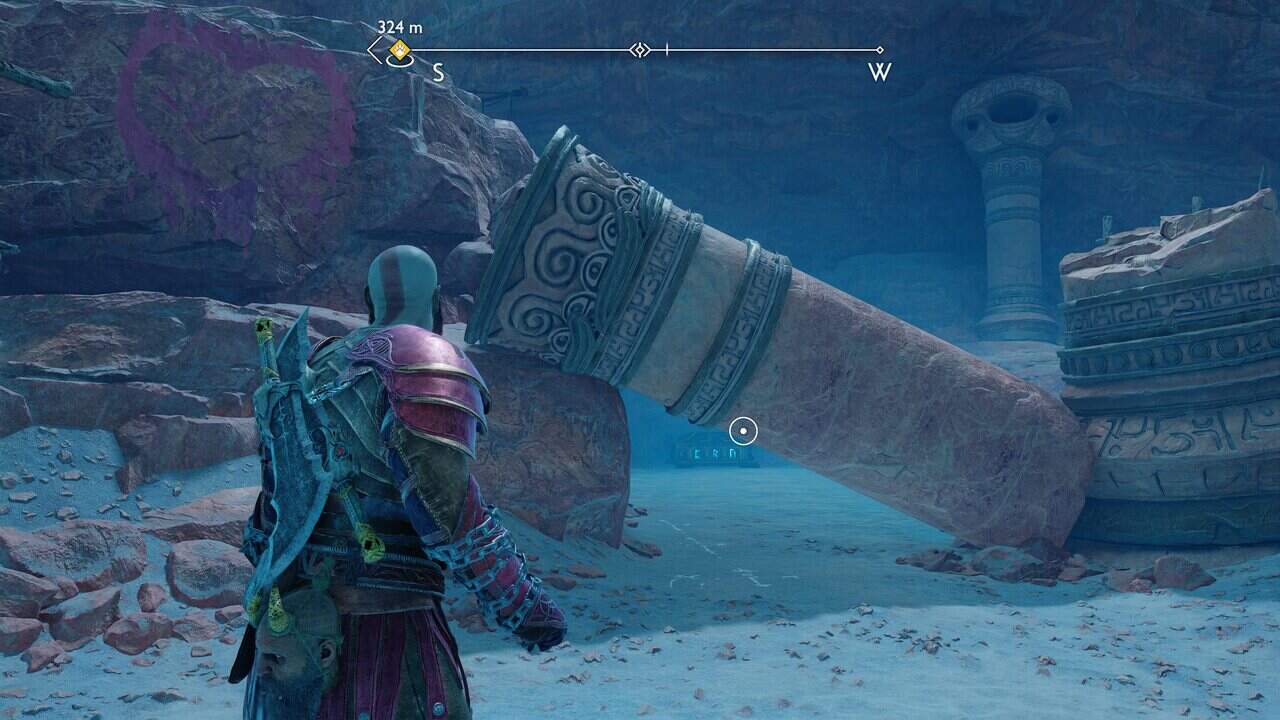
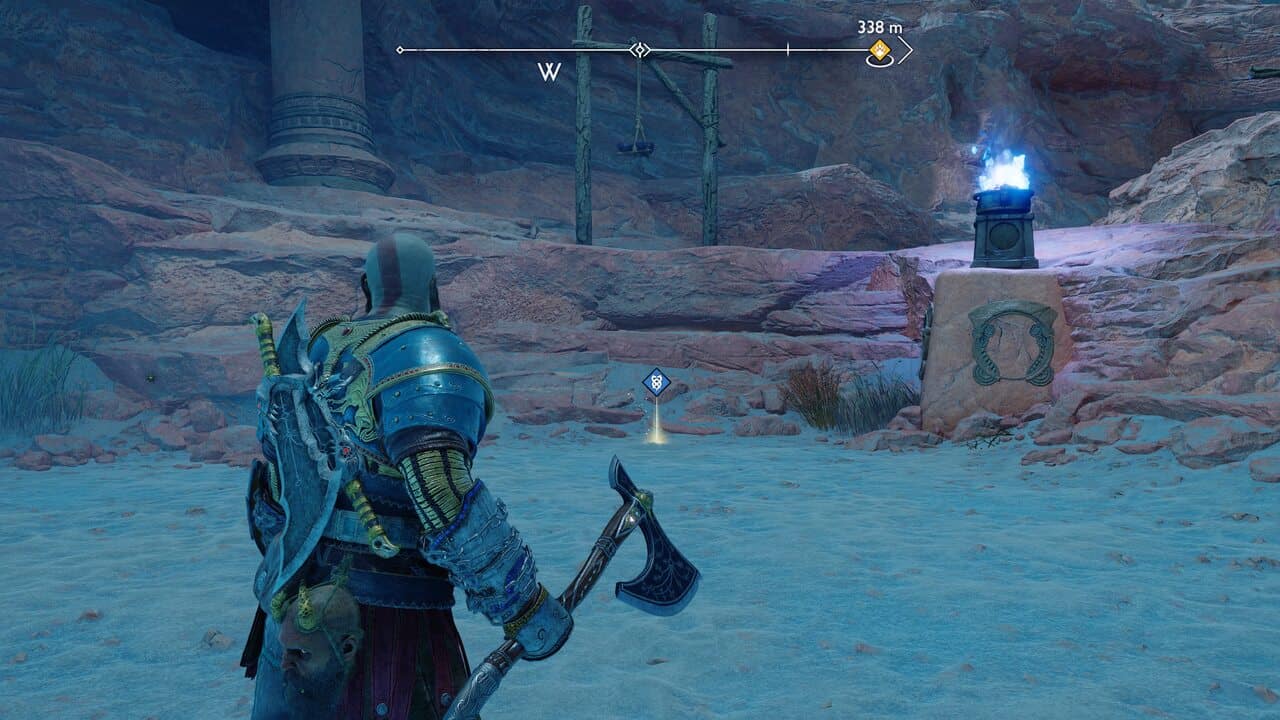
In the easternmost part of The Forbidden Lands is a Nornir chest – look for the fallen column next to a rudimentary heart-shaped painting. It’s just east of the Dawnbloom and Bjarg Stormir Lore Marker. The first rune brazier is to the right of the chest.
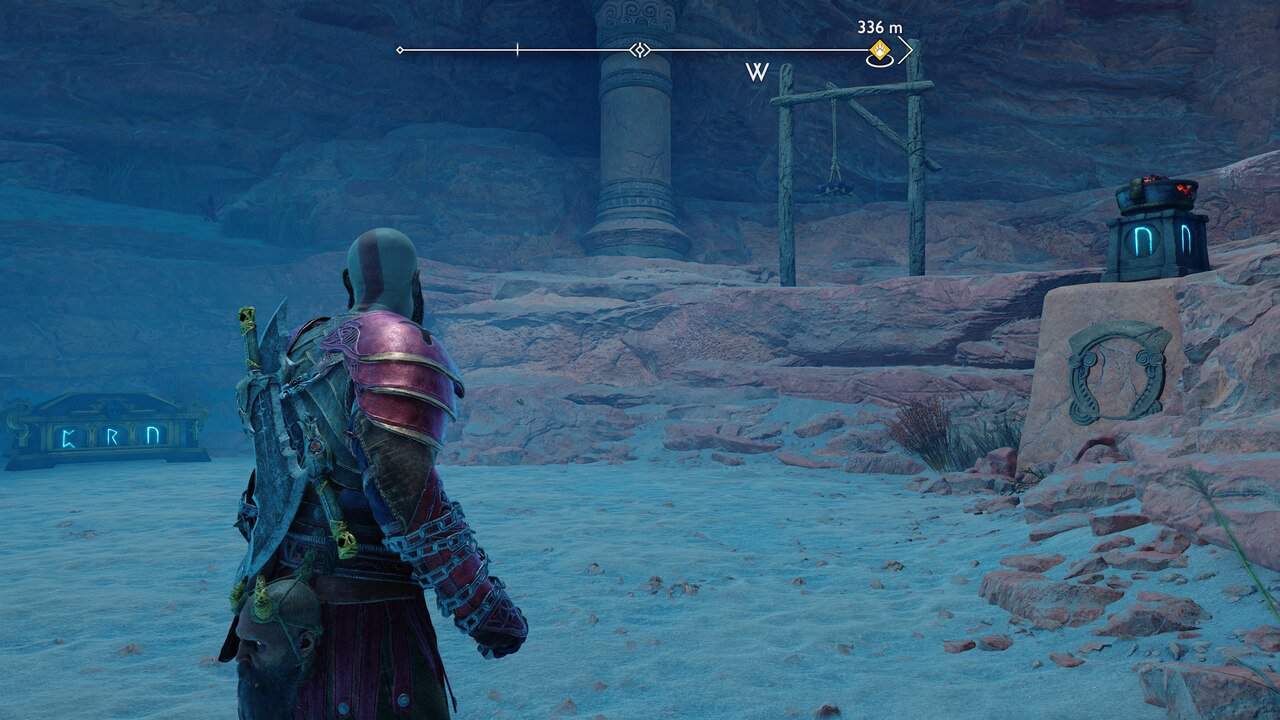
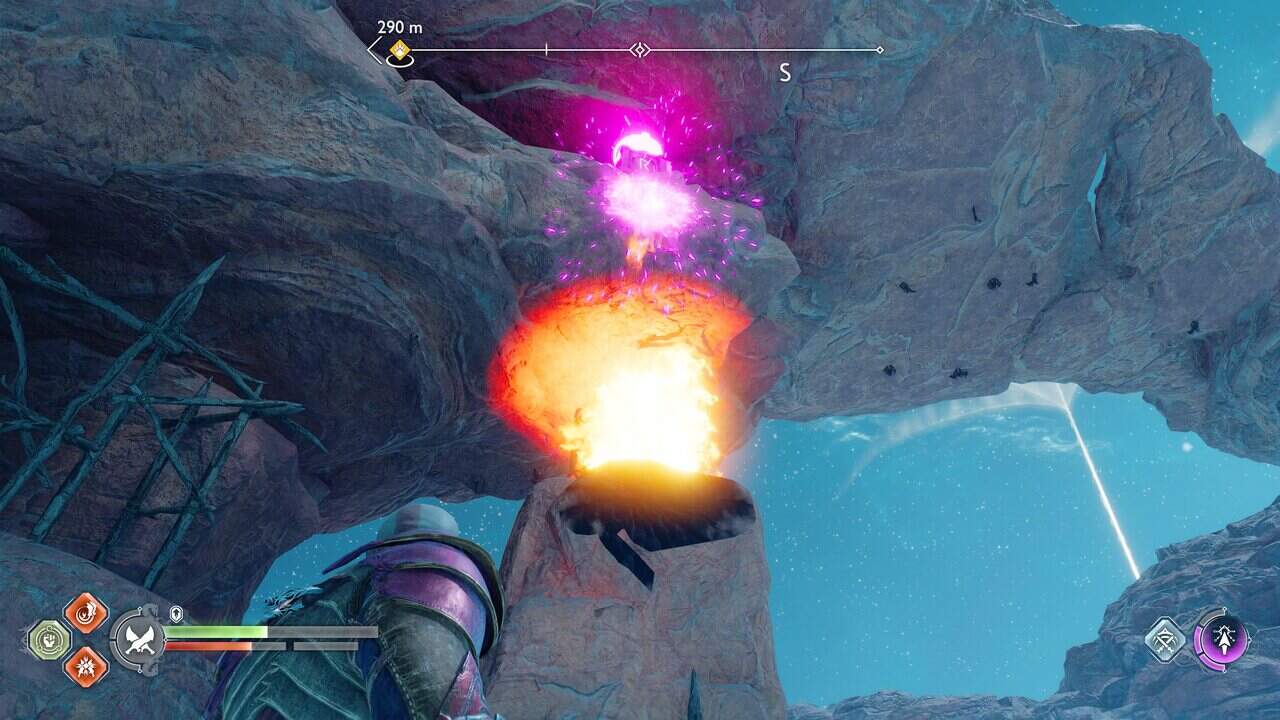
To find the other two, pass under the rock. The second is a large rock on the left – use chained sigils and the blades to light it.
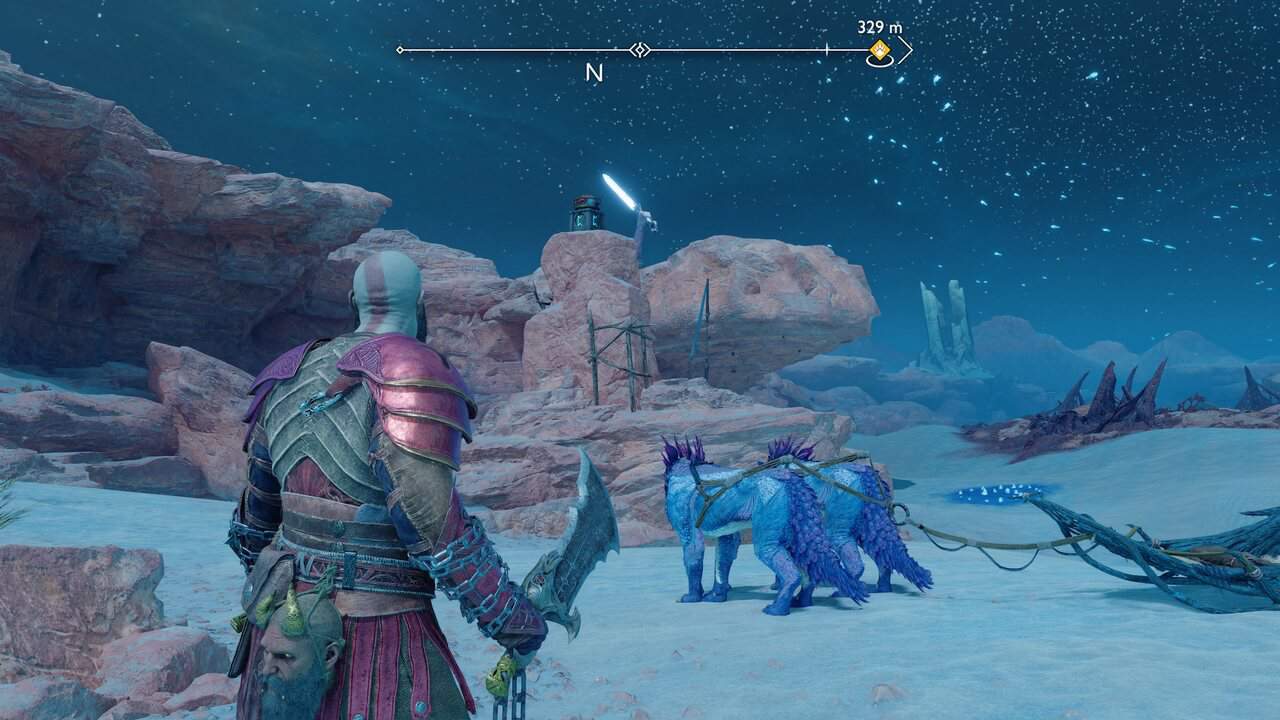
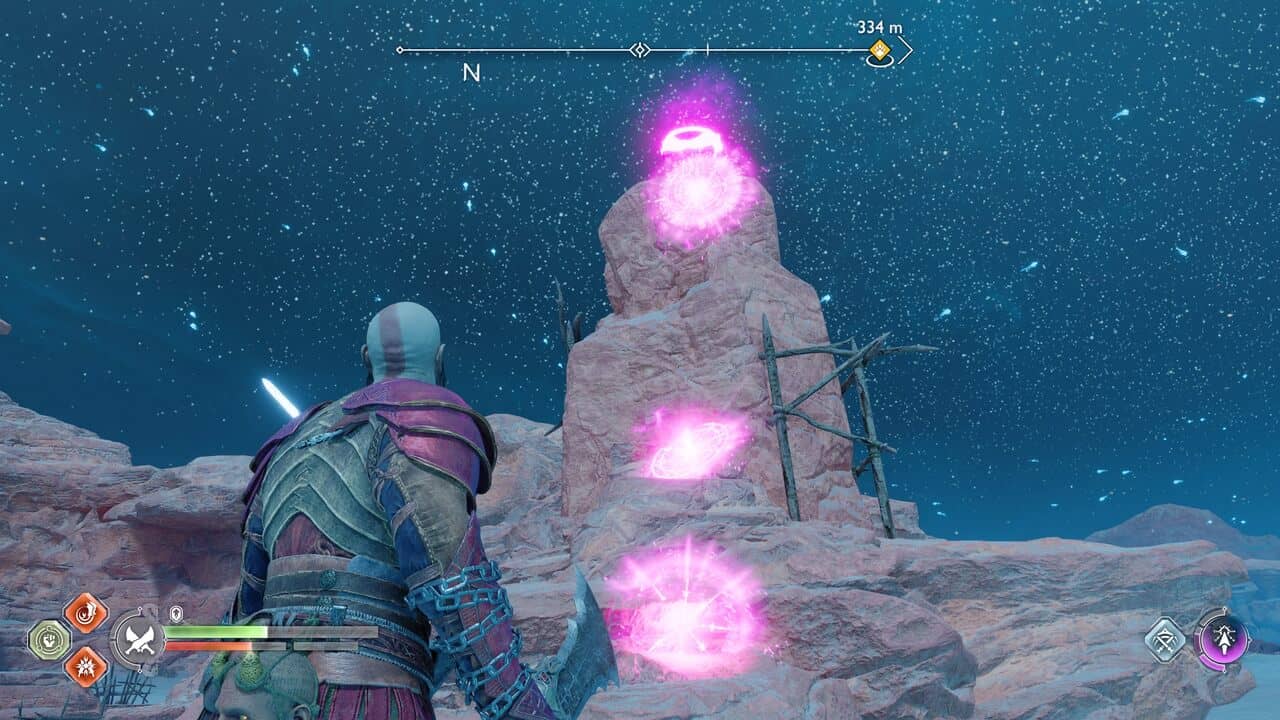
The third is on the large stone archway on the right. Again chains sigils and use the Blade to ignite the brazier. Loot the chest for an Idunn Apple.
To the right of Nornir chest is the Elven Cap, one of the ingredients required for the Across the Realms Favor.
Legendary Chests 1/2
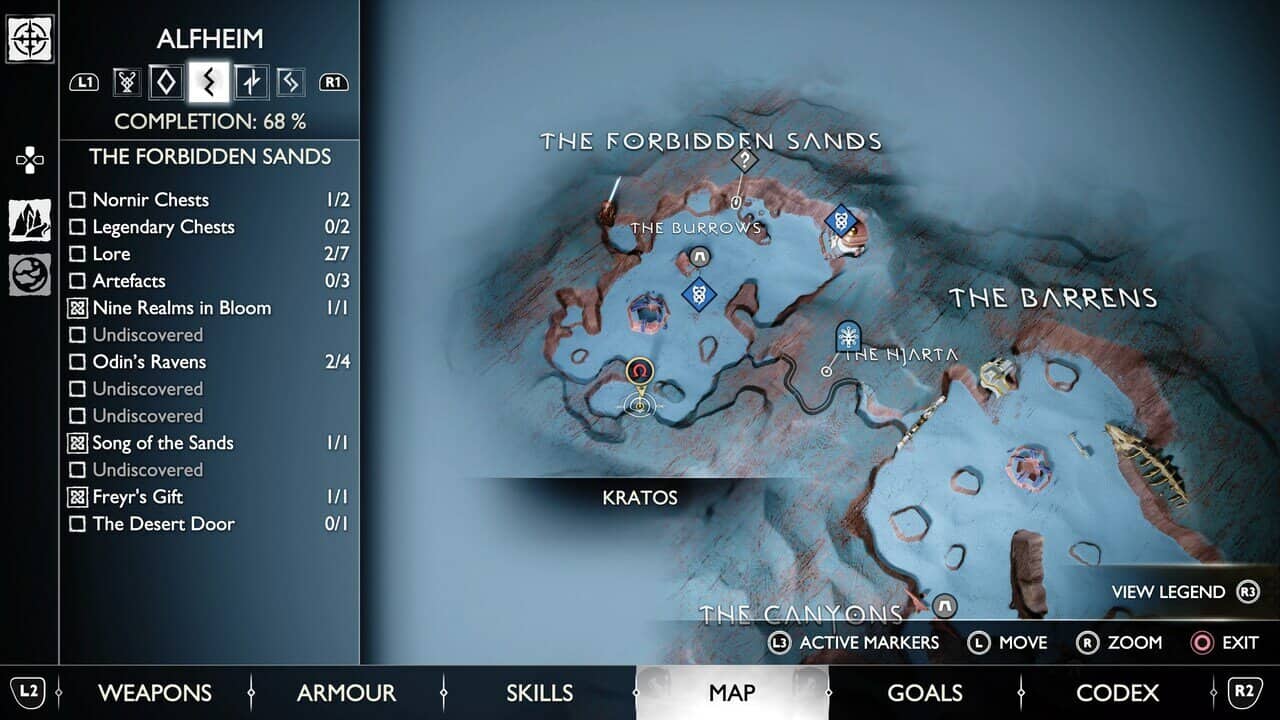
Travel to the southernmost part of The Forbidden Sands (southeast from the Nornir chest mentioned just above) to find a cave entrance.
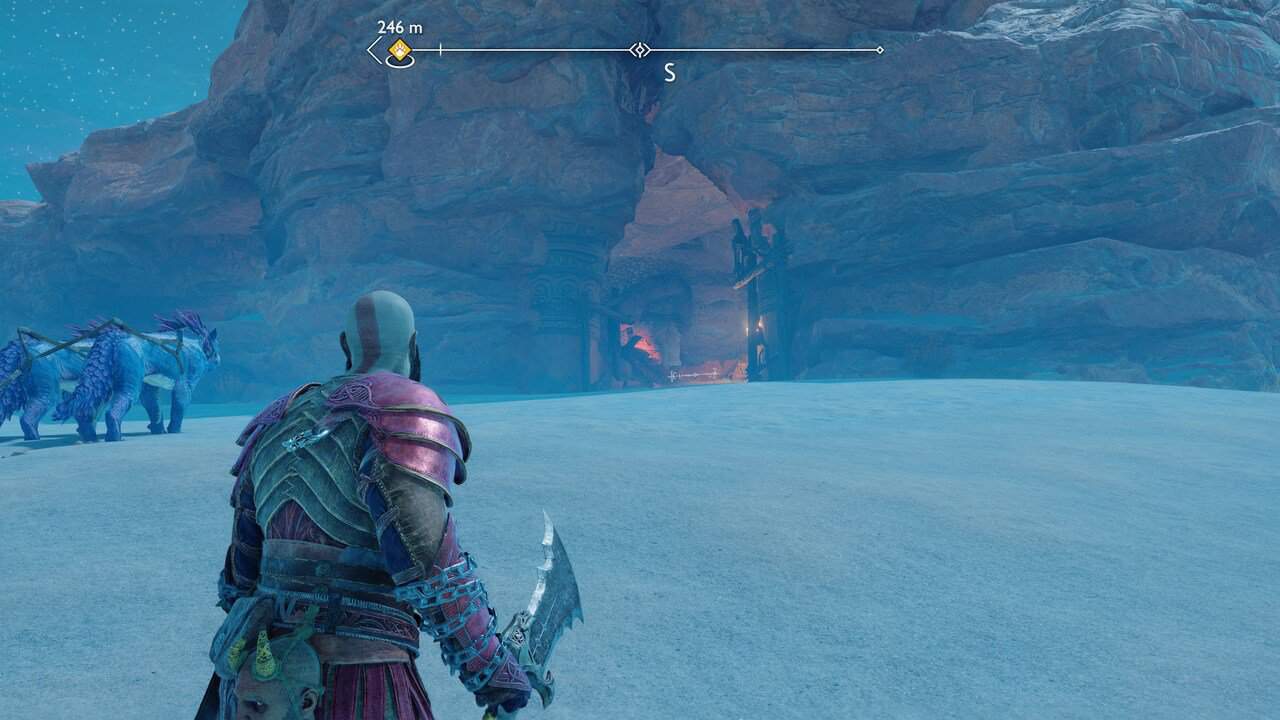
Fight off the enemies inside. Burn the vines on the left spinner by chaining sigils and using the Blades. Axe the spinners so that they’re facing the other spinner. Do the same with the other. Throw the axe at the left spinner to destroy the red blobs.
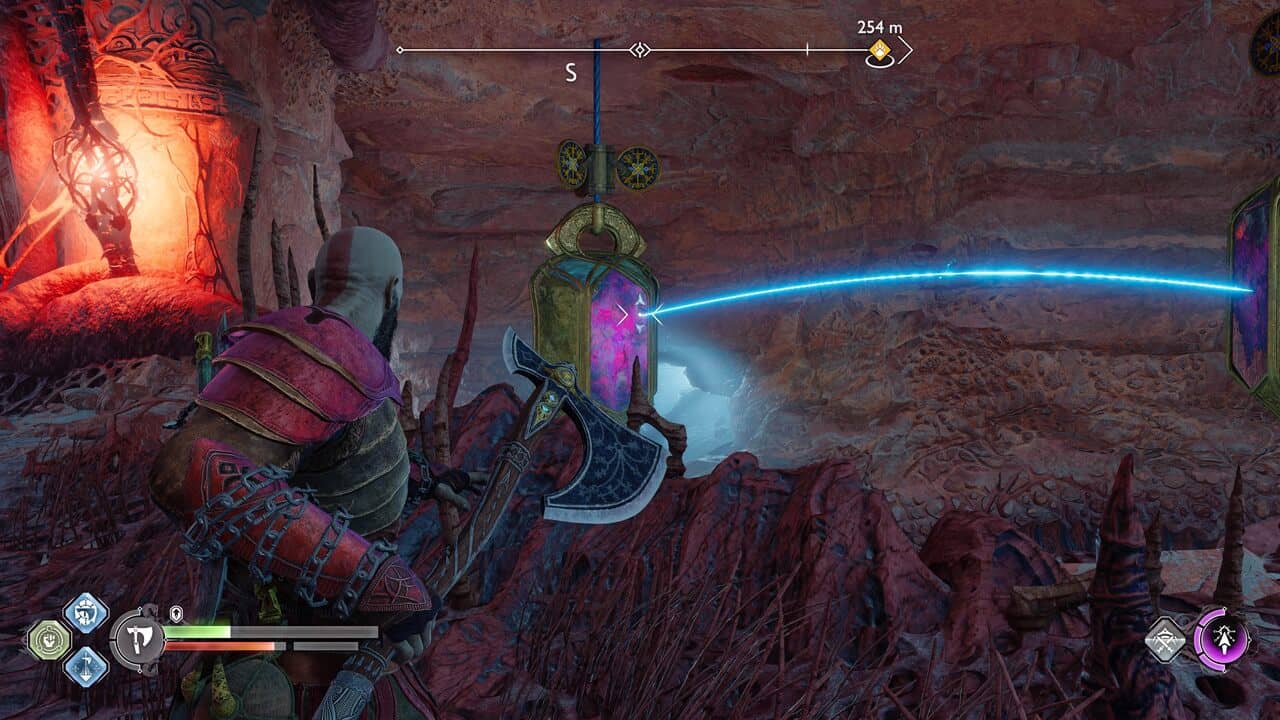
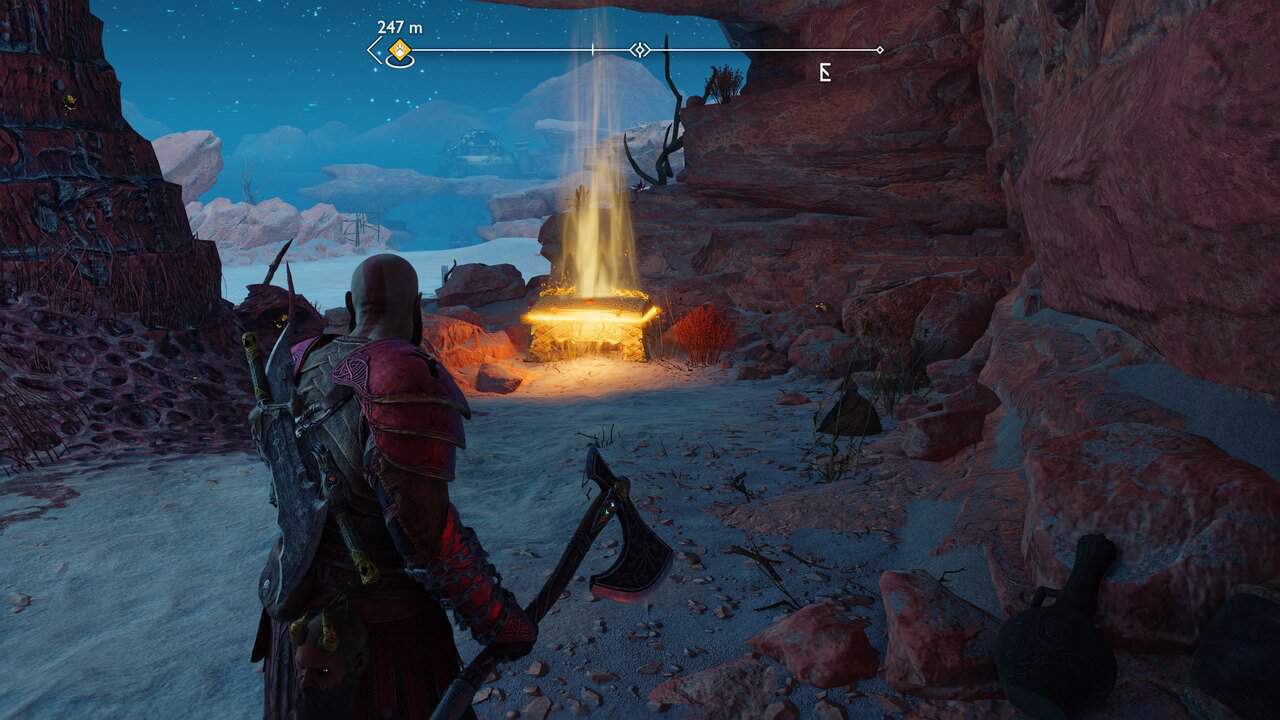
With the path cleared, you can now loot a Legendary chest containing the Hardened War Handles Blade attachment.
The Desert Door 1/1 Part 2
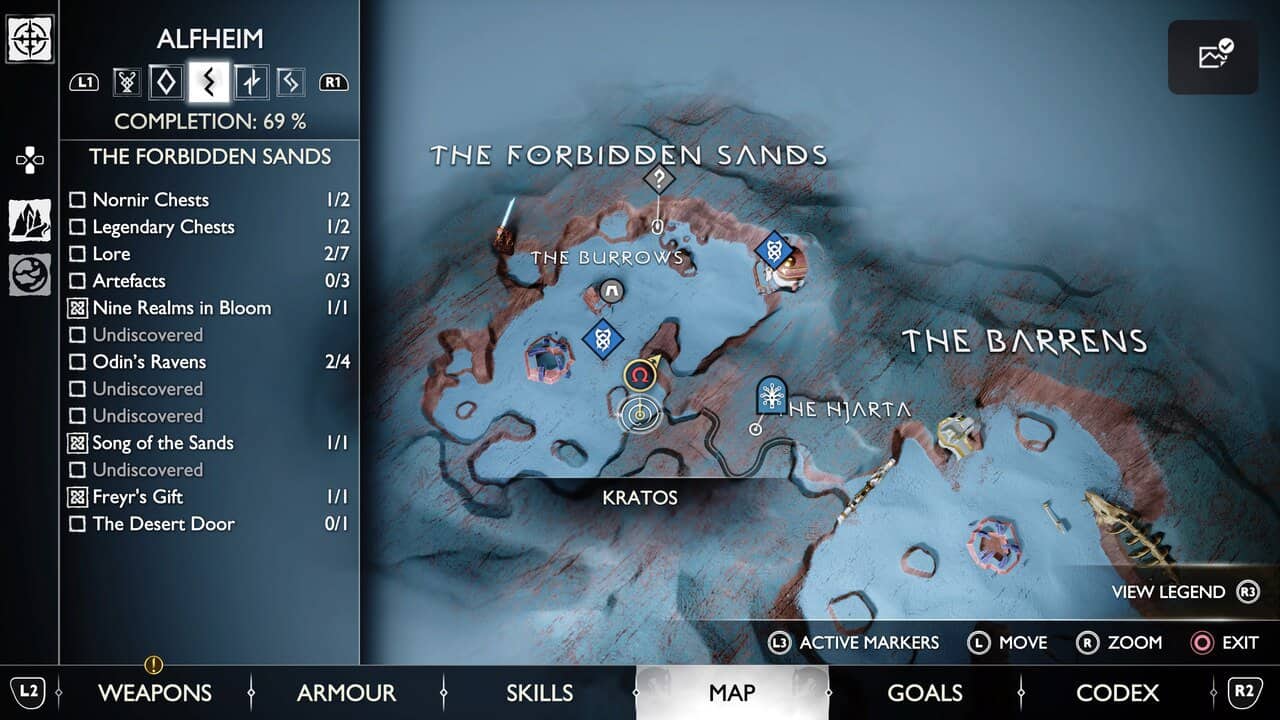
Continue following the edge of The Barrens west until you come to the path leading out of The Forbidden Sands through The Hjarta.
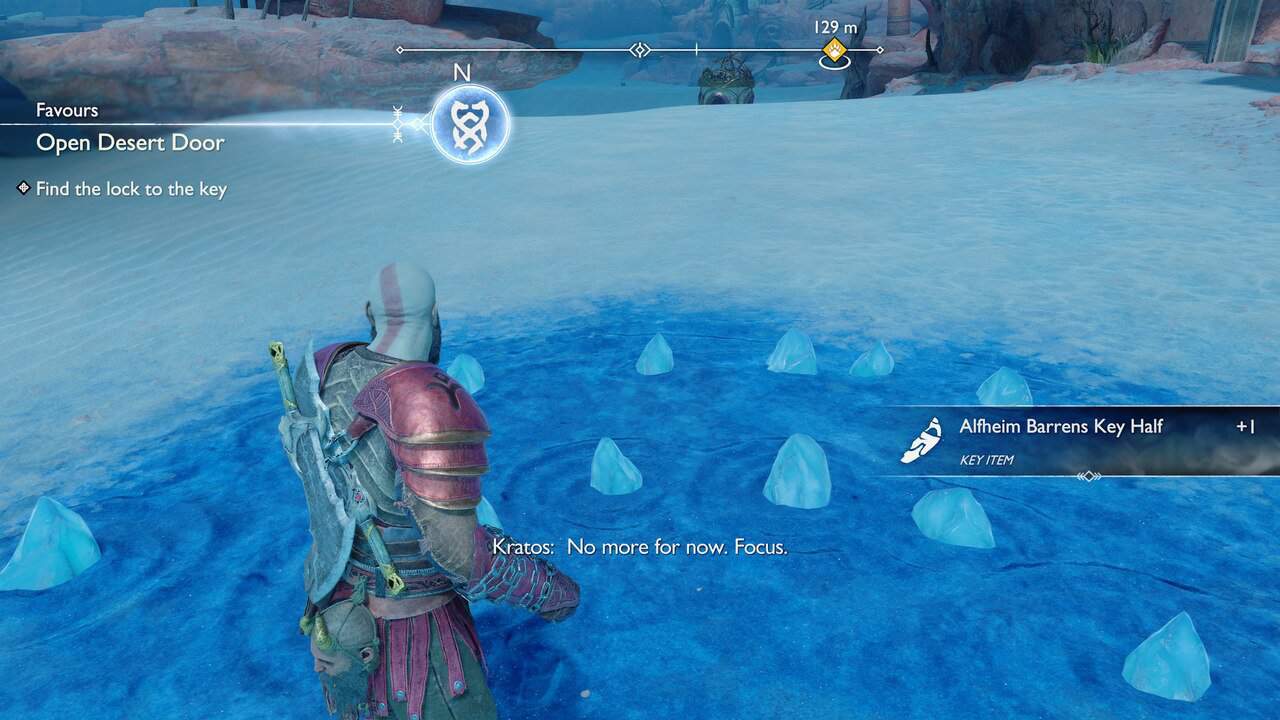
Note the blue pattern with crystals in the sand – interact with the light shard to grab the second half of the key for The Desert Door Favor.
Odin’s Ravens 3/4
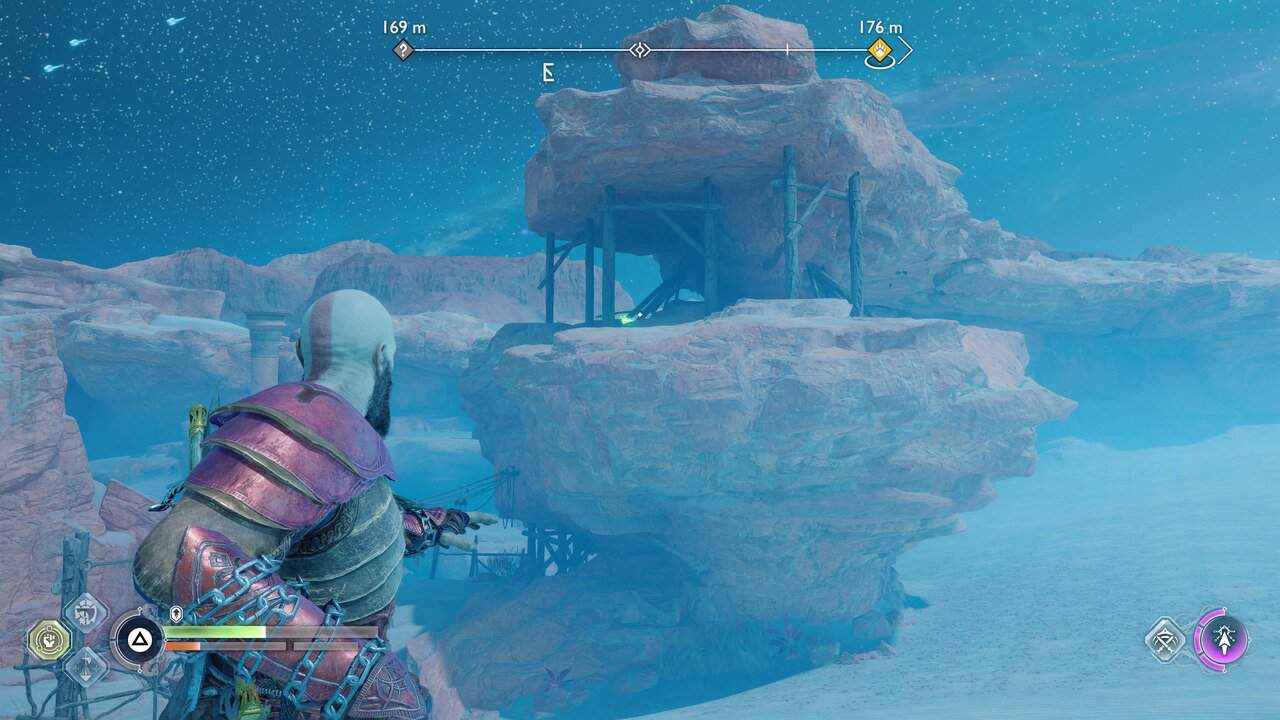
Straight ahead is an Odin’s Raven on the archway – follow it round to the left and look up to find the bird.
Artifacts 1/3
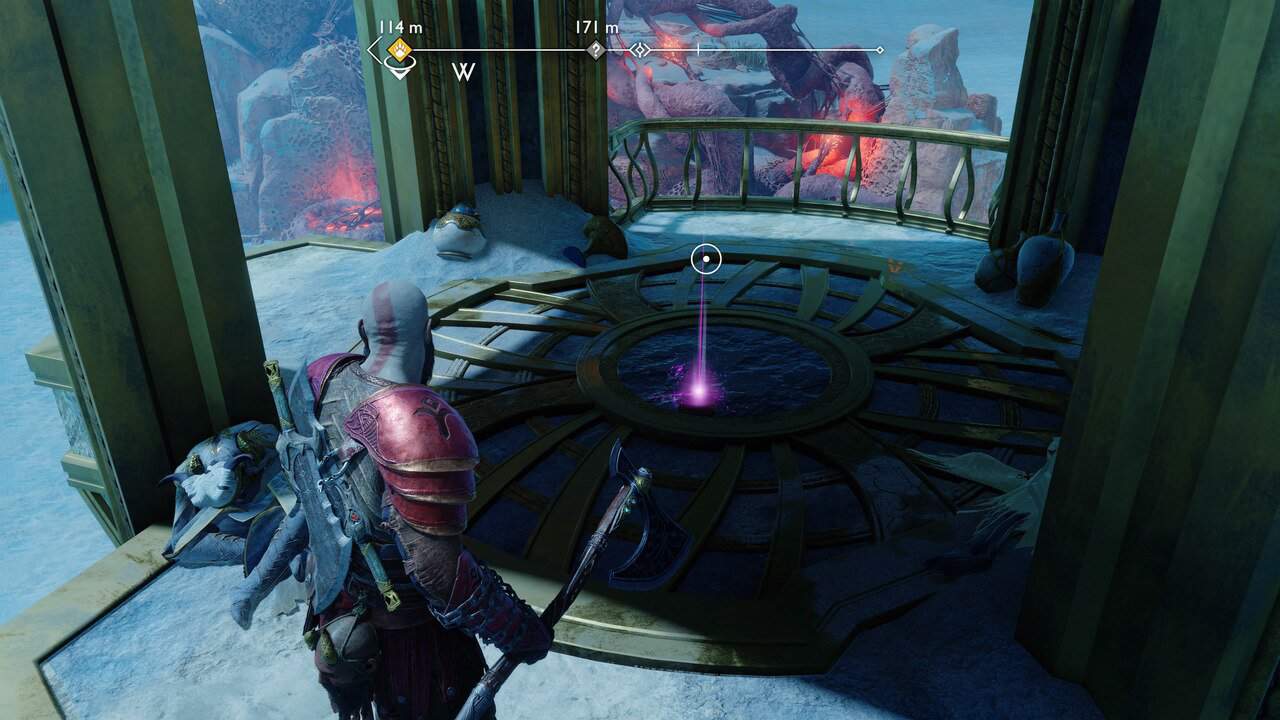
Continue north from the area’s entrance to the elven tower on the right. Approach and you’ll have to fight off a Frost Phantom. Fighting over, head to the balcony on the tower to find the Kvasir’s Poem – Trip artifact.
The Desert Door 1/1 Part 3
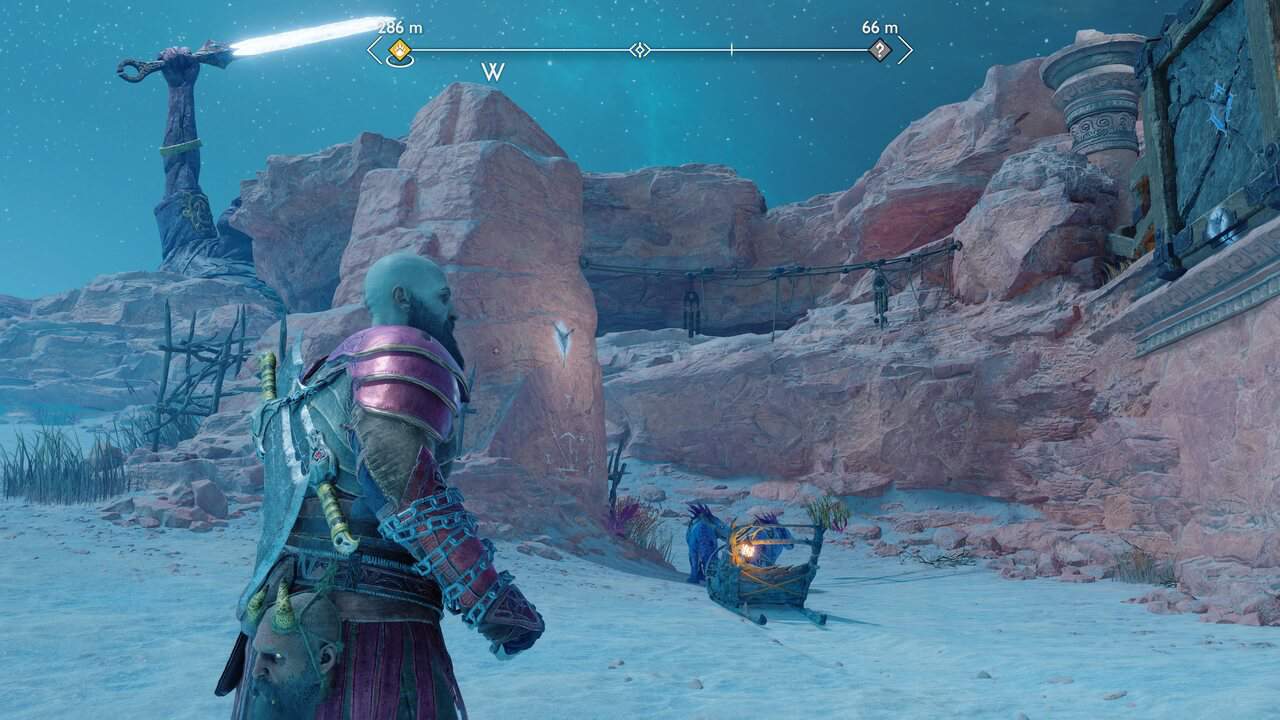
Go north from The Burrows entrance and grapple up to the arena above. Take out the elves, then interact with the large door. Doing so will use the key from The Desert Door Favor and release a mighty Gravel Belly. Defeat it to complete The Desert Door Favor and get the Alfehim’s Fortune amulet enchantment, a Dragon Claw (for crafting Dragon Scaled Armor), and Skirnir’s Gambanteinn.
Artifacts 2/3
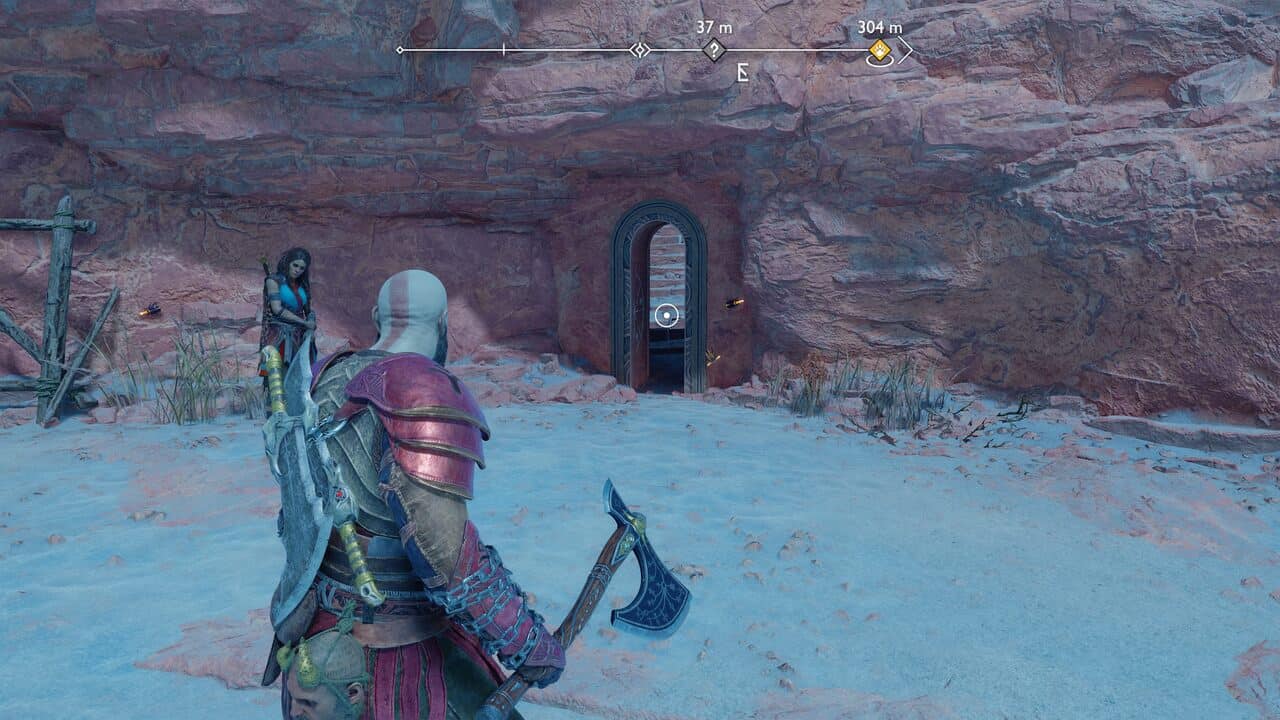
Squeeze through the gap at the back of the arena and pick up the Token artifact, part of the Tributes to Freyr collection.
Yggdrasil Rifts 1/1
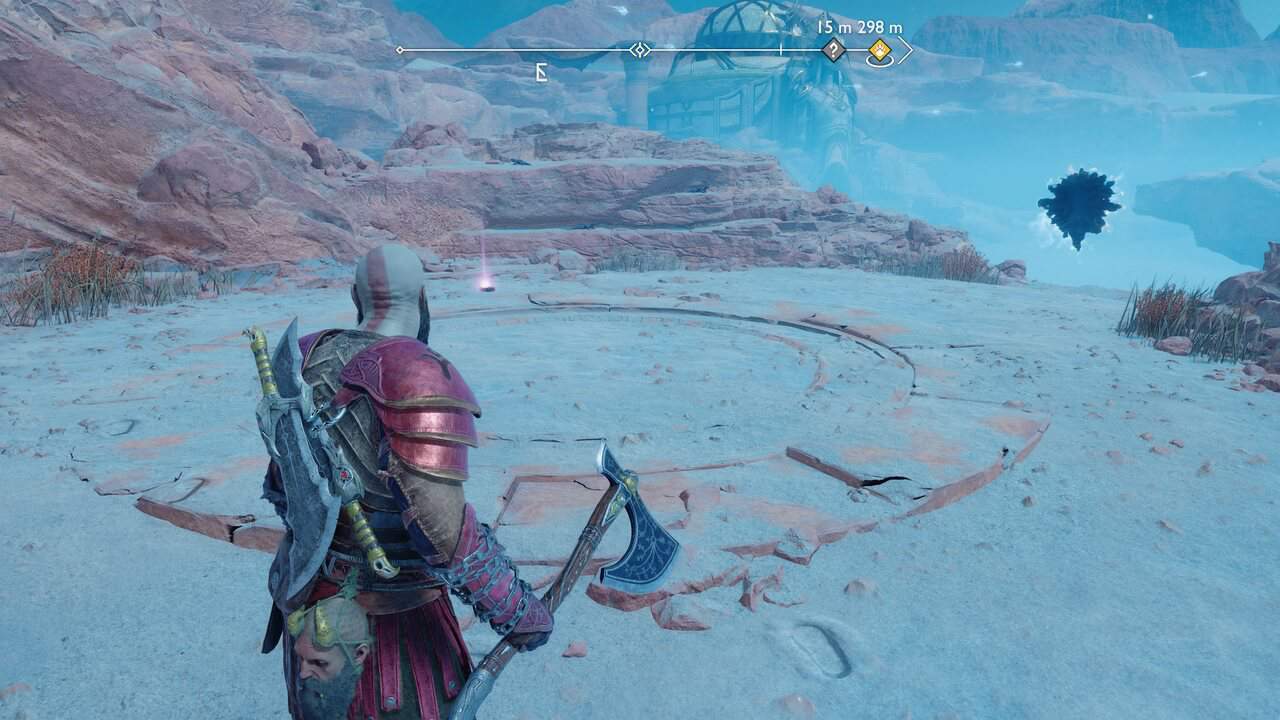
Interact with the rift and fight off the enemies to complete the Yggdrasil Rift for The Forbidden Sands.
Artifacts 3/3
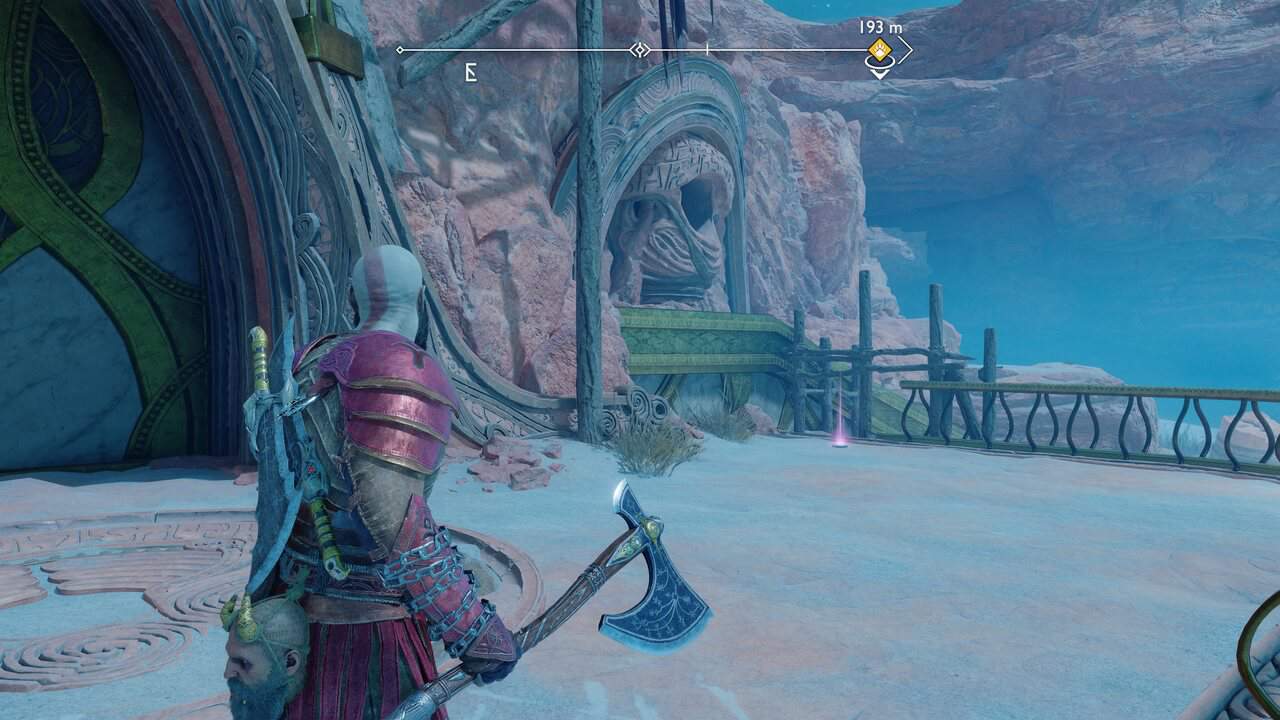
Head to the Elven Sanctum in the northeast of The Forbidden Sands. Grapple up and pick up the Bracelet artifact, part of the Tributes to Freyr collection, to the right of the entrance.
Lore 3/7
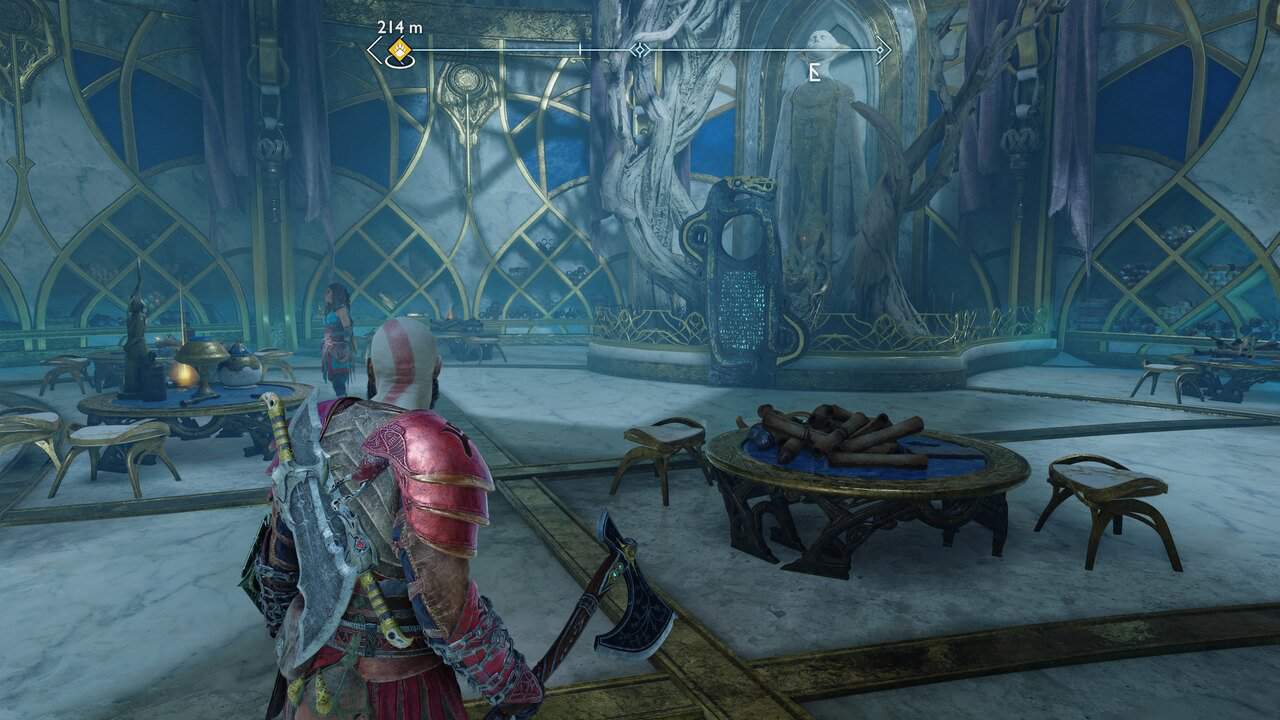
Move into the sanctum, past another door, to find the Rules of the Sanctum Lore Marker.
Lore 4/7
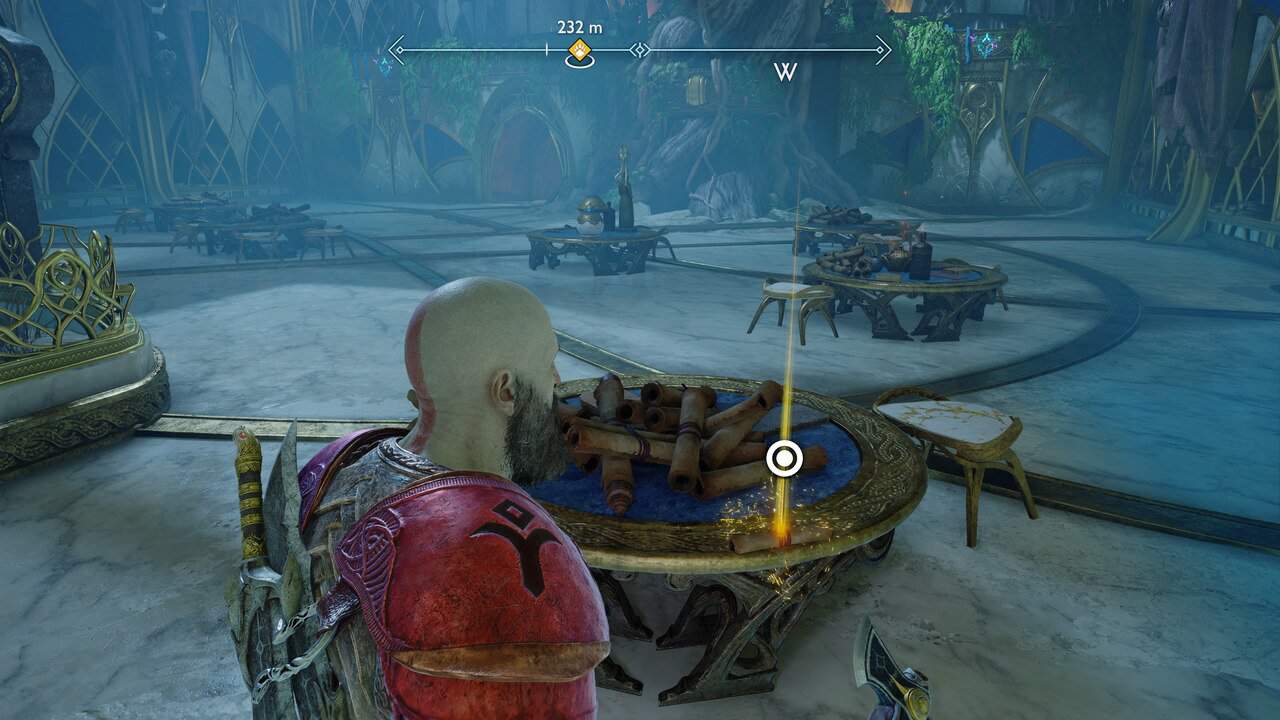
In the Sanctum is also An Examination of Temporal Significance Lore Scroll.
Lore 5/7
And, finally a set of schematics for The Lost Pages Labor.
Lore 6/7
Grapple up to the level above where there’s the Forgotten Tower Treasure Map.
Legendary Chests 2/2
On the upper floor is also a Legendary chest with a Jewel of Yggdrasil amulet fragment inside and a red coffin.
Lore 7/7
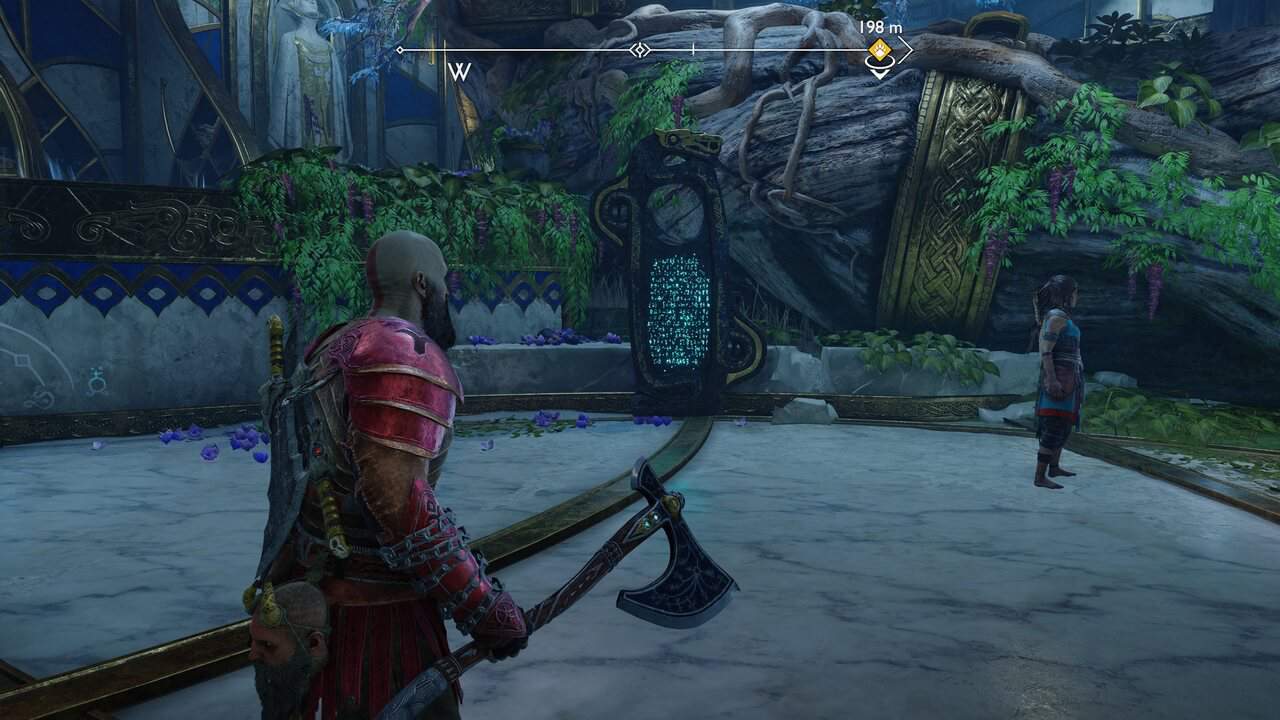
Finally, there’s also The Arbiters of Knowledge Lore Marker.
Elven Sanctum 1/1
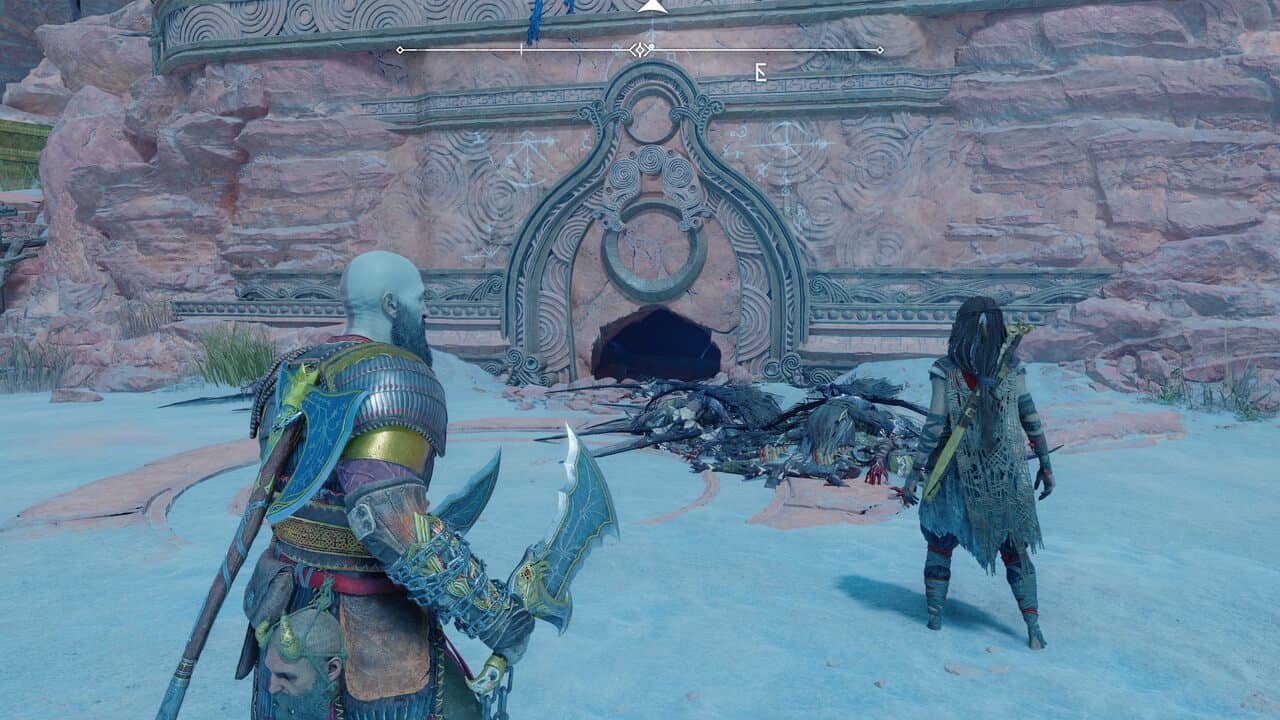
You can also find the Consul’s Journal artifact there needed to continue the Elven Sanctum favor. Leave the sanctum and fight the librarian to complete The Elven Sanctum favor.
Odin’s Ravens 4/4
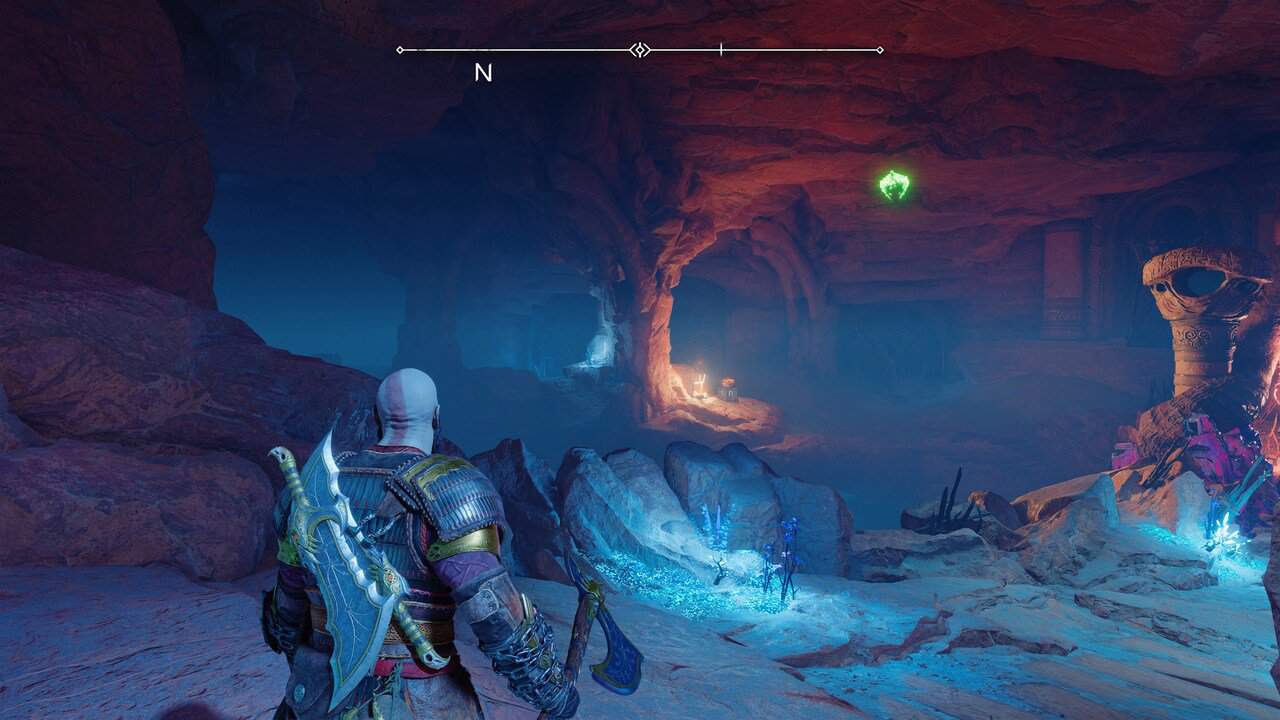
After exiting the Sanctum, drop down the ledge, turn around, and crawl through the gap under the grapple point. Head forward. On your left you’ll find one of Odin’s Ravens circling.
Nornir Chests 2/2
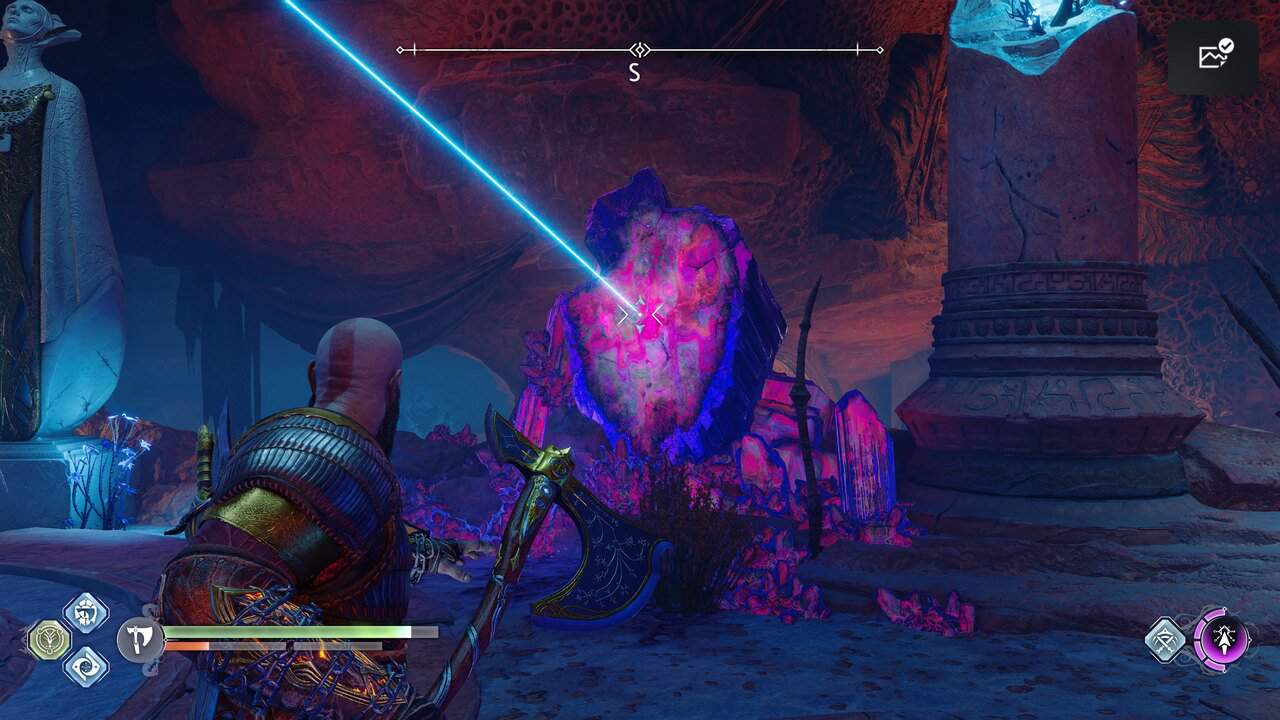
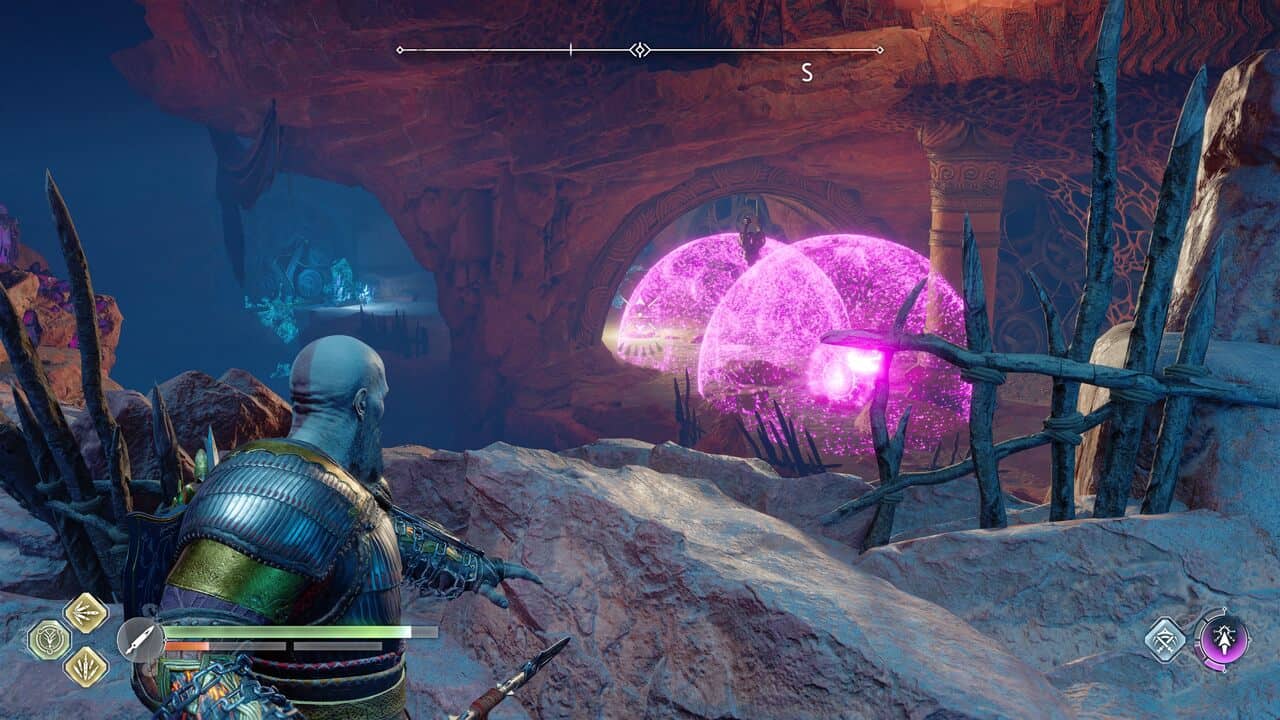
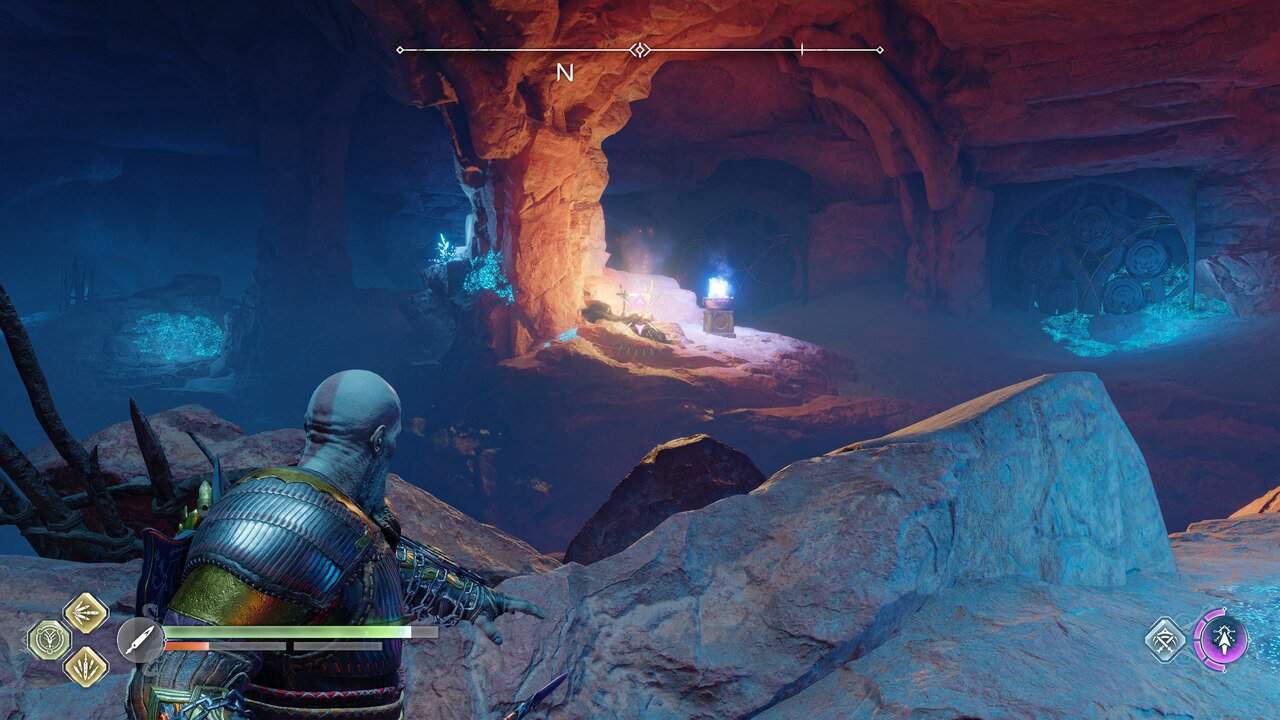
Ahead is a Nornir chest covered in vines. To free the chest, throw the axe at the Twilight Stone on your left when facing the chest. The angle is a little tricky, so refer to the image below. The first rune brazier is across the gap on the right. Chain sigils from the fire not far from it then shoot a sigil at the fire itself. This causes a chain reaction and lights up the brazier.
The second is across the gap to the left of the chest. Stack sigils between the fire and brazier, then sigil the fire to ignite the brazier.
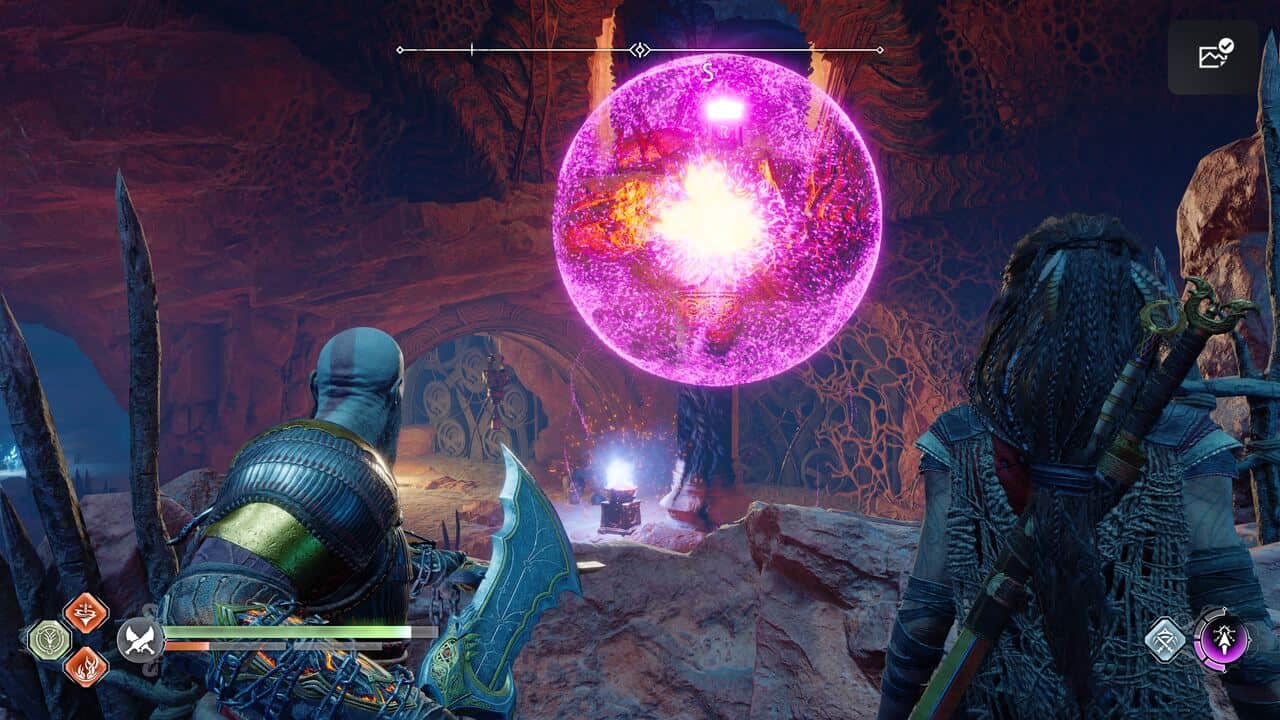
The third is just above the first one but hidden behind a hive eye. To ignite it, stack sigils from the lit first rune brazier up to the eye, shoot the eye with a sonic arrow to open it, then shoot the brazier with a sigil to create a chain reaction. Loot the chest to get a Horn of Blood Mead.
Buried Treasure 1/1
The Forgotten Tower treasure is located in the north of the Forbidden Sands, in the same place you fought the Gravel Belly.
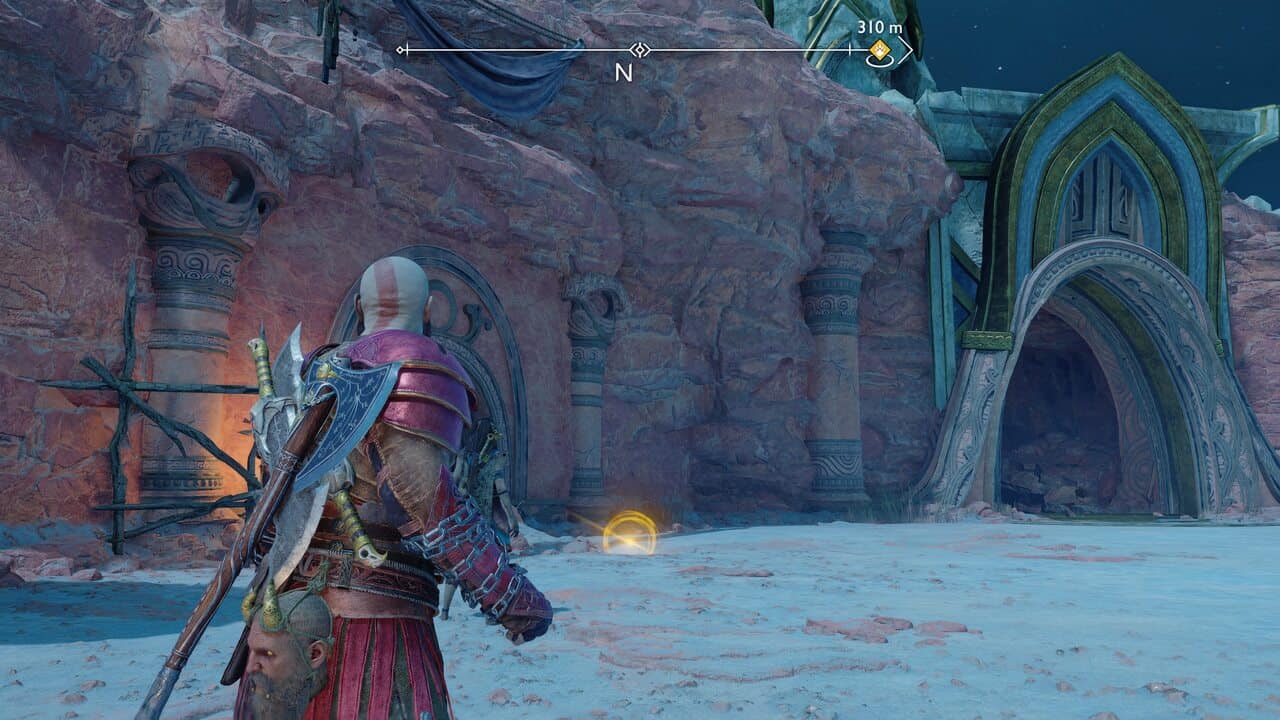
It’s on the left of the arena. Picking it up gives you supplies, XP, and the Alfheim’s Virtue amulet enchantment.
Berserker Gravestones 1/1
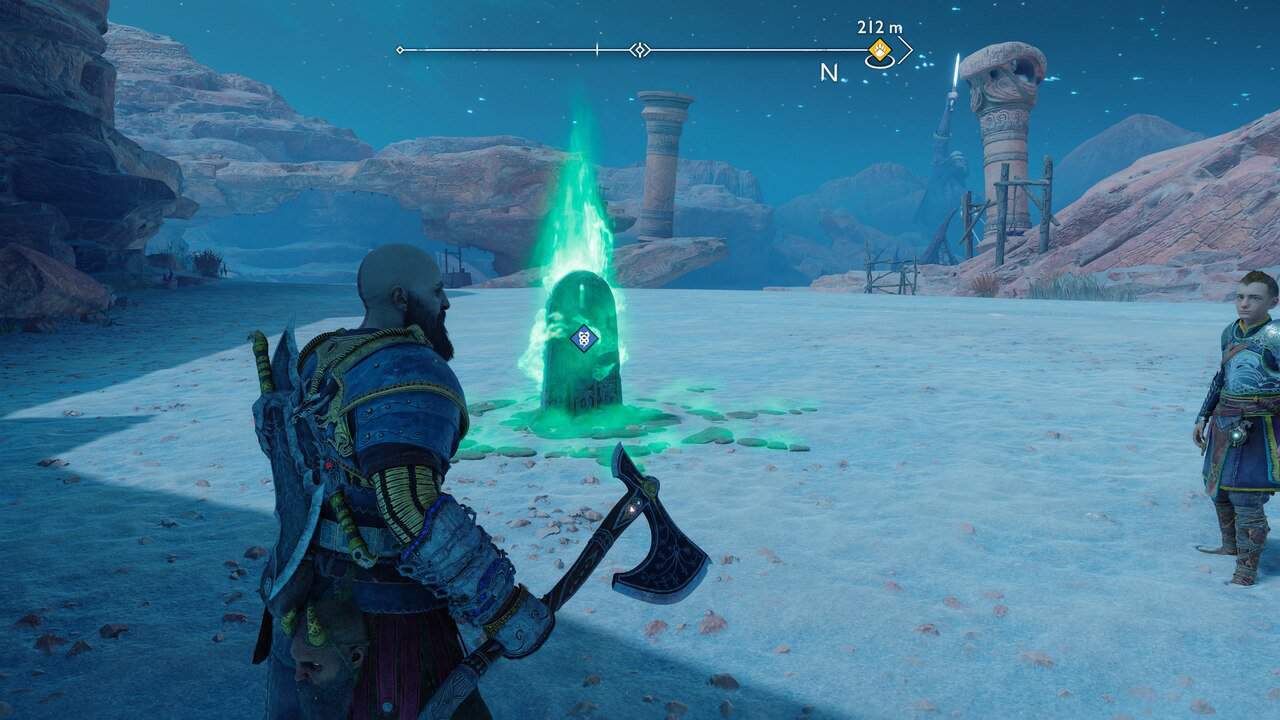
A Berserker Gravestone is found in the southernmost point of The Forbidden Sands, The fight is against Hjalti The Stolid. Defeating him gives you the Grip of the Nine Realms axe attachment.
Song of the Sands 1/1
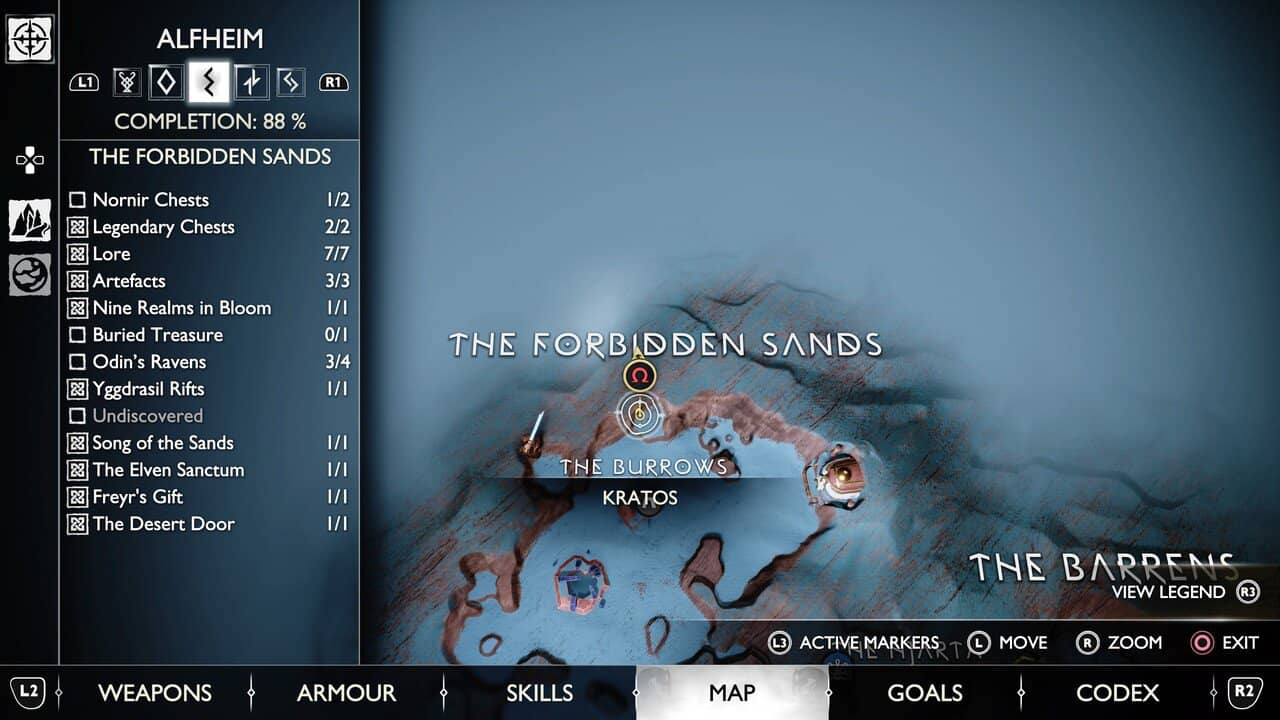
Dive into The Burrows to complete the Song of the Sands Favor. Details below.
The Burrows, Alfheim – God of War Ragnarok
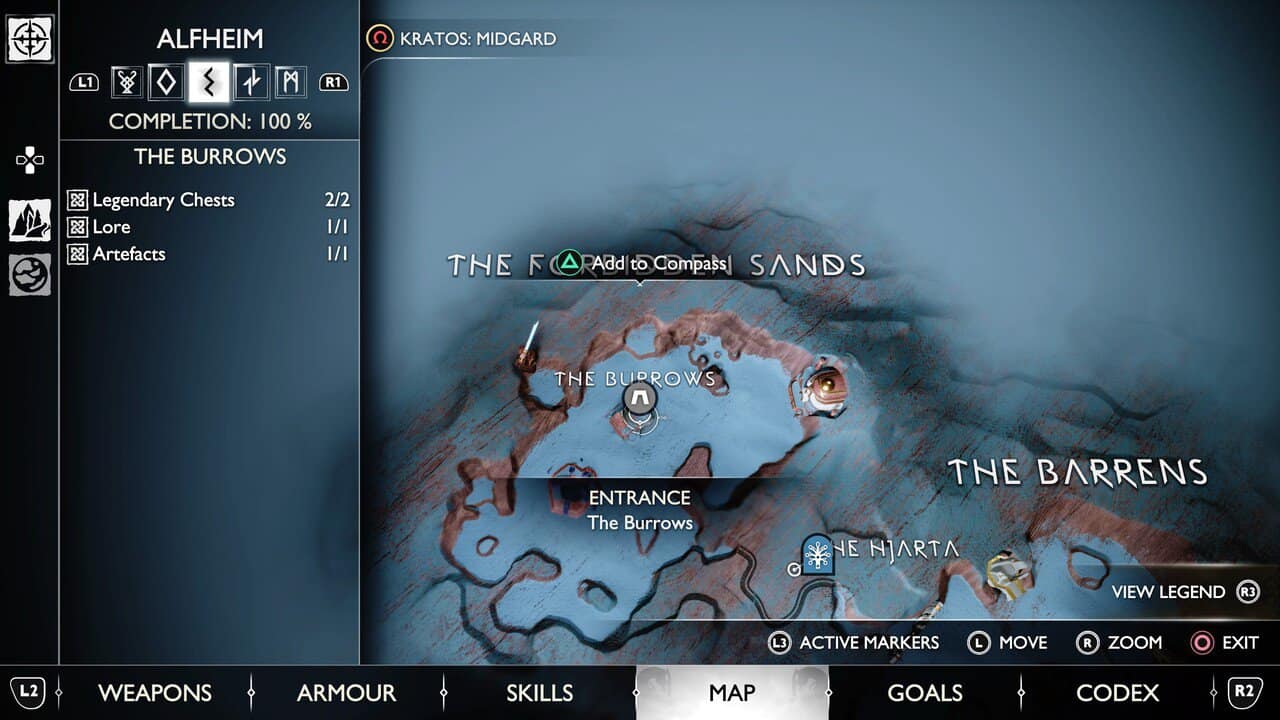
- Legendary Chests 2/2
- Lore 1/1
- Artifacts 1/1
Lore 1/1
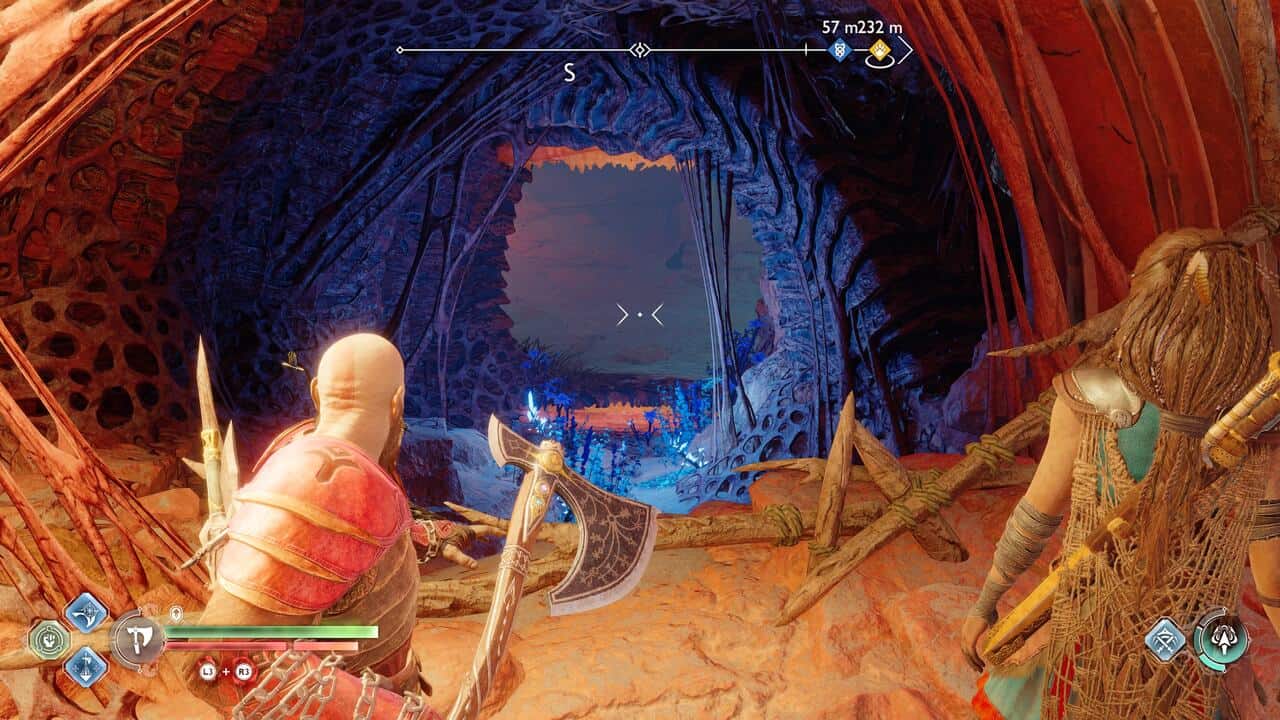
Ride to the Songs of the Sands marker on the map in the northwest of The Forbidden Sands, Alfheim. Climb down into the cave and break the seal to reach The Burrows.
Swing across the right-hand grappling point, then climb the ledge on the left to loot a red coffin, then drop down the path straight ahead. Turn left when you land and shoot a sonic arrow to open the eye, then another to break the seal. Grapple forward, stopping off to loot the red coffin. Throw the axe on the Twilight Stone on the floor to break through the root-like blockage and drop down. Turn around immediately to find a chest, then charge forward and destroy the Wretch nest.
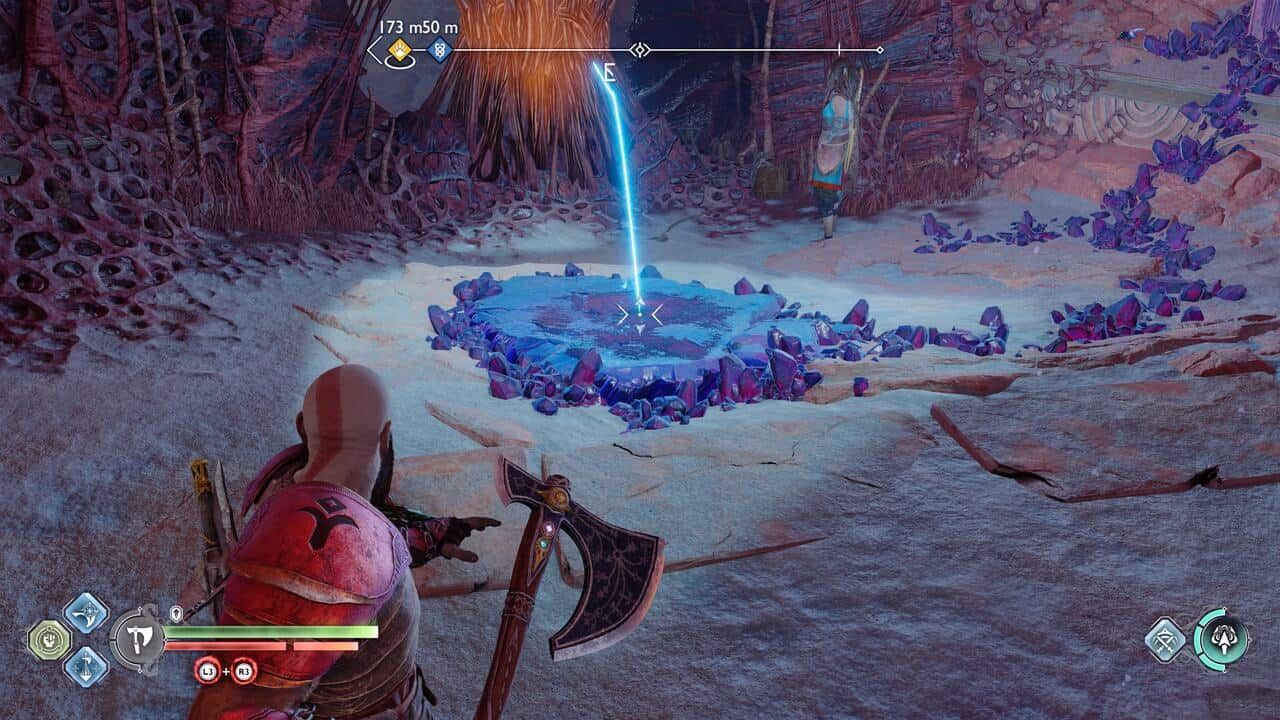
Climb up and fight off the mix of Elves and Grims. To the left is the Sacrifice Rune Read.
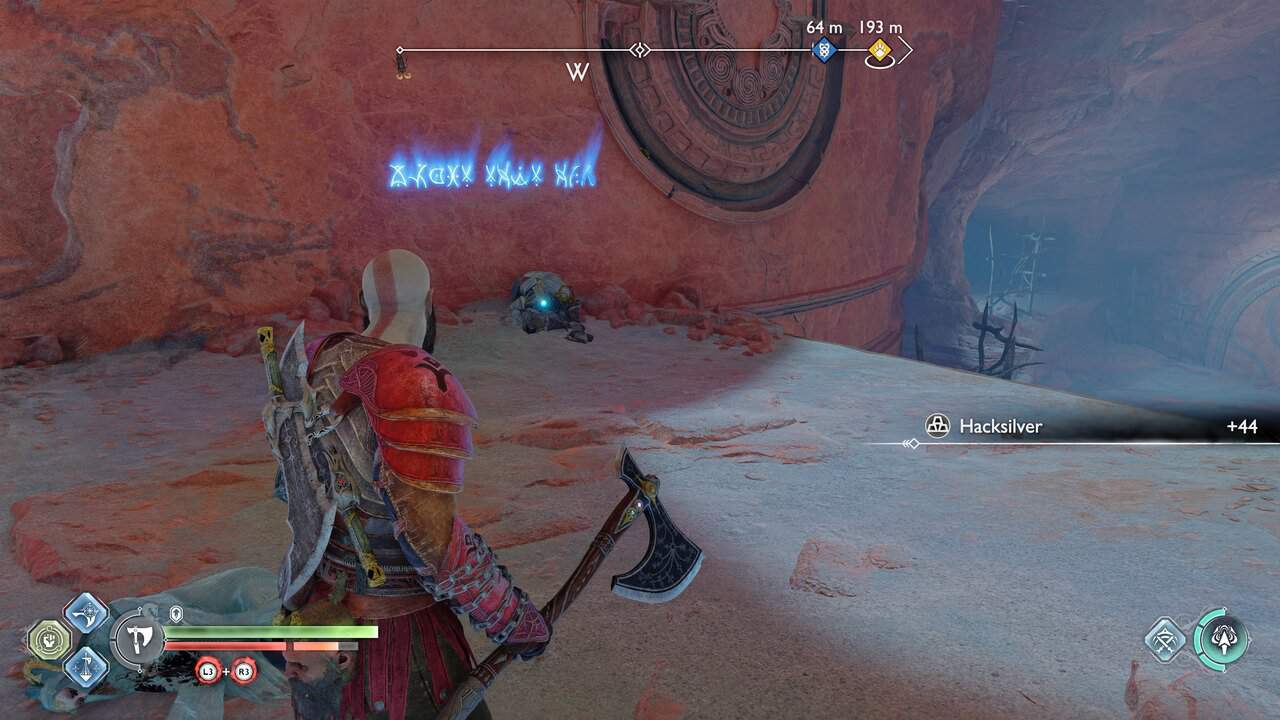
Legendary Chests 1/2
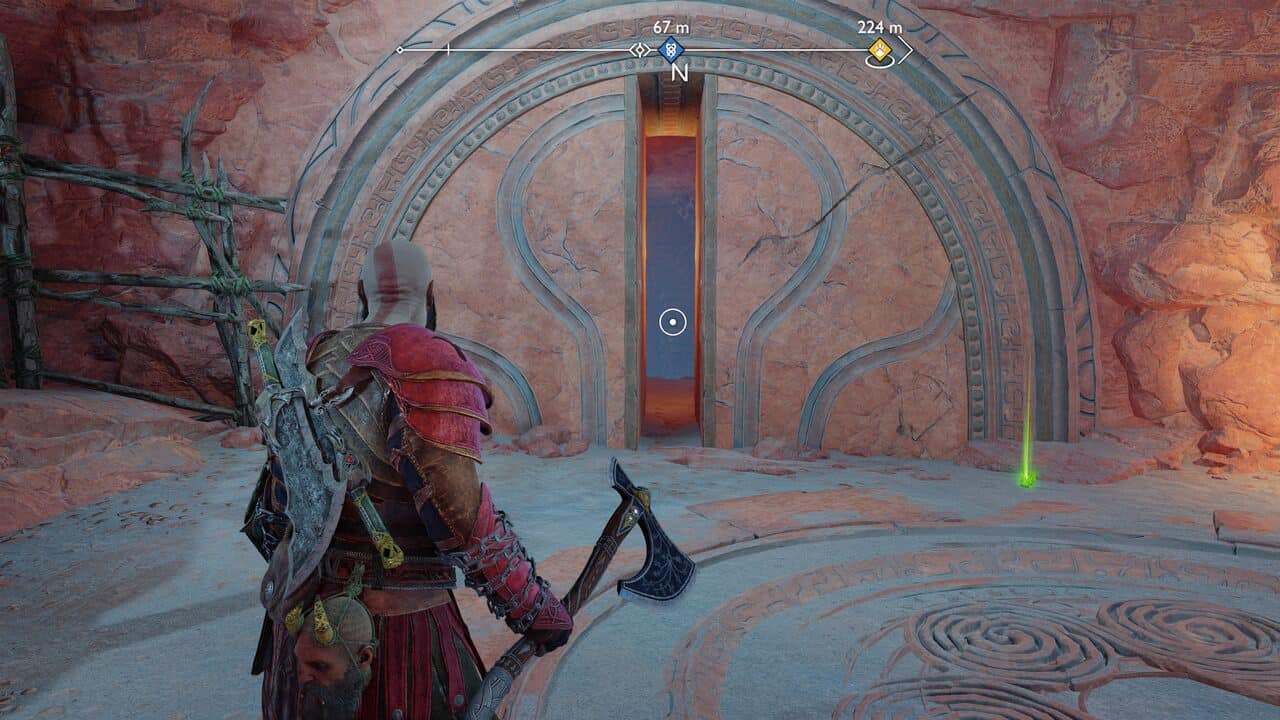
Squeeze through the door at the back of the area. Look left, shoot the spinner so the Twilight Stone is facing the hive roots, then shoot the stone to clear the path. Loot the red coffin.
Grapple down. Shoot the eye with a sonic arrow, then immediately throw an axe on the Twilight Stone behind to clear the hive roots on the right. Grapple over to the now-accessible ledge. Continue down through another grappling section, then fight off another wave of Elves and Grims.
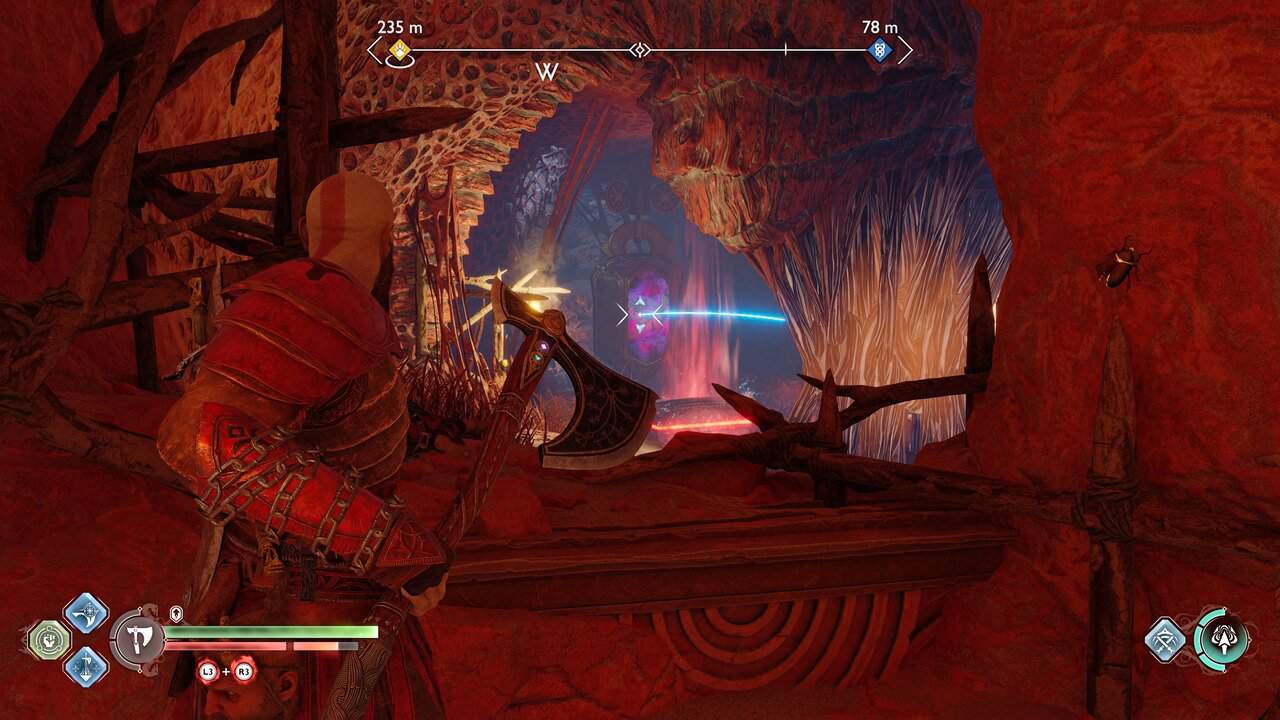
Climb up the ledge at the back and turn around to shoot an axe at the Twilight Stone of the left. This reveals a grappling point. Take it to reach a platform up high on the right with a Legendary chest containing the Hel’s Touch light runic attack. While up here, shoot the burrowing creature below.
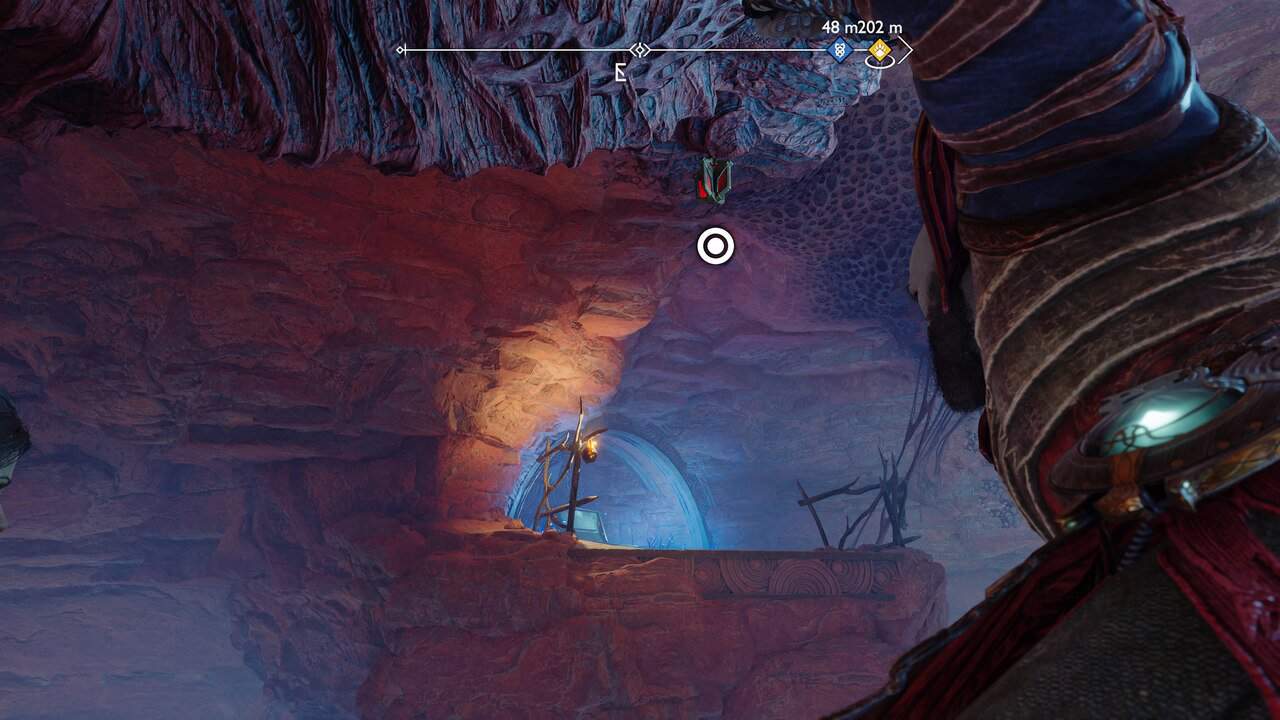
Artifacts 1/1
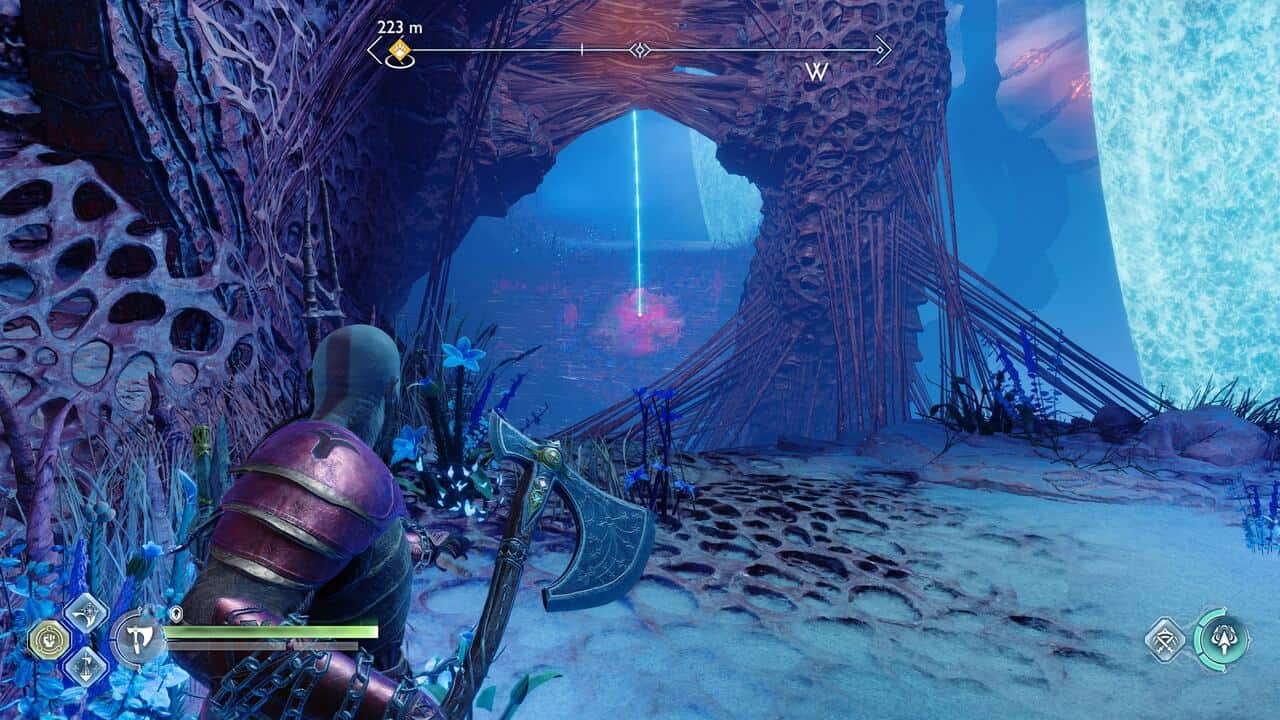
Climb pack up the previous ledge and press forward, dropping left to lineup and shoot three red blobs. Push forward to reach Hafgufa. To free its binding, you’ll first need to axe the Twilight Stone on the left and grapple across. Look up left for another hive eye.
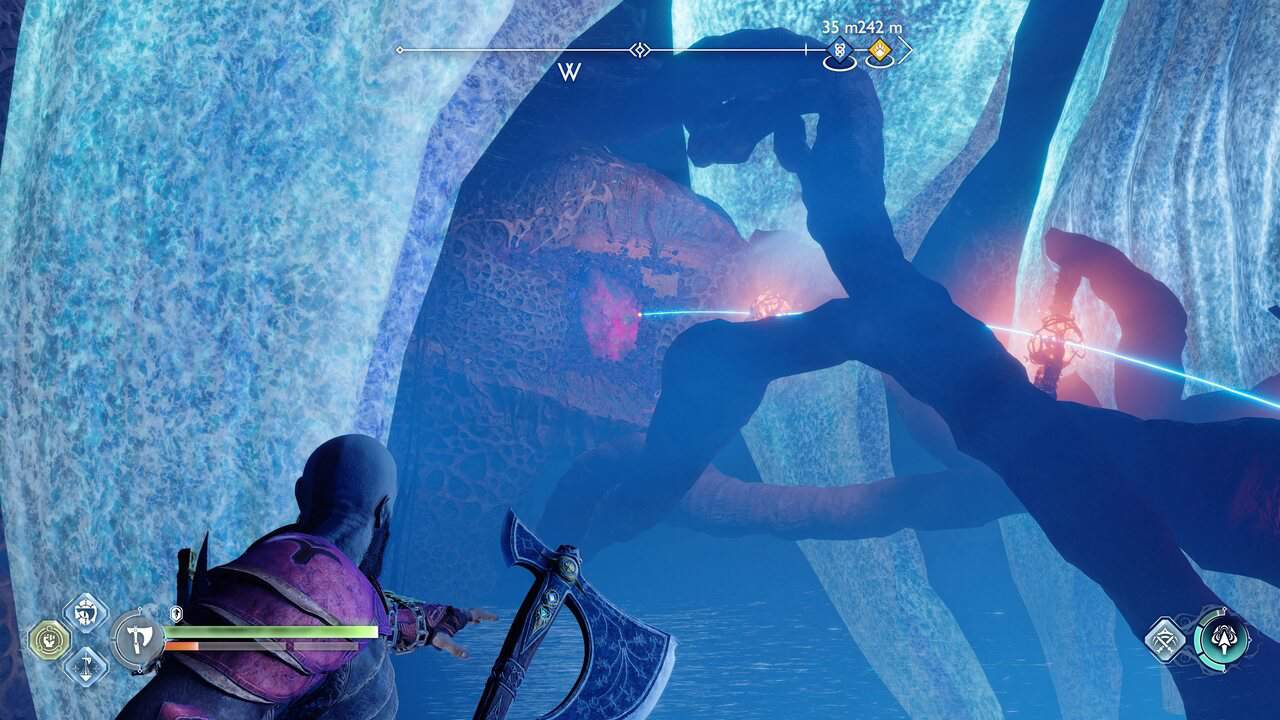
Shoot it with a sonic arrow, then throw an axe at the Twilight Stone behind. Grapple back across, lineup up the red blobs and throw the axe.
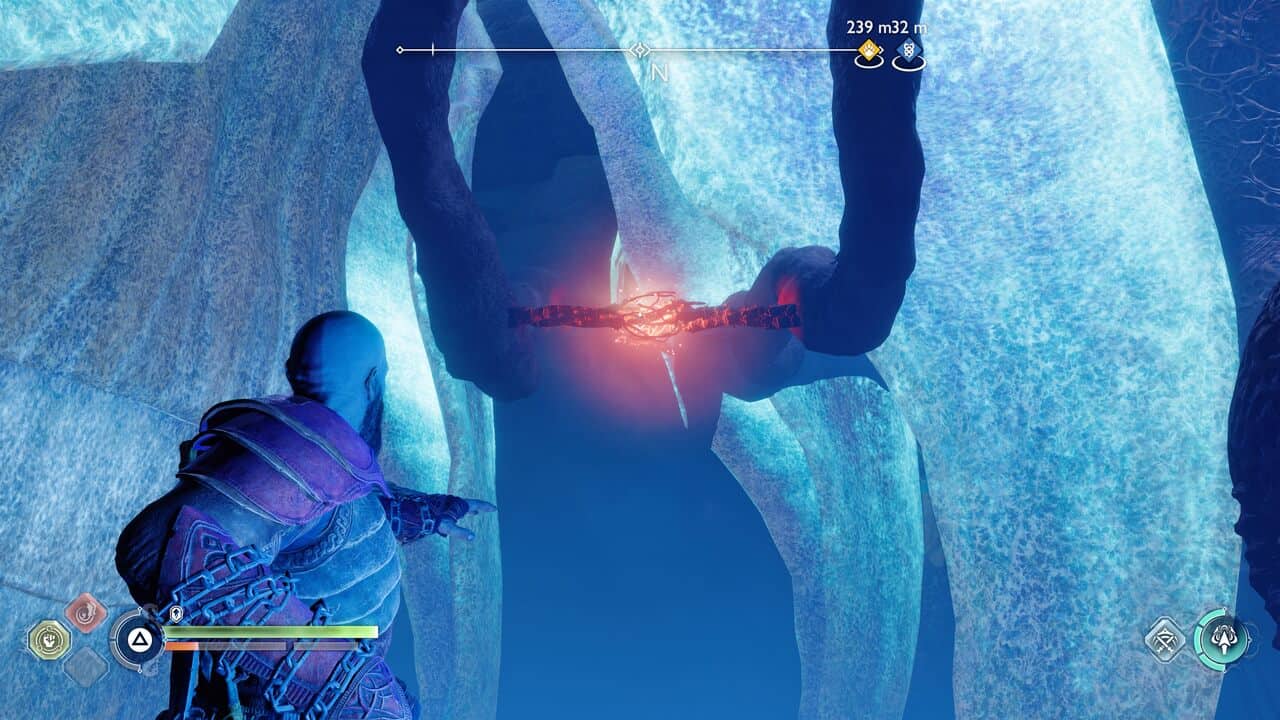
Grapple back, and shoot the last chain of red blobs to remove the last of the bindings and get the Pipe artifact next to the chest from the lowered ledge on the left.
Legendary Chests 2/2
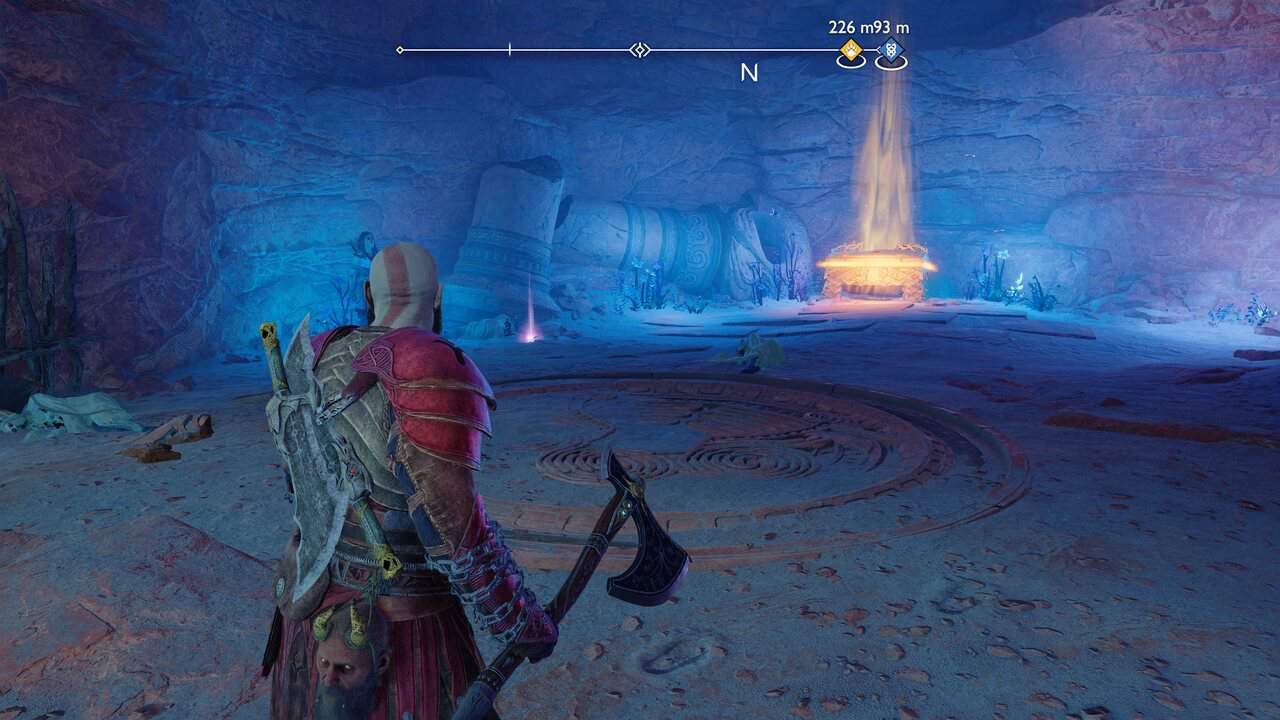
Jump down the left-hand ledge. Kill the enemies then loot the Legendary chest for the Nemean Crush heavy runic attack, and pick up the Pipe artifact, part of the Tributes to Freyr collection.
Return to the surface and sled to the marker on the map. Release the Hafgufa and complete the Song of the Sands Favor.
That wraps up our God of War Ragnarok Alfheim 100% completion guide. Be sure to check out our dedicated God of War Ragnarok guides hub for more walkthroughs, 100% realm completion, and collectibles.

